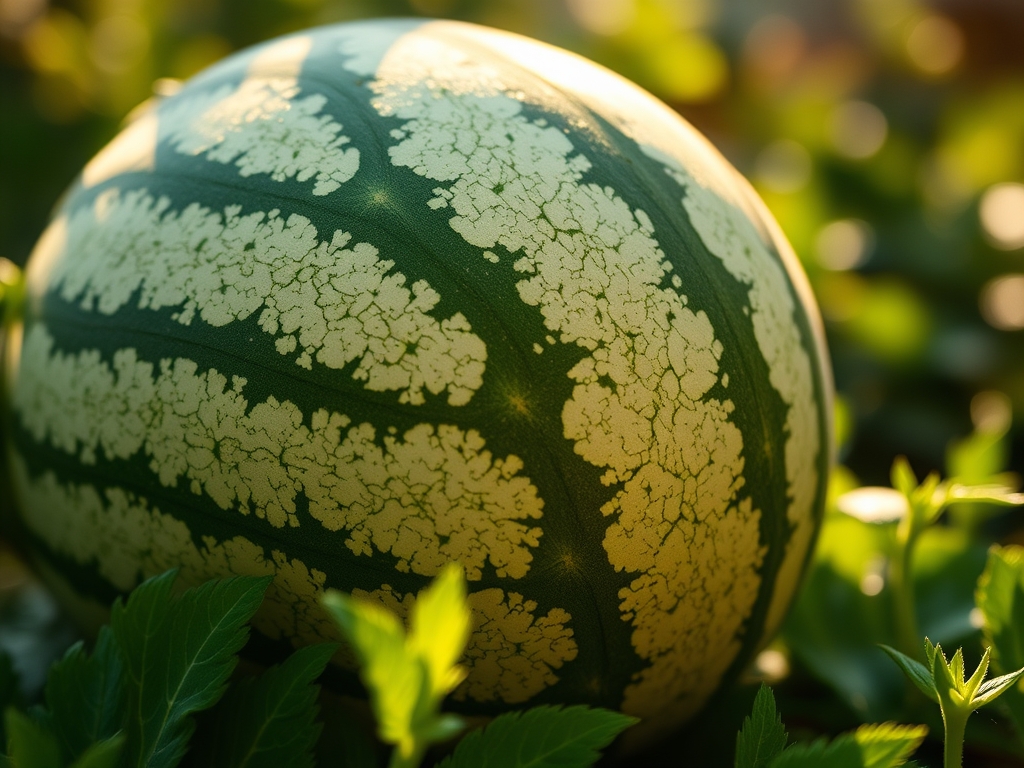
10 Ways How to Grow Sugar Baby Watermelons
The scent of damp, mineral-rich earth signals the beginning of the cucurbit season. When you press your thumb against the underside of a leaf, the turgor pressure should feel firm; a sign of a plant hydrated to its cellular limits. Learning how to grow sugar baby watermelons requires a shift from casual gardening to precise botanical management. These icebox cultivars are bred for efficiency, yet they demand a specific environmental baseline to convert solar energy into the high brix levels that define their flavor profile. Success is not found in luck but in the deliberate calibration of soil temperature, moisture levels, and nutrient availability. You are managing a biological factory that must produce heavy fruit on a compact vine within a narrow window of 75 to 80 days. Every decision, from the initial seed soak to the final harvest clip, dictates the final sugar concentration and rind integrity.
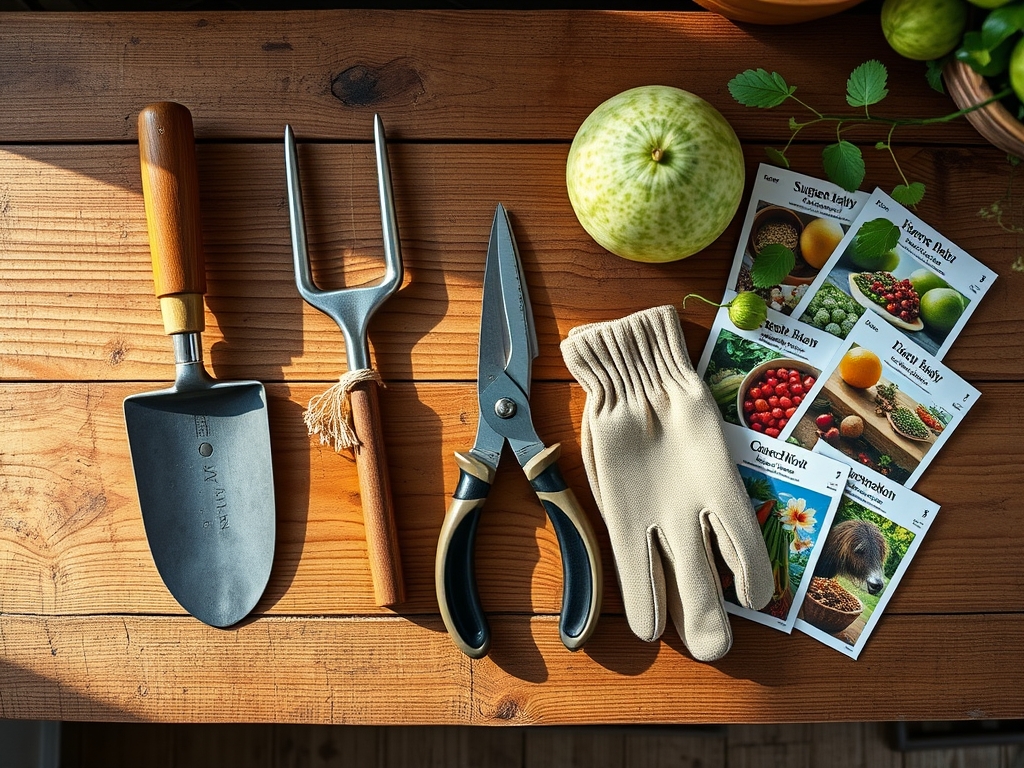
Materials:
Substrate quality determines the efficiency of the rhizosphere. You must start with a friable loam that allows for unrestricted taproot extension. The ideal soil pH for Citrullus lanatus sits between 6.0 and 6.8. If your pH drops below 5.5, manganese toxicity becomes a risk; if it rises above 7.0, iron and phosphorus become chemically locked and unavailable to the plant.
The Cation Exchange Capacity (CEC) of your soil should be high enough to retain essential ions. Before planting, incorporate organic matter to achieve a 3:1:2 or 4:1:2 NPK ratio. High nitrogen is critical during the initial vegetative surge to build the leaf canopy. Once the plant enters the reproductive phase, transition to a 5-10-10 or 10-20-20 formula. Excessive nitrogen during fruit set will result in lush foliage but hollow, flavorless melons. Ensure your mix includes trace amounts of boron and magnesium; these micronutrients are essential for pollen tube elongation and chlorophyll synthesis.
Timing:
Sugar Baby watermelons are highly sensitive to thermal fluctuations. They thrive in Hardiness Zones 3 through 11, but the planting window is dictated strictly by soil temperature. Do not transplant or sow until the soil consistently maintains 70 degrees Fahrenheit (21 degrees Celsius) at a depth of four inches.
The biological clock of this cultivar is divided into two distinct periods: the vegetative phase and the reproductive phase. The vegetative phase lasts approximately 35 to 45 days, during which the plant focuses on biomass accumulation and solar interception. The transition to the reproductive stage is triggered by the photoperiod and heat accumulation, measured in Growing Degree Days (GDD). In cooler northern climates, using black plastic mulch can artificially accelerate this clock by increasing soil heat absorption by 5 to 10 degrees.
Phases:

Sowing
Direct sowing is preferred to avoid root disturbance. Plant seeds 1 inch deep in hills spaced 4 feet apart. If starting indoors, use peat or coco-coir pots that can be planted directly into the ground to protect the fragile root architecture.
Pro-Tip: Soak seeds in room temperature water for 2 hours prior to planting to soften the seed coat. This accelerates the imbibition process, which is the physical absorption of water that triggers metabolic activity and speeds up germination by 24 to 48 hours.
Transplanting
If you must transplant, wait until the seedling has at least two true leaves. Handle the root ball with extreme care to prevent "transplant shock," which can stall growth for up to two weeks.
Pro-Tip: Apply a mycorrhizal inoculant to the planting hole. This creates a symbiotic relationship between the roots and beneficial fungi, effectively increasing the surface area of the root system by up to 100 times for better phosphorus uptake.
Establishing
During the first three weeks, focus on "anchoring" the plant. The primary taproot can descend 4 to 6 feet into the soil if unobstructed. Ensure the soil remains consistently moist but never saturated to prevent anaerobic conditions in the root zone.
Pro-Tip: Pinch off the first few flower buds if the plant is less than 12 inches long. This redirects energy toward vegetative growth and root establishment through a process called auxin suppression, ensuring the plant has enough leaf area to support heavy fruit later.
The Clinic:
Physiological disorders often mimic infectious diseases. Monitoring the plant's structural integrity is vital.
- Blossom End Rot: This appears as a leathery, dark spot on the base of the fruit. It is caused by a calcium deficiency within the fruit tissue, often triggered by inconsistent watering rather than a lack of calcium in the soil.
- Splitting Rinds: This occurs when a heavy rain follows a dry spell. The internal turgor pressure increases faster than the rind can expand. Maintain a consistent irrigation schedule to prevent this.
- Nitrogen Chlorosis: If older leaves turn pale yellow while veins remain green, the plant is scavenging nitrogen for new growth. Solution: Apply a water-soluble high-nitrogen fertilizer (like fish emulsion) at the base of the plant immediately.
- Poor Fruit Set: If flowers drop without forming fruit, the temperature may be exceeding 95 degrees Fahrenheit, which can sterilize pollen. Use shade cloths to drop the ambient temperature during heat waves.
Maintenance:
Precision irrigation is the most critical factor in melon development. Provide 1.5 inches of water per week delivered at the drip line. Avoid overhead watering; moisture on the foliage encourages fungal pathogens like powdery mildew. Use a soil moisture meter to verify that the top 6 inches of soil are moist but not waterlogged.
Weed management must be aggressive but shallow. Use a hori-hori knife to slice weeds just below the soil surface. Do not cultivate deeply near the base of the watermelon, as the lateral roots stay within the top 2 to 4 inches of soil. Pruning is generally not required for Sugar Babies, but if space is limited, use bypass pruners to remove secondary runners, leaving the primary vine to focus energy on two or three melons.
The Yield:
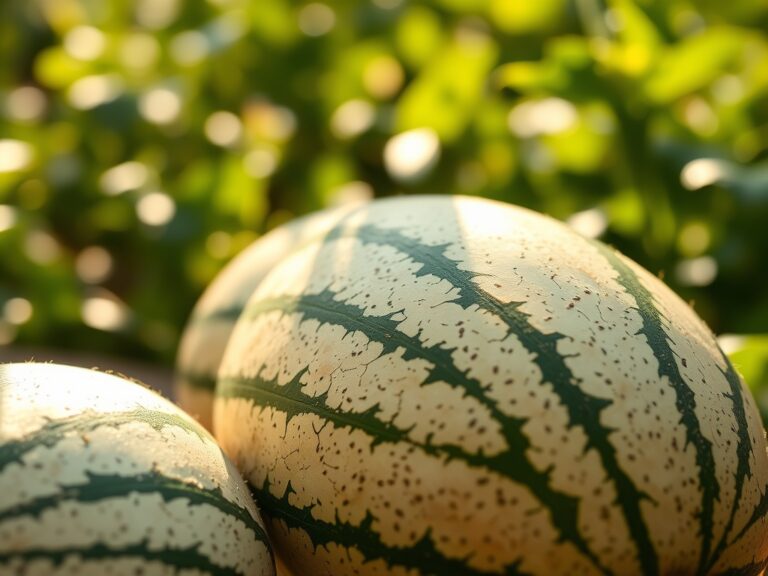
Harvesting a Sugar Baby too early results in a starchy, cucumber-like flavor; harvesting too late leads to mealy flesh. Look for three specific physiological markers. First, the tendril closest to the fruit attachment point must be completely brown and shriveled. Second, the "ground spot" (where the melon rests on the earth) should transition from white to a creamy yellow. Finally, give the melon a firm rap with your knuckles; a dull, thudding sound indicates the internal cells are saturated with sugar and water.
Use a sharp knife to cut the stem, leaving 2 inches of vine attached to the fruit. This prevents moisture loss and entry of pathogens through the stem end. For "day-one" freshness, move the fruit immediately to a cool, shaded area. Sugar Babies can be stored at 50 to 60 degrees Fahrenheit for up to two weeks, but their sugar content will not increase once detached from the vine.
FAQ:
How much sun do Sugar Baby watermelons need?
They require a minimum of 8 to 10 hours of direct solar radiation daily. Full sun exposure is necessary for the photosynthesis required to produce the high sugar concentrations (brix levels) found in the fruit.
Why are my watermelons small?
Small fruit size usually results from insufficient nitrogen during the vegetative stage or competition from too many fruits on one vine. Limit each plant to two or three melons to maximize the size and quality of the yield.
Can I grow Sugar Baby watermelons in containers?
Yes, provided the container holds at least 10 gallons of substrate. Use a sturdy trellis and mesh slings to support the weight of the fruit, as the vines will naturally attempt to climb or trail.
How often should I fertilize?
Apply a balanced fertilizer every 2 to 3 weeks until the first fruit reaches the size of a tennis ball. Afterward, switch to a high-potassium formula to enhance fruit sweetness and structural integrity.
What is the best way to prevent pests?
Maintain high plant vigor through proper nutrition and irrigation. Use physical barriers like floating row covers early in the season to exclude beetles, removing them only when flowers appear to allow for insect pollination.