6 Prevention Steps to Identify and Prevent Leaf Light Burn
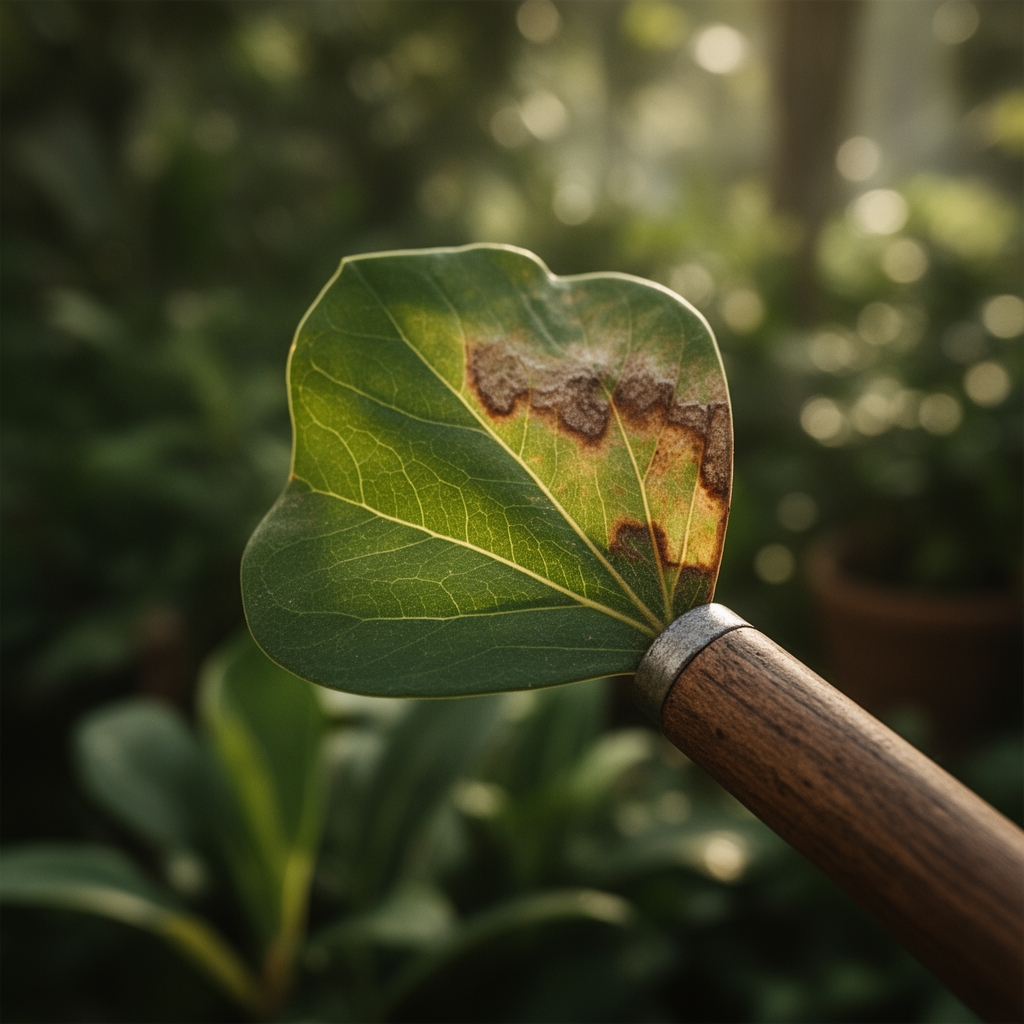
The browning edges crept in overnight. What began as a hopeful morning check of your fiddle-leaf fig transformed into the discovery of bleached, papery tissue along the upper canopy. These are the early steps for identifying light burn on houseplant leaves: pale yellow or white patches on foliage closest to the window, crispy margins that crumble under gentle pressure, and a gradient of damage that intensifies toward the light source. Unlike nutrient deficiencies that spread uniformly, light burn creates distinct geographic patterns dictated by photon exposure.
Materials
Successful prevention requires understanding your substrate's buffering capacity and nutrient profile. Use a soilless mix with a pH range of 5.8 to 6.3 for most tropical houseplants. The ideal base contains 40% peat or coco coir, 30% perlite, 20% composted bark, and 10% worm castings. Supplement with a balanced organic amendment at 4-4-4 NPK ratio to support cellular repair without promoting excessive foliar growth that increases transpiration demand.
For light management, acquire a quantum sensor or lux meter capable of measuring photosynthetically active radiation. Target ranges vary: 100 to 200 foot-candles for low-light genera like Pothos, 200 to 400 for Philodendron, and 400 to 800 for Ficus species. Install adjustable sheer curtains with 40% to 60% light transmission factors. Keep a spray bottle filled with distilled water and a clean microfiber cloth for immediate intervention.
Mycorrhizal fungi inoculant (Glomus species) applied at 0.25 ounces per gallon of substrate improves the root system's efficiency in extracting water and minerals, reducing stress when light conditions fluctuate.
Timing
Light burn risk peaks during spring equinox through summer solstice when solar declination angles increase and day length extends beyond 14 hours. In USDA Hardiness Zones 3 through 7, the window from April 15 to August 31 demands vigilance. Southern and western exposures experience maximum risk between 11:00 AM and 4:00 PM.
Rotate houseplants every 14 days during this high-risk window to distribute photon load evenly across the canopy. For recently purchased specimens, acclimate over a 21-day period by incrementally increasing light exposure by 50 foot-candles every seven days.
Phases

Observation Phase
Establish a morning inspection routine at 8:00 AM before solar intensity peaks. Examine upper leaves positioned within 24 inches of glass surfaces. Look for chlorophyll bleaching that appears as faded green transitioning to cream. Touch leaf surfaces; excessive heat retention indicates thermal stress compounding photoinhibition.
Check stomatal function by observing water droplet behavior. Guttation occurring after dawn suggests healthy hydraulic pressure. Its absence paired with wilting indicates compromised xylem transport from light-induced desiccation.
Pro-Tip: Place your palm between the light source and foliage for 30 seconds. If you feel pronounced warmth, the plant experiences damaging infrared radiation beyond visible spectrum concerns.
Intervention Phase
Upon detecting initial symptoms, immediately relocate the specimen 36 to 48 inches away from the window or install filtering material. Remove severely damaged leaves at a 45-degree angle using sterilized pruning shears to prevent pathogen entry and redirect auxin distribution toward healthy tissue.
Increase ambient humidity to 55% to 65% using a cool-mist humidifier positioned 6 feet from foliage to support transpiration recovery without promoting fungal colonization. Apply diluted seaweed extract at 1 tablespoon per gallon as a foliar spray during evening hours. The cytokinin compounds stimulate repair mechanisms in photosystem II complexes.
Pro-Tip: Add 0.5% silica solution to your irrigation water for three consecutive waterings. Silicon deposition in epidermal cells increases UV and heat tolerance by 23% according to trials on Spathiphyllum species.
Recovery Phase
Maintain the adjusted light regime for 45 to 60 days while monitoring new growth. Measure chlorophyll content using a SPAD meter; readings should stabilize at 35 to 45 units for healthy tissue. Resume normal positioning only after three consecutive leaves emerge without symptoms.
Reduce nitrogen inputs during recovery to prevent tender growth with thin cuticle layers. Switch to a 3-1-2 NPK ratio emphasizing phosphorus for root development and potassium for stomatal regulation.
Pro-Tip: Inoculate the rhizosphere with Trichoderma harzianum at transplant to enhance stress tolerance through improved cation exchange capacity and nutrient cycling efficiency.
Troubleshooting
Symptom: White bleached patches with brown borders appearing within 48 hours.
Solution: Acute photoinhibition from sudden exposure increase. Move plant to indirect light. Apply shade cloth rated at 50% reduction for two weeks.
Symptom: Yellowing progressing from margins inward over 10 to 14 days.
Solution: Chronic low-grade stress compounded by insufficient watering. Increase irrigation frequency to maintain substrate moisture at 40% to 60% capacity. Verify drainage holes are unobstructed.
Symptom: Curling leaves with crispy texture but no color change.
Solution: Thermal damage from radiative heating. Reduce temperature differential by improving air circulation with a fan set to low speed 8 feet from plants.
Symptom: Brown spots surrounded by yellow halos on sun-exposed sides only.
Solution: Secondary infection through light-damaged tissue. Apply copper fungicide at 0.5% concentration every seven days for three applications.
Maintenance
Water to achieve 1 inch of moisture penetration measured at root ball center using a moisture probe. For a 6-inch pot, this equals approximately 10 fluid ounces every 5 to 7 days depending on temperature and humidity.
Fertilize every 28 days during active growth with a complete formula at one-quarter manufacturer's recommended strength. Excess salts accumulate in containers, increasing osmotic stress that compounds light damage.
Clean leaf surfaces monthly using a solution of 1 teaspoon castile soap per quart of water to remove dust that reduces photosynthetic efficiency by up to 30%. Wipe gently to avoid damaging epicuticular wax layers.
FAQ
What foot-candle measurement causes leaf burn?
Damage thresholds vary by species. Shade-adapted plants show injury above 800 foot-candles, while succulents tolerate 2000 foot-candles or more.
Can burned leaves recover their green color?
No. Chlorophyll destruction is permanent. Remove damaged tissue or allow natural abscission to redirect resources to new growth.
How quickly does light burn develop?
Acute cases manifest within 6 to 12 hours of excessive exposure. Chronic damage accumulates over weeks.
Does window glass filter damaging wavelengths?
Standard glass blocks UVB but transmits UVA and visible spectrum photons that still cause photoinhibition and heat stress.
Should I increase fertilizer after light damage?
No. Reduce nitrogen by 50% during recovery to avoid stimulating vulnerable new growth with insufficient cuticle development.