6 Steps to Build a Wooden Bridge Over Low Areas
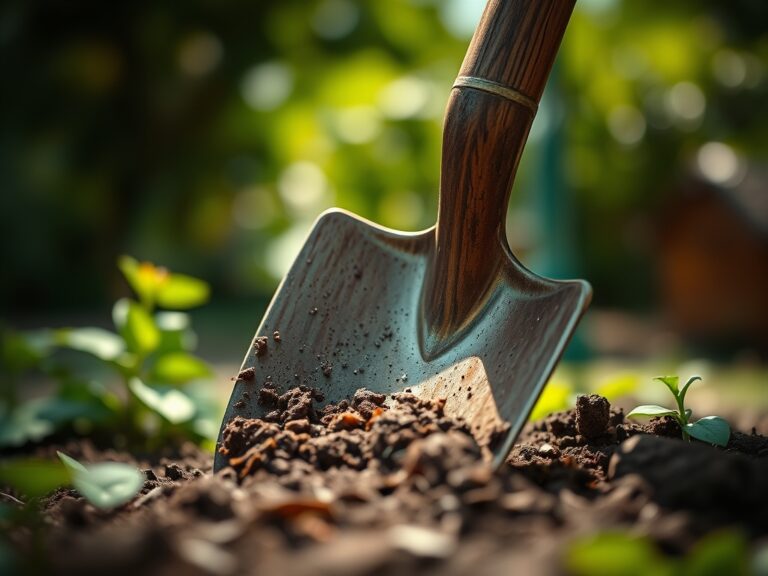
Damp earth exudes a sharp scent of geosmin when the soil reaches a saturation point in low-lying garden swales. This moisture indicates a high water table where root turgor pressure is often compromised by anaerobic conditions. Navigating these stagnant zones requires structural intervention to prevent soil compaction in the rhizosphere. Implementing the correct steps for building a garden bridge allows for foot traffic without collapsing the delicate pore spaces of the substrate below. A bridge serves as a functional bypass; it preserves the integrity of the fungal networks and prevents the mechanical crushing of crown tissue in moisture-loving perennials. By elevating the path, you maintain the gas exchange necessary for root respiration while providing a stable vantage point to monitor the phenological stages of the surrounding flora.
Materials:
Construction begins with the ground beneath the footings. The ideal substrate for bridge anchors is a **friable loam** with a high sand content to facilitate drainage. If the area is prone to standing water, the Cation Exchange Capacity (CEC) is secondary to structural stability. However, the surrounding plantings require a soil pH between **6.0 and 6.8** to ensure nutrient bioavailability.
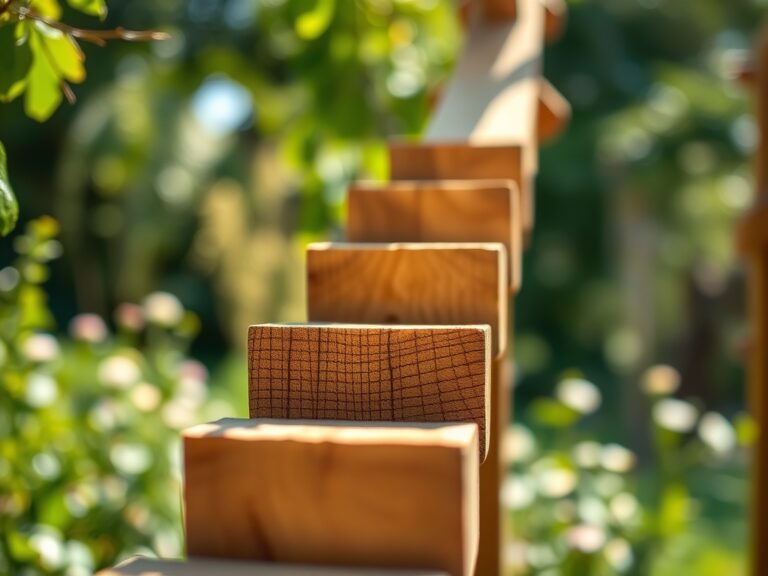
For the wood components, select pressure-treated timber or naturally rot-resistant species like Western Red Cedar or Black Locust. These materials resist the decay fungi that thrive in high-humidity microclimates. Use 304 or 316 grade stainless steel fasteners to prevent galvanic corrosion. If you are planting around the bridge, incorporate a slow-release fertilizer with an NPK ratio of 10-10-10 into the backfill. This balanced ratio supports initial root establishment without forcing excessive succulent growth that is susceptible to frost damage.
Timing:
The installation window is dictated by the local frost-free date and the soil's moisture content. In Hardiness Zones 5 through 7, construction should occur during the late dormant season or early spring before the "Biological Clock" triggers the transition from vegetative dormancy to active bud break. Attempting to build during the peak of the spring thaw leads to severe soil compaction.
Soil temperatures must be above 45 degrees Fahrenheit for proper compaction of the footing base. If you are integrating the bridge into a new landscape, time the project so that heavy construction is completed before the photoperiod reaches 12 hours. This ensures that any surrounding transplants have a full season to develop a robust root system before the stress of summer transpiration or winter senescence.
Phases:

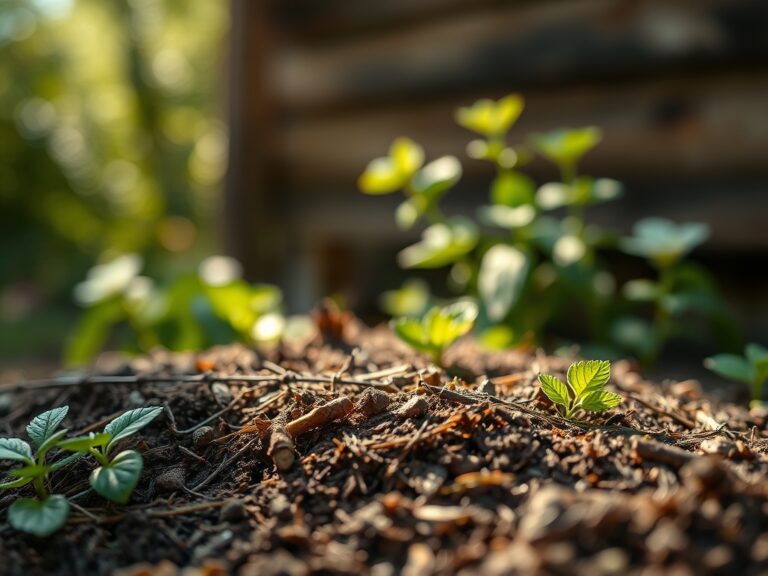
Sowing the Foundation
Excavate two parallel trenches on opposite sides of the low area. These must be deep enough to reach below the local frost line; typically 18 to 24 inches in temperate climates. Fill the base with 4 inches of compacted 3/4-inch minus crushed stone. This layer acts as a capillary break, preventing moisture from wicking into the wooden sills.
Pro-Tip: Proper drainage at the footing prevents "heaving." This is a biological necessity because excessive soil moisture around the wood promotes the growth of Basidiomycota fungi, which break down lignin and compromise the bridge's structural integrity.
Transplanting the Stringers
The stringers are the primary load-bearing beams. Cut two 2×12 boards to the desired span, adding a slight 5-degree arch if aesthetic curvature is required. Secure these to the foundation sills using heavy-duty galvanized carriage bolts. Ensure the beams are level; an uneven bridge creates localized pressure points that can lead to wood fatigue over time.
Pro-Tip: When positioning the bridge, avoid blocking sunlight to low-growing groundcovers. Prolonged shading can trigger auxin suppression, leading to etiolated (leggy) growth as plants struggle to reach the light source.
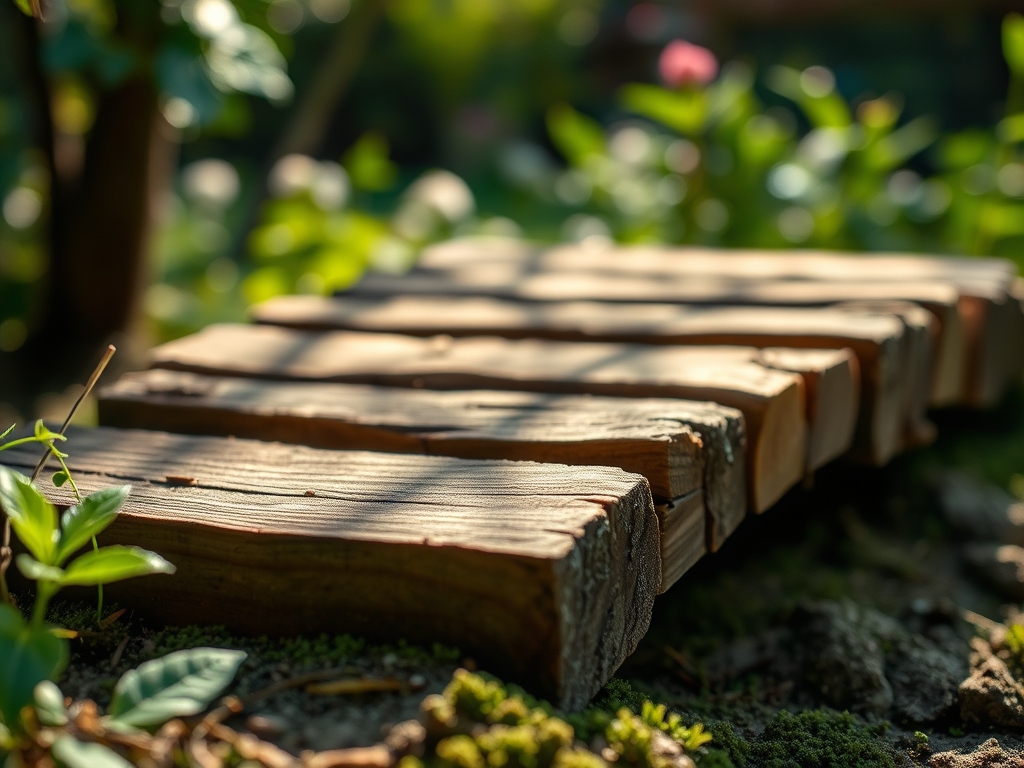
Establishing the Decking
Install 2×6 or 5/4-inch decking boards perpendicular to the stringers. Maintain a 1/8-inch gap between boards to allow for wood expansion and to ensure debris does not trap moisture against the grain. Secure each board with two screws at every joist intersection.
Pro-Tip: Leave the wood unfinished for 30 days to allow the moisture content to stabilize. This prevents the "cupping" of boards, a physical reaction to uneven drying rates between the top and bottom surfaces of the timber.
The Clinic:
Physiological disorders in the garden often manifest near water features where drainage is poor. Monitor the surrounding vegetation for these symptoms:
- Iron Chlorosis: Interveinal yellowing on new leaves. This occurs when high soil pH or waterlogging prevents iron uptake. Solution: Apply chelated iron and improve drainage around the bridge footings.
- Root Rot (Phytophthora): Wilting despite wet soil and a foul odor from the root zone. Solution: Remove infected plants and increase the sand content in the soil to improve aeration.
- Edema: Small, corky bumps on the undersides of leaves. This is caused by the plant absorbing more water than it can transpire. Solution: Reduce supplemental irrigation during periods of high humidity.
Fix-It for Nitrogen Chlorosis: If older leaves turn a uniform pale green, the plant lacks nitrogen. Apply a quick-release high-N fertilizer (20-10-10) to restore chlorophyll production and stimulate vegetative vigor.
Maintenance:
A garden bridge requires biannual inspections to ensure the surrounding ecosystem remains balanced. Use a soil moisture meter to verify that the area under the bridge is not becoming a "dead zone" of bone-dry soil or a stagnant pool. Vegetation should be kept 6 inches away from the wooden structure to allow for airflow.
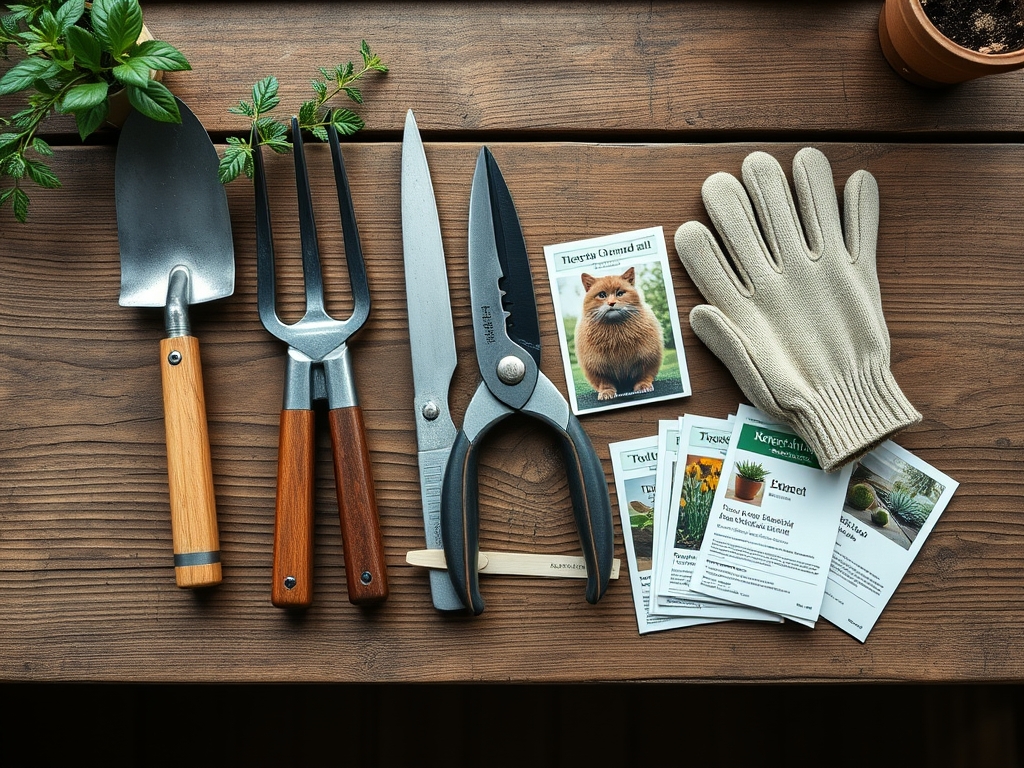
Prune encroaching branches using bypass pruners to maintain a clean cut that heals quickly. For weeding around the footings, a hori-hori knife is the superior tool for extracting deep taproots without disturbing the structural backfill. Ensure the area receives at least 1.5 inches of water per week at the drip line of surrounding shrubs, even if the low area looks wet; the bridge itself can create a "rain shadow" that starves plants of natural precipitation.
The Yield:
If your bridge spans a decorative edible garden, harvest timing is critical for nutrient density. For leafy greens, harvest in the early morning when turgor pressure is at its peak. This ensures the cell walls are fully hydrated, providing a crisp texture. Use a sharp blade to make a clean cut above the basal plate to encourage "cut and come again" regrowth. For post-harvest longevity, immediately submerge the stems in 40-degree Fahrenheit water to remove field heat and slow the rate of respiration. This technique preserves the sugars and vitamins within the plant tissue for maximum freshness.
FAQ:
What is the best wood for a garden bridge?
Select Western Red Cedar, Redwood, or Black Locust. These species contain natural tannins and oils that resist rot. For budget-conscious builds, use UC4A grade pressure-treated lumber rated for ground contact to ensure a lifespan exceeding 15 years.
How do I prevent the bridge from being slippery?
Apply a non-slip grit additive to your wood sealer or install tactile strips. Algae growth thrives in shaded, damp conditions; regular cleaning with a mild oxygen bleach solution removes the organic film without altering the soil pH of the rhizosphere.
Do I need concrete footings for a small bridge?
For spans under 6 feet, compacted gravel footings are often sufficient. For longer spans, concrete piers provide the necessary resistance to lateral movement. Ensure concrete is poured below the frost line to prevent seasonal shifting caused by ice lens formation.
How wide should a garden bridge be?
A minimum width of 36 inches is standard for single-person passage. If you intend to move equipment like wheelbarrows or garden carts, increase the width to 48 inches. This provides enough clearance to prevent mechanical damage to the bridge rails.