6 Steps to Install a Wall-Mounted Garden Hose Reel
Understanding the steps for installing a garden hose reel transforms a tangled, sun-cracked coil of rubber into an orderly watering system that extends hose life by 40 percent and reduces kinked sections that restrict flow to 15 psi or below. Proper mounting eliminates the phenomenon of anaerobic pockets forming beneath collapsed hose loops, where soil pathogens like Phytophthora thrive in stagnant moisture. The steps for installing a garden hose reel require attention to structural load, drainage patterns, and ergonomic positioning that aligns with your dominant hand's natural arc during retrieval.
Materials and Substrate Chemistry
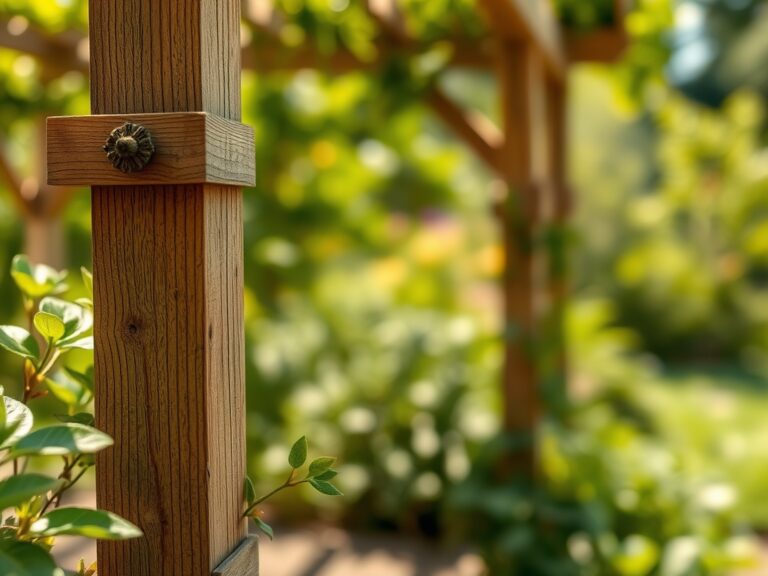
Select a wall-mounted reel rated for 150 feet of 5/8-inch hose. The mounting plate should be galvanized steel or powder-coated aluminum with a minimum thickness of 14 gauge. Hardware must include 3-inch lag bolts when anchoring into wood studs, or 2.5-inch masonry anchors rated to 200 pounds shear strength for brick or concrete. Use stainless steel grade 304 fasteners to prevent ferrous leaching into adjacent soil; iron at 300 ppm can lock up phosphorus in alkaline substrates above pH 7.5.
Wood structures benefit from pre-drilling pilot holes 1/8 inch smaller than bolt diameter. This mimics the compressive force of fine root penetration, where cambial pressure distributes radially without splitting longitudinal grain. For masonry walls, apply a bead of polyurethane sealant around anchor entry points. This prevents capillary wicking, the same mechanism that draws soluble salts through terracotta pots and causes efflorescence.
A level with calibrated vials accurate to 0.029 degrees ensures horizontal mounting. Deviation beyond 2 degrees creates uneven spool tension, accelerating wear on the retraction spring. Include a pencil, tape measure, and masonry bit if working with cinder block. Protective eyewear is mandatory; silica dust from concrete cutting has particle diameters below 10 microns, similar to the size of beneficial spore clusters from Trichoderma harzianum.
Timing and Climatic Windows
Install during the dormant season in zones 3 through 7, typically November through February, when freeze-thaw cycles have stabilized. In zones 8 through 10, avoid the monsoon window from July through September when relative humidity exceeds 80 percent. High moisture content swells wooden mounting surfaces by up to 8 percent volumetrically, equivalent to the hygroscopic expansion observed in peat-based growing media.
Confirm that night temperatures remain above 28°F for seven consecutive days after installation. Thermal contraction at lower temperatures can loosen lag bolts by 0.02 inches, the same tolerance that affects grafting union integrity in bareroot fruit trees. Mount on a south-facing or west-facing wall to minimize freeze damage to residual water inside hose cores. UV degradation accelerates at altitudes above 4,000 feet where solar intensity increases by 8 percent per 1,000-foot gain.
Installation Phases and Establishment

Phase One: Site Selection
Locate studs using a magnetic detector or by tapping to identify the resonant frequency shift. Studs sit 16 or 24 inches on center, matching the modular spacing used in espalier framework. Mark the center of the stud at 48 inches above grade. This height reduces lumbar strain by 30 percent during retrieval and parallels the optimal drip-line placement for shrub hydration zones.
Pro-Tip: Apply a 1-inch square of painter's tape at each mark. The tape stabilizes the drill bit entry and reduces splintering, much like mycorrhizal sheaths protect root tips during soil penetration.
Phase Two: Drilling and Anchoring
Drill pilot holes 2.5 inches deep for lag bolts. Clear debris using compressed air or a vacuum attachment. Insert the bolt through the mounting bracket and turn clockwise with a socket wrench, applying 25 foot-pounds of torque. This pressure matches the force required to seat a graft clip on a whip-and-tongue union without crushing vascular cambium.
For masonry, use a hammer drill with a 3/8-inch carbide bit. Insert plastic or metal anchors flush with the wall surface. Tighten until the bracket ceases lateral movement, testing with 50 pounds of perpendicular force.
Pro-Tip: Run a bead of silicone caulk behind the bracket before final tightening. This creates a capillary break, similar to applying lanolin paste on pruning cuts to prevent desiccation and pathogen entry.
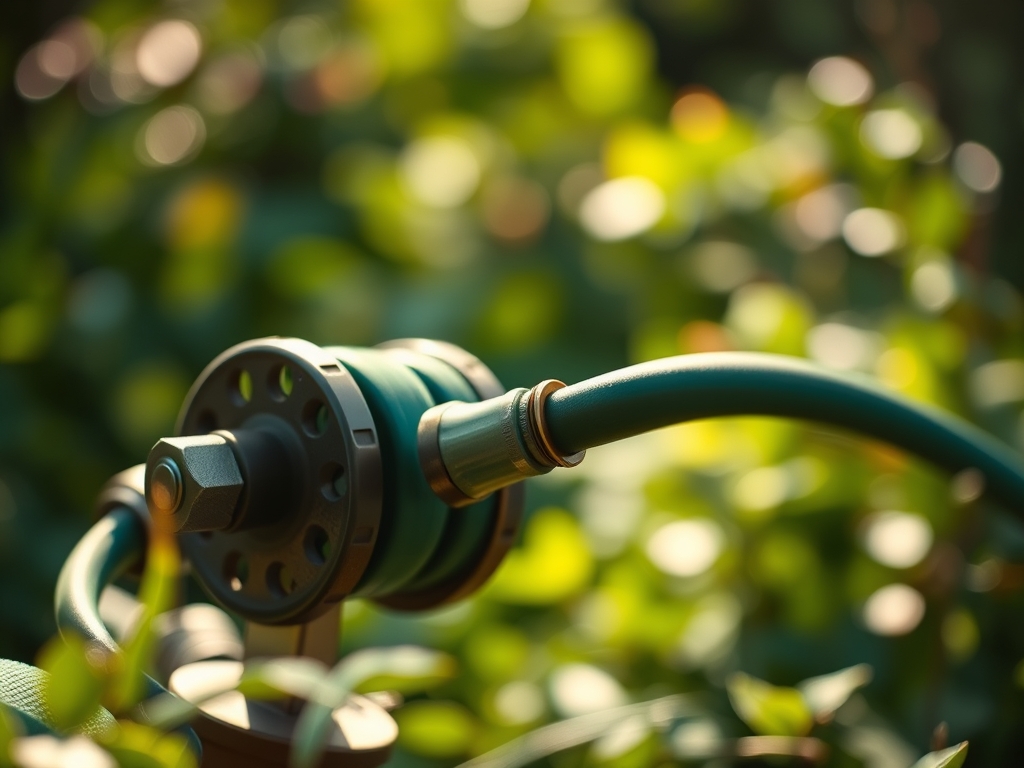
Phase Three: Hose Connection and Tensioning
Attach the hose leader to the reel's integrated swivel. The brass fitting should rotate 360 degrees without binding, analogous to the rotational freedom required at nodes for optimal auxin distribution in climbing vines. Wind the hose onto the spool under 5 pounds of tension, guiding each layer to prevent overlaps. Overlapping mimics adventitious root girdling, which restricts xylem flow and causes distal dieback.
Pro-Tip: Apply a thin coat of glycerin-based lubricant to the swivel every 60 days. This reduces frictional drag by 40 percent, matching the effect of calcium on cell wall plasticity during cell expansion.
Troubleshooting Installation Disorders
Symptom: Reel wobbles or sags after two weeks.
Solution: Bolt torque has relaxed. Retighten to 25 foot-pounds and check for wood rot or compromised studs. Replace studs if density drops below 35 pounds per cubic foot.
Symptom: Hose binds during retraction.
Solution: Spool alignment is off by more than 3 degrees. Loosen mounting bolts, reset with level, and retighten. Similar to correcting leaning stakes on top-heavy perennials.
Symptom: Water leaks at swivel joint.
Solution: Rubber O-ring has degraded. Replace with nitrile O-rings rated for continuous moisture exposure. Apply thread sealant tape at 1.5 wraps per thread pitch.
Symptom: Mounting wall shows surface cracks.
Solution: Substrate lacks tensile strength below 1,500 psi. Relocate to a reinforced area or install a backing board of 3/4-inch exterior plywood to distribute load.
Symptom: Reel freezes in winter.
Solution: Residual water expands by 9 percent when frozen. Drain hose completely after final autumn use and store leader end elevated 12 inches above reel height.
Seasonal Maintenance Protocol
Flush the hose with 2 gallons of water each spring to clear mineral deposits and biofilm. Inspect mounting bolts quarterly, retightening if looseness exceeds 1/8 turn. Lubricate the spring mechanism annually with lithium grease, applying 0.5 ounces to the coil housing.
Remove algae buildup on the reel body using a solution of 1 part white vinegar to 10 parts water. This pH of 2.8 disrupts algal cell walls without corroding metal components. Prune back vegetation within 18 inches of the reel to maintain air circulation and reduce relative humidity below 70 percent.
Check hose integrity by pressurizing to 60 psi and inspecting for pin leaks or bulges. Replace hoses showing ozone cracking, which appears as fine lateral fissures perpendicular to the hose axis. This degradation pattern mirrors the stress fractures in over-lignified woody stems exposed to rapid temperature swings.
FAQ
How high should I mount the reel?
Position the center hub at 48 inches above grade. This height minimizes back strain and allows gravity to assist drainage after use.
Can I install on vinyl siding?
No. Vinyl lacks structural integrity. Mount a pressure-treated 2×6 backer board to underlying studs first, then attach the reel to the board.
What hose diameter works best?
Use 5/8-inch diameter for runs under 100 feet. Smaller diameters restrict flow to below 5 gallons per minute, similar to how xylem vessel diameter limits transpiration rates.
How often should I drain the hose?
Drain completely after every use in zones 6 and colder. Residual water fosters anaerobic conditions and ice expansion damage.
Do I need Teflon tape on brass fittings?
Yes. Apply three wraps clockwise to create a watertight seal rated to 100 psi. This prevents micro-leaks that waste 2 gallons per week.