7 Steps to Build a Custom Vertical Growing Trellis
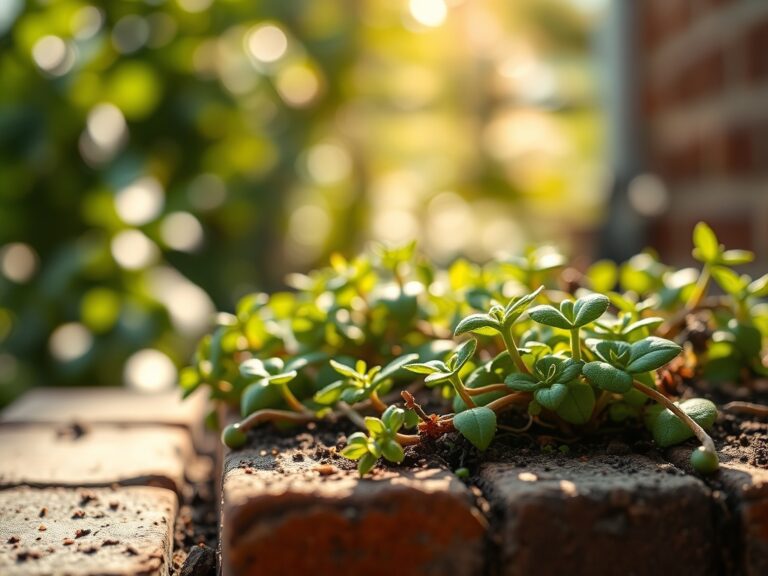
The scent of rain-soaked cedar mingles with the sharp chlorophyll tang of freshly crushed tomato leaves. A well-built vertical trellis transforms a struggling sprawl of vines into an ordered, sun-capturing lattice. Steps for building a garden trellis demand precision in material selection, structural engineering, and an understanding of plant biomechanics. This guide focuses on custom vertical systems designed for vigorous climbers such as indeterminate tomatoes, pole beans, cucurbits, and perennial vines.
Materials
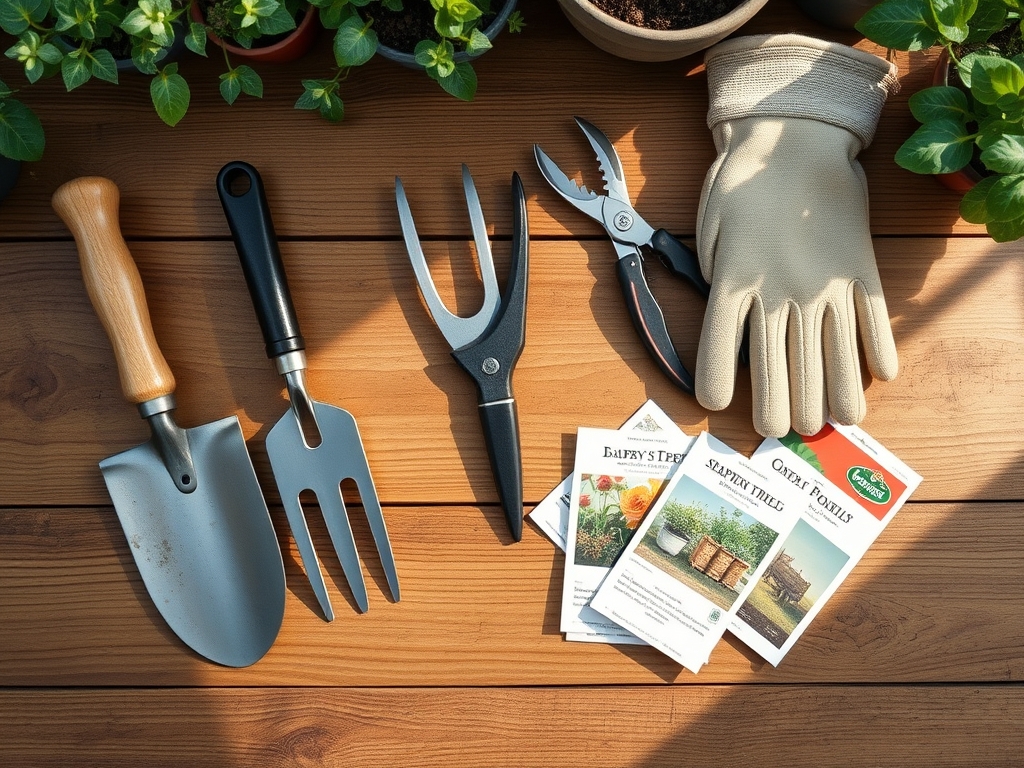
Lumber forms the skeleton. Use rot-resistant species: black locust, cedar heartwood, or pressure-treated Southern yellow pine rated for ground contact. Avoid creosote-treated posts near edibles. For a 6-foot tall structure, select 4×4-inch posts cut to 8 feet to allow 24 inches of burial depth. Cross-members require 2×4-inch dimensional lumber in 6- to 8-foot lengths.
Fasteners must resist corrosion. Hot-dipped galvanized or stainless steel screws rated at 3 inches provide shear strength. Avoid zinc-plated hardware; it fails within two seasons under irrigation exposure.
Netting or wire completes the climbing surface. Polypropylene mesh in 6-inch squares suits annuals. For perennials, 14-gauge galvanized steel wire strung horizontally at 12-inch intervals bears fruit weight without sagging. Wire tensioners prevent auxin distribution problems caused by vine droop.
Soil amendments anchor root health. Prior to post installation, broadcast a 4-4-4 organic meal blend at 2 pounds per 100 square feet. This ratio supports mycorrhizal fungi colonization. Dolomitic lime adjusts pH to 6.2-6.8, optimizing cation exchange capacity for nutrient uptake.
Timing
Hardiness Zones dictate construction windows. In Zones 3-5, install posts after the final frost date when soil temperature reaches 50 degrees F at 6-inch depth. Frost heave damages shallow footings. Zones 6-8 allow autumn construction from late September through October, permitting wood weathering before spring planting. Zones 9-11 experience minimal frost, making December through February ideal for avoiding summer heat stress during heavy labor.
Coordinate trellis completion with transplant schedules. Tomatoes require trellising within 14 days of hardening off. Pole beans demand support at the two-true-leaf stage, approximately 10 days post-germination.
Phases

Step 1: Site Selection and Layout
Choose a north-south orientation to maximize bilateral sun exposure. Mark post locations with stakes spaced 6 to 8 feet apart. Use a builder's level to confirm grade. A 2-degree slope prevents waterlogging at the base.
Pro-Tip: Dig post holes to 30 inches in clay soils to penetrate the frost line. Line each hole with 4 inches of pea gravel to enhance drainage and prevent anaerobic conditions that rot untreated wood.
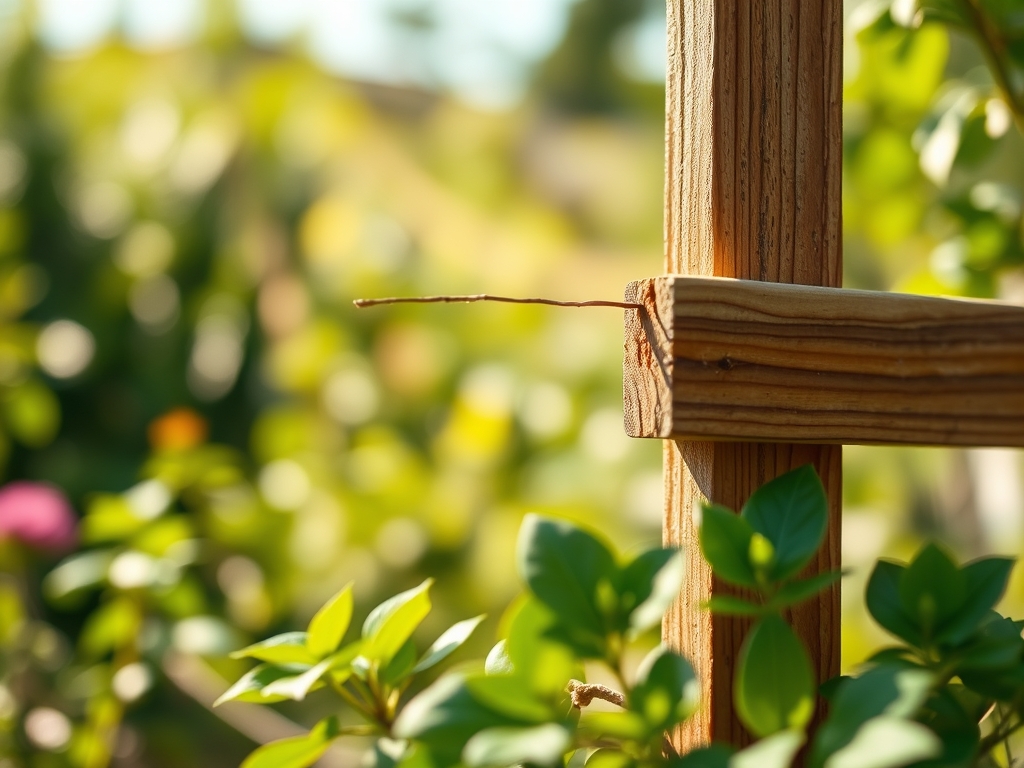
Step 2: Post Installation
Set posts plumb using a 48-inch level on two adjacent faces. Backfill holes with native soil tamped in 6-inch lifts. Add water between lifts to eliminate air pockets. Concrete footings add stability in sandy loam but impede future relocation.
Pro-Tip: Coat the buried portion of untreated posts with copper naphthenate wood preservative. This fungicide extends service life to 12 years without leaching harmful compounds into root zones.
Step 3: Cross-Member Attachment
Fasten horizontal 2x4s at 24-inch vertical intervals. Begin 12 inches above grade to allow air circulation beneath foliage, reducing foliar disease pressure. Pre-drill screw holes to prevent splitting.
Pro-Tip: Angle cross-members 5 degrees upward from the post face. This slight tilt sheds rain away from joints, minimizing water infiltration and decay.
Step 4: Wire or Netting Installation
String wire through screw eyes installed at 12-inch horizontal spacing. Maintain 40 pounds of tension using inline ratchet tensioners. For netting, staple at 18-inch intervals along the top cross-member. Secure the bottom edge to a ground stake to prevent billowing in wind.
Pro-Tip: Apply diatomaceous earth to wire surfaces before planting. This abrasive silica discourages soft-bodied pests like aphids without harming beneficial insects.
Step 5: Soil Preparation at Base
Incorporate 2 inches of aged compost into a 24-inch-wide planting strip along the trellis base. Inoculate with endomycorrhizal fungi at 1 tablespoon per planting hole. These fungi extend root reach by 10 times, accessing phosphorus bound in soil colloids.
Pro-Tip: Side-dress with a 5-10-10 granular fertilizer two weeks post-transplant to support reproductive bud initiation without excessive vegetative growth.
Step 6: Plant Training and Attachment
Guide seedlings to the trellis using soft jute twine. Tie figure-eight loops to avoid girdling stems as they expand. Redirect lateral shoots toward open mesh squares to maximize light interception.
Pro-Tip: Prune indeterminate tomatoes to a single leader when they reach 18 inches. Remove suckers at a 45-degree angle 1/4 inch above the node to promote rapid wound closure.
Step 7: Seasonal Reinforcement
Inspect fasteners monthly. Retighten wire tensioners if sag exceeds 1 inch over a 6-foot span. Replace frayed netting before peak fruiting to prevent crop loss.
Pro-Tip: At season's end, spray posts with a 1:9 bleach solution to eliminate overwintering fungal spores. This reduces early blight (Alternaria solani) incidence by 60% the following year.
Troubleshooting
Symptom: Posts lean after three seasons.
Solution: Excavate to 18 inches and install a 12-inch diameter concrete collar. Ensure the collar sits below the frost line.
Symptom: Wire sags under fruit load.
Solution: Upgrade to 12-gauge wire. Add a center support post if spans exceed 10 feet. Tensioners must maintain minimum 35 pounds of force.
Symptom: Vines grow horizontally instead of vertically.
Solution: Inadequate auxin distribution signals poor apical dominance. Increase nitrogen with blood meal at 1/2 cup per plant. Prune competing lateral shoots weekly.
Symptom: Wood splits at screw joints.
Solution: Pre-drill pilot holes at 70% of screw shank diameter. Apply exterior wood glue to joint faces before fastening.
Symptom: Cucumber beetles congregate on new growth.
Solution: Spray kaolin clay at 2 tablespoons per quart of water. The particle film disrupts insect feeding behavior without residue concerns.
Maintenance
Water plants at the trellis base with 1 inch per week, delivered through drip irrigation placed 6 inches from stems. Deep watering encourages roots to penetrate below the tillage layer, accessing subsoil moisture reserves.
Fertilize every 21 days with fish emulsion diluted to 1 tablespoon per gallon. Foliar application at dawn allows stomatal uptake before temperatures exceed 75 degrees F.
Prune diseased foliage within 6 hours of symptom appearance. Disinfect shears between cuts using a 10% bleach solution to prevent pathogen transmission.
Mulch the base with 3 inches of shredded hardwood bark to suppress weeds and stabilize soil temperature. Maintain a 4-inch gap between mulch and plant stems to deter rodent nesting.
FAQ
How deep should I bury trellis posts?
Bury posts to one-third their total length. For an 8-foot post, excavate 30 inches to ensure stability against wind shear and frost heave.
Can I use bamboo instead of lumber?
Bamboo culms 2 inches in diameter work for annual crops. Treat with borax solution (1 cup per gallon) and cure for 6 weeks to prevent insect boring.
What spacing suits pole beans versus tomatoes?
Beans require 4-inch centers along wire strands. Tomatoes need 24-inch spacing to accommodate pruning and airflow for disease suppression.
How long does a cedar trellis last?
Untreated cedar heartwood resists decay for 15 to 20 years. Sapwood degrades within 7 years. Select heartwood by its darker color and tighter grain.
Should I remove the trellis in winter?
Leave structures in place. Seasonal removal stresses joints and accelerates wear. Instead, inspect annually and replace compromised components before spring planting.