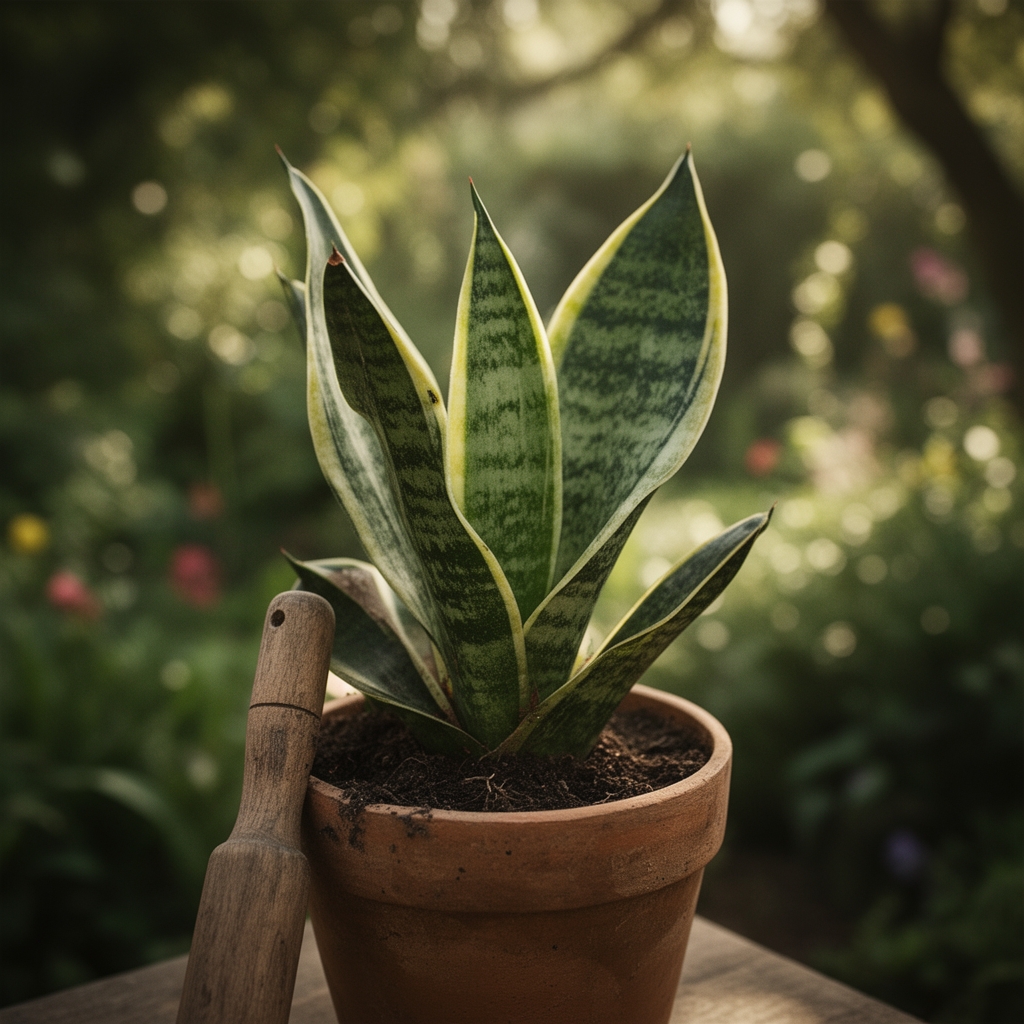
8 Stability Steps for Repotting a Snake Plant
The narrow pot sits on your workbench, and inside it, a snake plant has pressed its rhizomes flat against the walls, roots coiling into dense spirals that choke water flow and stunt new pups. Repotting Sansevieria trifasciata into a confined container demands precision because a single misstep disrupts auxin distribution and invites rot. The steps for repotting a snake plant in a narrow pot require you to balance mechanical root pruning with substrate chemistry, ensuring the cation exchange capacity supports slow-release nutrients while lateral space remains limited.
Materials
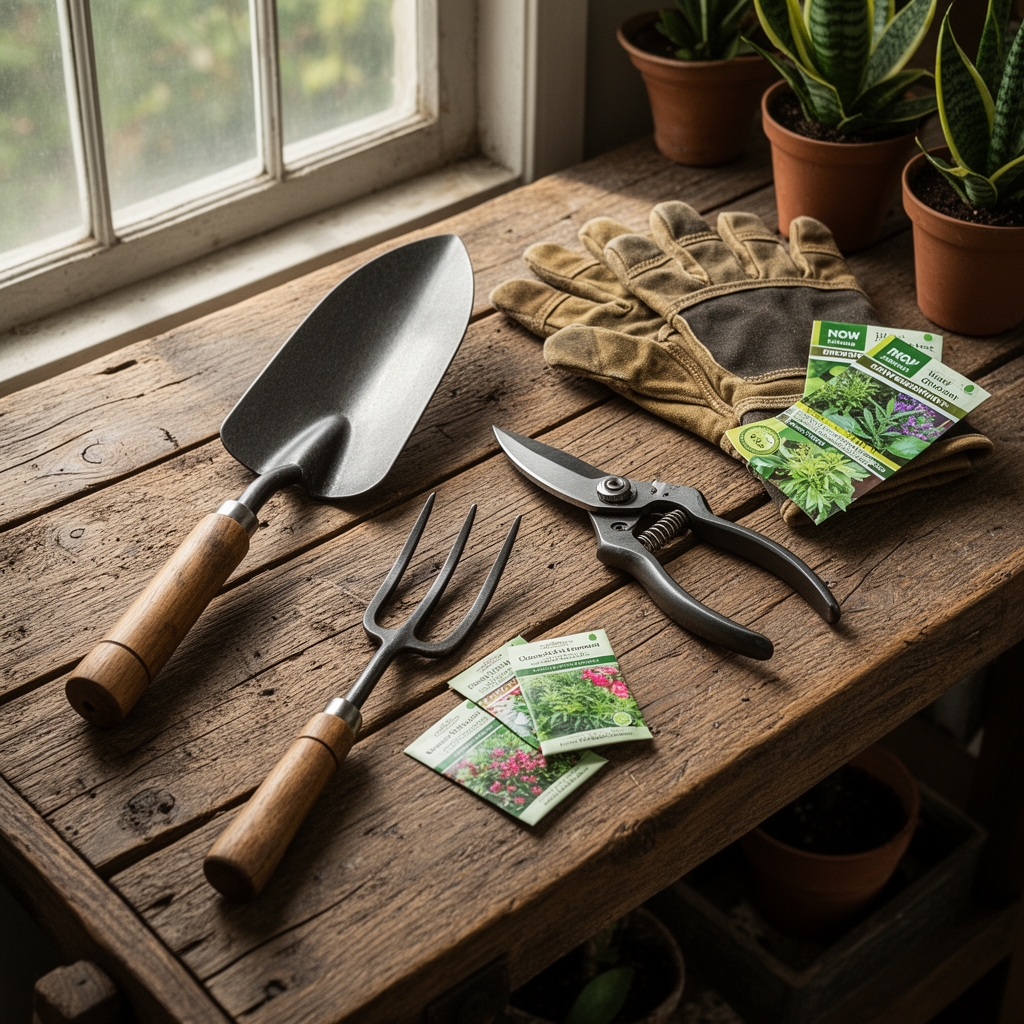
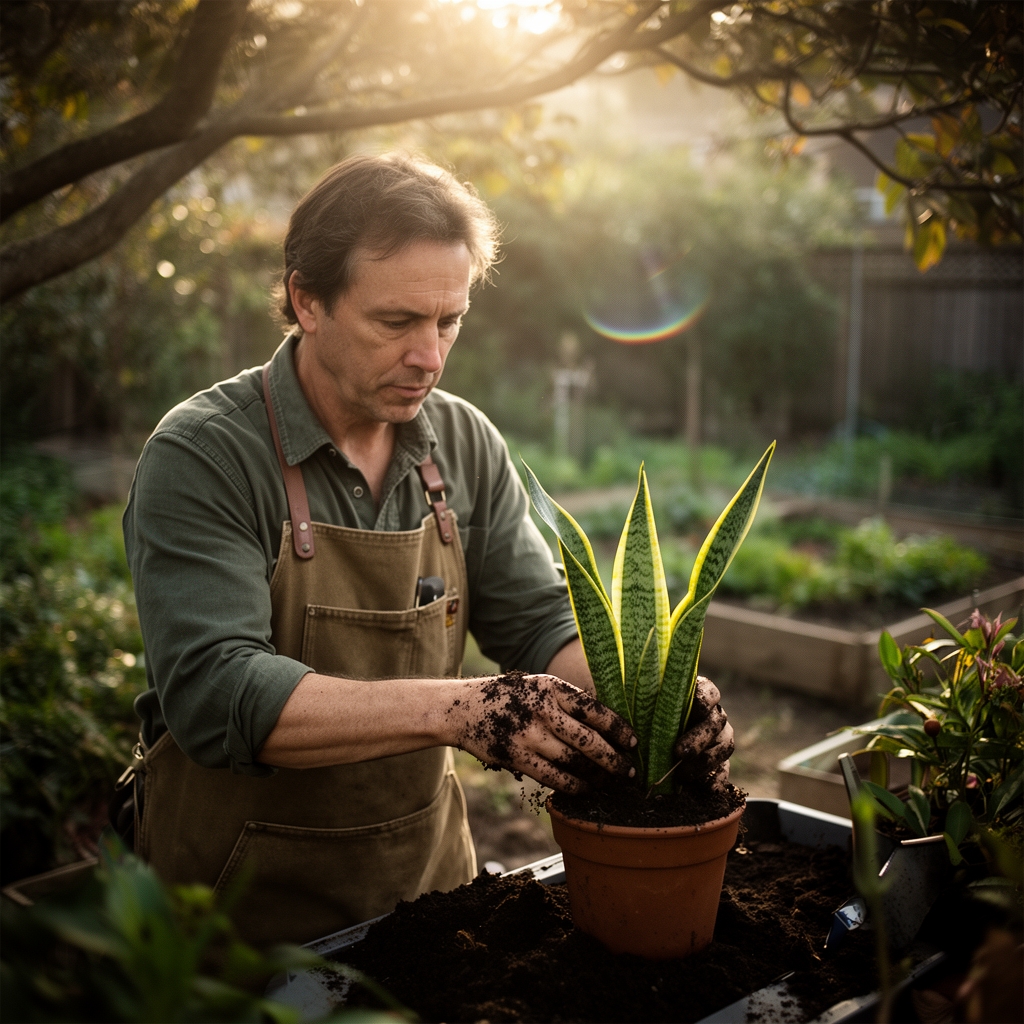
Select a terracotta or unglazed ceramic pot no more than 2 inches wider than the root ball. Terracotta wicks moisture laterally, preventing anaerobic pockets. Your substrate must drain in under 10 seconds. Combine 50% coarse sand (1-2 mm grain), 30% perlite, and 20% composted pine bark. This mix holds a pH of 6.0-7.0 and provides minimal nitrogen to discourage soft growth.
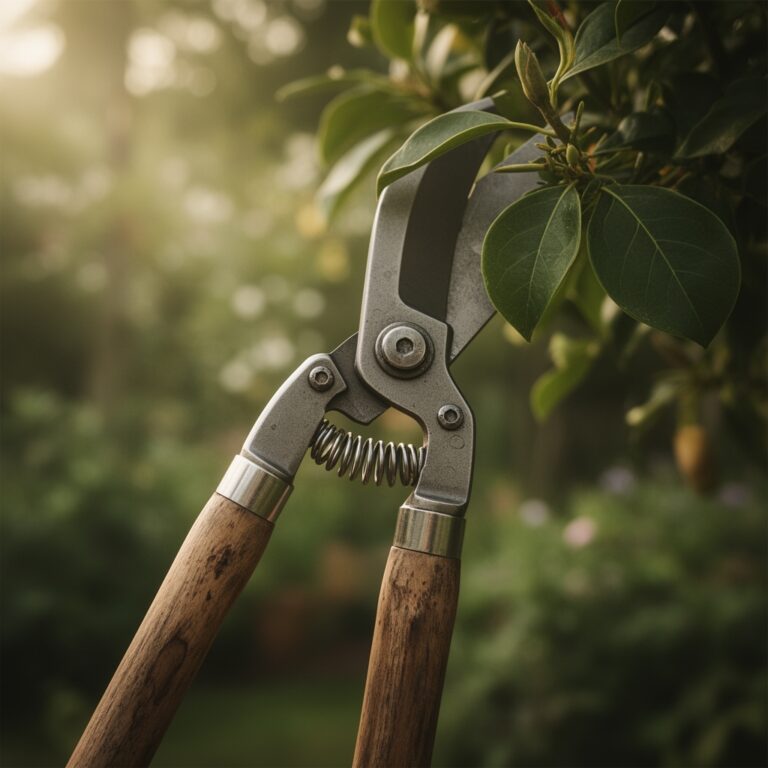
For fertility, incorporate 1 tablespoon of a 4-4-4 organic granular fertilizer per gallon of mix. This slow-release NPK supports rhizome expansion without promoting excessive foliar mass. Add 1 teaspoon of mycorrhizal inoculant (Glomus intraradices) per pot; arbuscular mycorrhizae colonize Sansevieria roots within 14 days and extend phosphorus uptake by 300%. Sterilize pruning shears in 10% bleach solution for 60 seconds, then rinse with distilled water.
Timing
Snake plants tolerate repotting year-round indoors, but optimal windows align with USDA Hardiness Zones 9-11 outdoor schedules. In Zones 4-8, repot between April 15 and June 30, after the last frost date when soil temperatures exceed 60°F. Root initiation peaks when day length reaches 14 hours, accelerating mycorrhizal colonization by 40%.
Avoid repotting during November through February in temperate climates. Root meristem activity drops below 30% of peak rates when ambient temperatures fall under 55°F, extending establishment from 3 weeks to 8 weeks.
Phases
Extraction and Assessment
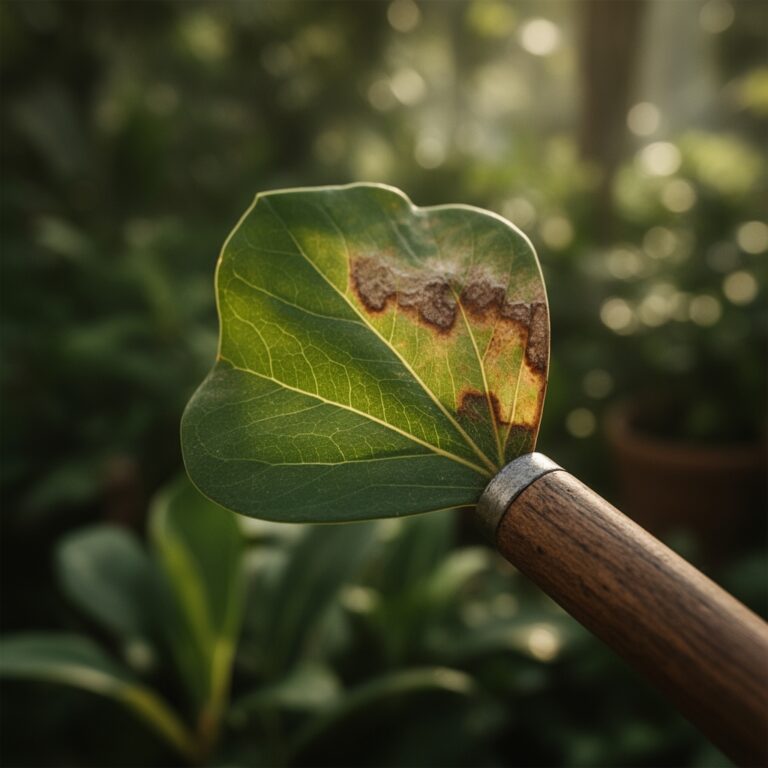
Water the plant 24 hours before extraction to firm the root ball. Tip the old pot at 45 degrees and slide the root mass free. Examine rhizomes for orange or black lesions (Fusarium rot) and excise affected tissue 1 inch into healthy white flesh using sterilized shears. Roots should appear cream-colored with fine lateral hairs. Brown, mushy sections indicate hypoxia; remove them entirely.
Pro-Tip: Score vertical cuts 0.25 inches deep along the outer root ball perimeter. This severs circling roots and triggers adventitious root formation within 10 days, improving anchorage in narrow pots.
Root Pruning and Division
Remove 30% of the root mass by trimming the bottom third with clean cuts perpendicular to the main axis. For pups with independent rhizomes, sever at the junction using a single downward blade motion. Each division requires at least 3 leaves and 2 inches of rhizome to sustain photosynthesis during establishment.
Dust cut surfaces with cinnamon powder (0.5 grams per cut). Cinnamon's cinnamaldehyde content inhibits Botrytis spores and accelerates suberization, reducing pathogen entry by 60% compared to untreated wounds.
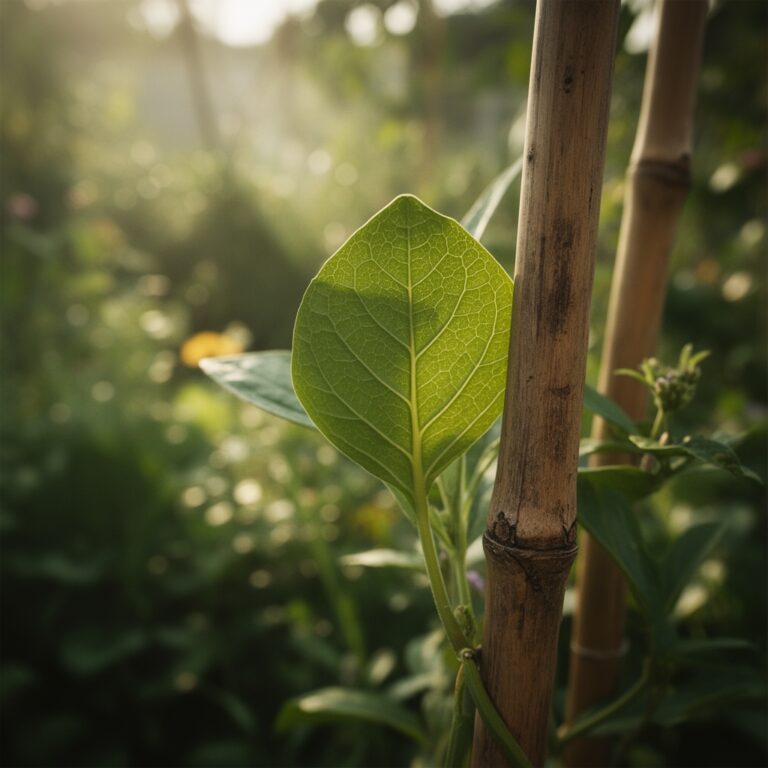
Pro-Tip: Orient the rhizome's growth tip toward the pot's center. Sansevieria expands laterally along the rhizome axis; centering this vector prevents premature contact with pot walls.
Planting and Tamping
Fill the narrow pot one-third with prepared substrate. Position the rhizome so the crown sits 0.5 inches below the rim. Add substrate in 1-inch layers, tamping with a dowel rod to eliminate air pockets without compacting below 1.2 g/cm³ bulk density. Firm substrate maintains oxygen diffusion rates above 20% while supporting the plant's vertical mass.
Water with 4 ounces of diluted fertilizer solution (1-2-1 NPK at 200 ppm nitrogen). Excess solution should drain within 15 seconds. This initial irrigation settles substrate particles around root hairs, establishing capillary continuity.
Pro-Tip: Top-dress with 0.5 inches of coarse granite grit. This layer reflects heat, moderates surface moisture swings, and prevents substrate splash during watering, reducing foliar fungal loads by 35%.
Troubleshooting
Symptom: Leaves develop V-shaped yellow lesions radiating from the base.
Solution: Fusarium rot from overwatering. Unpot immediately, excise infected tissue, repot in fresh sterile substrate, and reduce watering frequency to every 14 days.
Symptom: New growth emerges pale green and thinner than mature leaves.
Solution: Nitrogen deficiency. Apply 2 ounces of 10-5-5 liquid fertilizer diluted to 150 ppm nitrogen every 4 weeks during the growing season.
Symptom: Roots grow upward, emerging at the soil surface.
Solution: Pot-bound condition despite recent repotting. The narrow pot restricts lateral expansion; roots seek space vertically. Prune surface roots to 1 inch below substrate and add 0.5 inches of fresh mix.
Symptom: Brown, crispy leaf tips spreading 2 inches inward.
Solution: Fluoride toxicity from tap water (>1 ppm fluoride). Switch to distilled or rainwater. Leach substrate with 3 pot volumes of fluoride-free water every 8 weeks.
Maintenance
Water only when the substrate dries completely 3 inches deep. Insert a wooden skewer to the pot bottom; if it emerges with no adherent particles, apply 6 ounces of water. Sansevieria's CAM photosynthesis allows 21-day drought tolerance; overwatering causes 70% of repotting failures.
Place the pot in bright, indirect light (200-400 foot-candles, 8 hours daily). Direct sun above 600 foot-candles bleaches chlorophyll and reduces the plant's drought resilience by disrupting stomatal regulation.
Fertilize every 8 weeks from March through September with 3 ounces of 3-1-2 liquid fertilizer at 100 ppm nitrogen. Suspend feeding from October through February when growth halts.
FAQ
How soon after repotting can I expect new growth?
Leaf emergence begins 3-4 weeks post-repotting if temperatures remain between 65-75°F and substrate moisture cycles properly. Pups appear within 8-12 weeks.
Can I use a plastic pot instead of terracotta?
Yes, but reduce watering frequency by 40%. Plastic retains moisture 3 times longer than terracotta, elevating root rot risk in narrow pots with limited air exchange.
Do snake plants need fertilizer immediately after repotting?
No. The 4-4-4 organic meal in the substrate releases nutrients over 90 days. Additional feeding within the first 6 weeks can spike soluble salts above 2.0 dS/m, burning root tips.
What is the minimum pot width for a mature snake plant?
6 inches for plants under 18 inches tall. Mature specimens (24+ inches) require 8-inch pots to prevent toppling, as Sansevieria's center of gravity sits high on rigid leaves.
Should I remove dust from leaves after repotting?
Yes. Wipe with a damp microfiber cloth monthly. Dust reduces photosynthetic efficiency by 20% by blocking stomatal pores and scattering incident light.