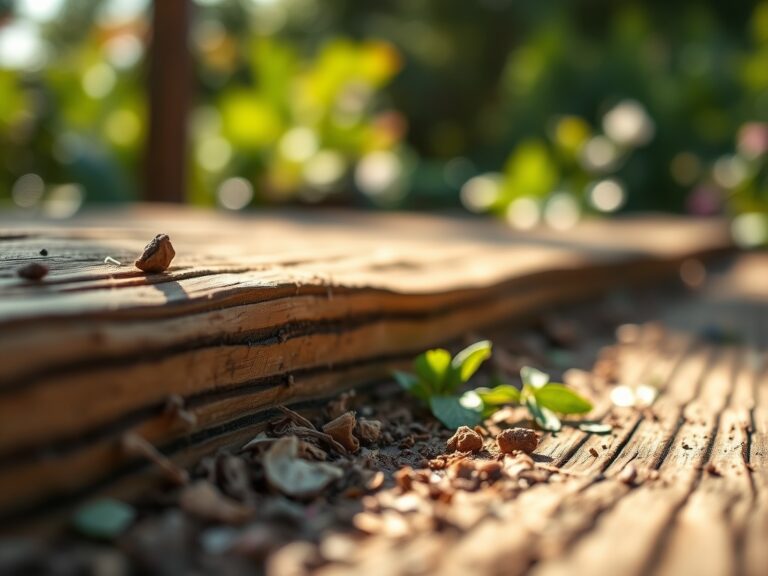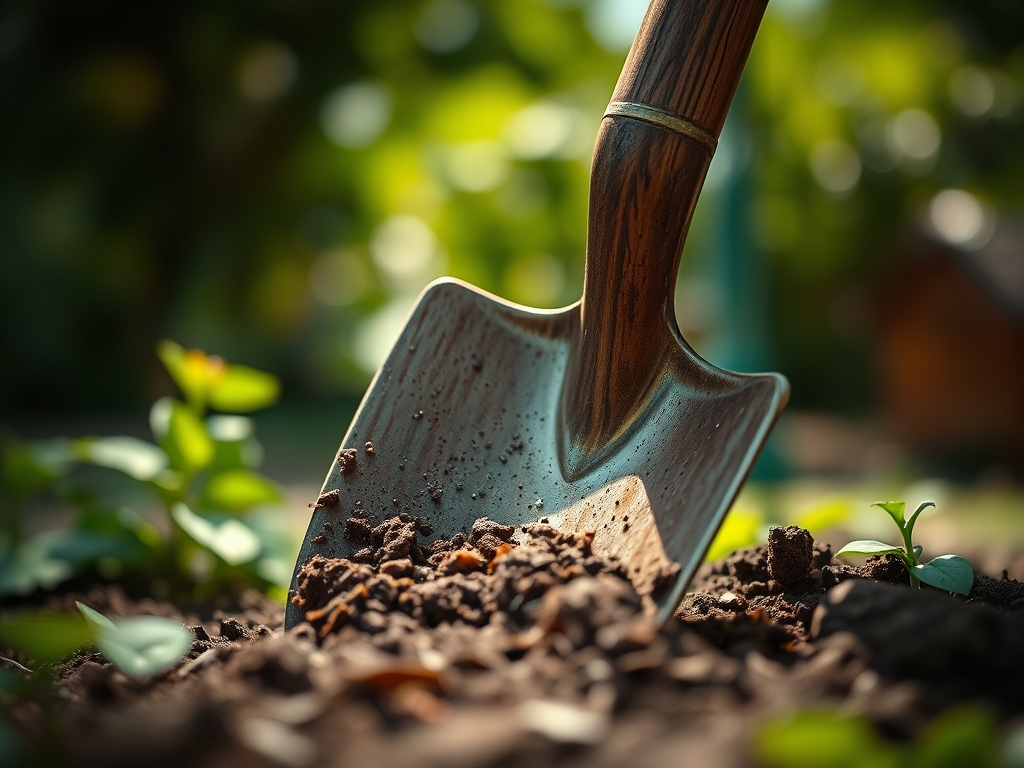
8 Tips to Use a Pointed Shovel for Heavy-Duty Projects
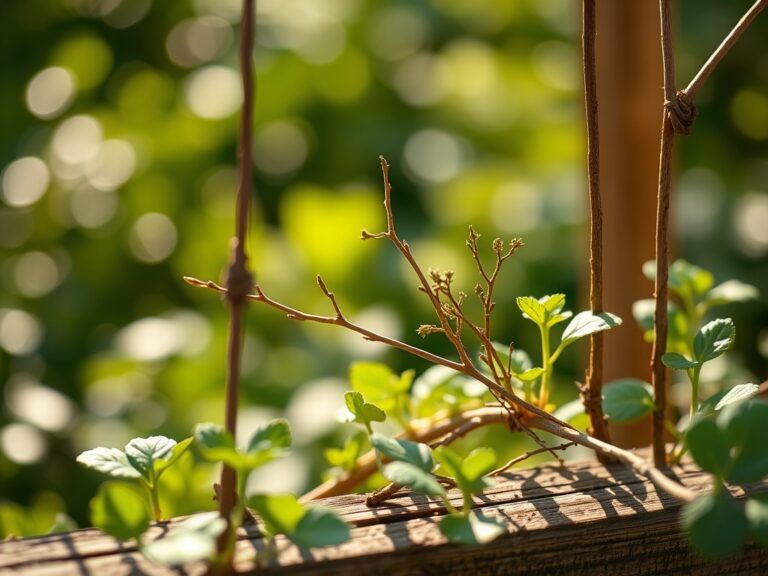
The smell of damp earth after a rain is more than a pleasant aroma; it is the scent of geosmin released by soil bacteria as the moisture increases the turgor pressure of the surrounding plant life. Achieving this state of botanical health requires precision tools and physical leverage. Using a shovel for garden projects is not merely a task of manual labor but an exercise in soil mechanics and rhizosphere management. A pointed shovel, specifically a round-point with a forward-turned step, acts as a primary lever for disrupting compacted clay or slicing through dense root mats. When the steel blade meets the resistance of a 15 pound per square inch soil density, the angle of entry determines the success of the excavation. Mastering this tool allows a gardener to manipulate the subterranean environment without causing excessive compaction or destroying the delicate mycorrhizal networks essential for nutrient uptake. Success begins with understanding the physics of the blade and the biological requirements of the substrate being moved.
Materials:
Heavy-duty excavation requires a substrate that supports both mechanical stability and biological activity. The ideal medium is a **friable loam**, characterized by a composition of approximately **40 percent sand, 40 percent silt, and 20 percent clay**. This balance ensures a high Cation Exchange Capacity (CEC), typically ranging from **15 to 25 meq/100g**, which allows the soil to retain essential nutrients like ammonium and potassium.
Before using a shovel for garden projects, verify the soil pH. Most ornamental and vegetable crops thrive in a range of 6.0 to 7.0. For heavy-duty planting, prepare the area with specific NPK ratios based on the growth stage. A 10-10-10 balanced fertilizer provides a baseline, but for establishing root systems in new excavations, a 5-10-5 ratio is preferred to prioritize phosphorus for root development over nitrogen for foliage. The soil must be moist enough to hold its shape when squeezed but dry enough to crumble under the pressure of the shovel blade.
Timing:
Timing your excavation is critical to avoid damaging the soil structure. In Hardiness Zones 4 through 7, the primary window for heavy-duty shoveling opens once the frost has receded at least 12 inches below the surface. Attempting to use a shovel on frozen ground destroys the tool and leads to "puddling," where soil aggregates collapse and prevent aeration.
The biological clock of the plant dictates the urgency. For perennials and woody shrubs, the optimal time is during dormancy or early spring, before the transition from vegetative to reproductive stages. This timing minimizes the risk of transplant shock, as the plant is not actively diverting energy to flowering or fruit production. In Zones 8 through 10, avoid heavy digging during the peak summer heat when soil temperatures exceed 85 degrees Fahrenheit, as this can lead to rapid moisture loss in the rhizosphere.
Phases:

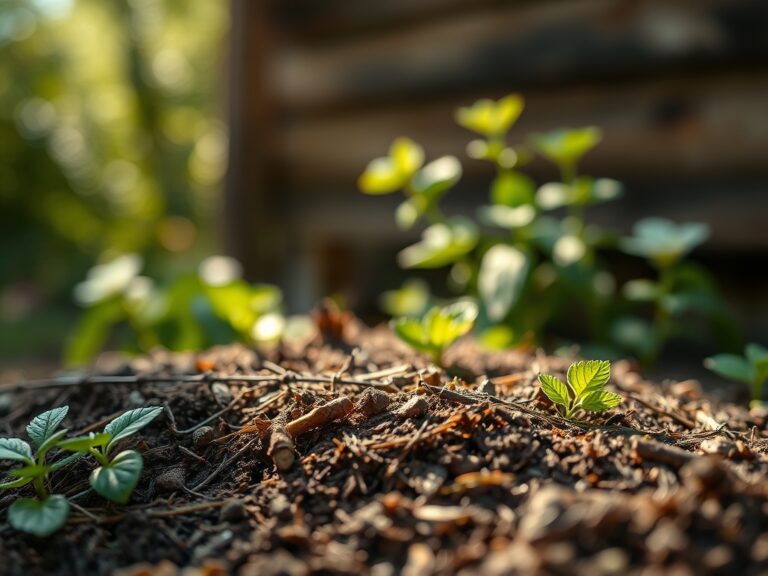
Sowing and Preparation
When preparing a site for large-scale sowing, the pointed shovel is used for "double digging." This involves removing the top 12 inches of soil and loosening the subsequent 12 inches. This process increases the pore space for oxygen, which is vital for cellular respiration in germinating seeds.
Pro-Tip: Maintaining high oxygen levels in the soil prevents anaerobic conditions. This supports mycorrhizal symbiosis, where beneficial fungi colonize roots to extend their reach for phosphorus and water.
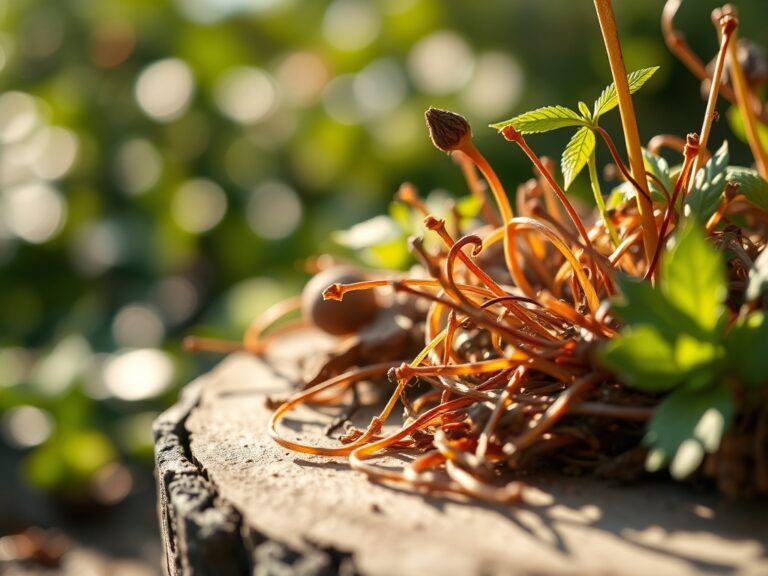
Transplanting
To move a large specimen, use the shovel to cut a vertical circle around the drip line. This preserves the majority of the root ball. The pointed tip allows for precise "root pruning," which stimulates the production of lateral roots. Ensure the new hole is twice as wide as the root ball but no deeper than the original planting depth.
Pro-Tip: Proper depth prevents the burial of the root flare. If the flare is buried, it suppresses auxin transport, a hormone necessary for regulating root and shoot growth, leading to stunted development or death.
Establishing
Once the plant is in place, use the shovel to backfill with a mixture of native soil and organic matter. Avoid tamping the soil down with excessive force. Instead, use the shovel handle to gently settle the earth. This preserves the macropores required for water infiltration.
Pro-Tip: Preserving soil structure facilitates phototropism. When a plant has a stable, well-aerated root base, it can more efficiently orient its foliage toward light sources to maximize photosynthetic rates.
The Clinic:
Physiological disorders often manifest when soil conditions are poorly managed during the digging process. Observe the root structure in the step-by-step photos below to identify potential issues.
Symptom: Interveinal chlorosis (yellowing between leaf veins) on new growth.
Solution: This indicates an Iron deficiency, often caused by high pH levels (above 7.5) or compacted soil that limits root respiration. Use the shovel to aerate the perimeter and incorporate elemental sulfur to lower pH.
Symptom: Leaf senescence and dropping of lower foliage.
Solution: This is a classic sign of Nitrogen chlorosis. The plant is scavenging nitrogen from old growth to support new leaves. Fix this by top-dressing with a high-nitrogen fertilizer (e.g., 21-0-0) and lightly working it into the top 2 inches of soil.
Symptom: Wilting despite moist soil.
Solution: This suggests Root Rot (Phytophthora). Compacted soil from improper shovel use has eliminated oxygen. Use a soil moisture meter to confirm and improve drainage by incorporating coarse organic matter.
Maintenance:
A successful project requires ongoing monitoring. Use a soil moisture meter to ensure the root zone receives exactly 1.5 inches of water per week at the drip line. For woody plants, use bypass pruners to remove any dead or crossing branches that could sap energy from the establishment phase.
Keep your shovel sharp. A dull blade requires more force, which increases the risk of soil compaction. Use a mill file to maintain a 45-degree bevel on the edge of the blade. For smaller tasks, a hori-hori knife is the professional choice for weeding and planting small bulbs without disturbing the surrounding soil structure. Clean all tools with a 10 percent bleach solution after use to prevent the spread of soil-borne pathogens.
The Yield:
For projects involving edible crops or cut flowers, the yield is the ultimate metric of success. Harvest most vegetables in the early morning when turgor pressure is at its peak. This ensures the cell walls are fully hydrated, providing the best texture and shelf life. For flowers, cut stems at a 45-degree angle and immediately submerge them in 110-degree Fahrenheit water to remove air bubbles from the xylem. This technique, known as "conditioning," maintains "day-one" freshness by ensuring uninterrupted water transport to the bloom.
FAQ:
How do I prevent soil compaction when using a shovel?
Place a wide wooden board on the soil surface to distribute your body weight. This prevents the collapse of soil macropores, which are essential for gas exchange and water infiltration within the rhizosphere.
What is the best way to cut through thick roots?
Keep the shovel blade sharpened to a 45-degree angle. Position the tip directly over the root and apply vertical pressure using your leg muscles. For roots larger than 2 inches, use a dedicated root saw.
Can I use a shovel to mix soil amendments?
Yes. Use a "turning" motion to incorporate organic matter into the top 8 to 12 inches. Ensure the amendments are distributed evenly to maintain a consistent Cation Exchange Capacity across the entire planting bed.
How deep should I dig for a new shrub?
Dig the hole two to three times wider than the root ball but no deeper. This allows roots to spread horizontally into loosened soil while ensuring the root flare remains at the proper oxygenated level.