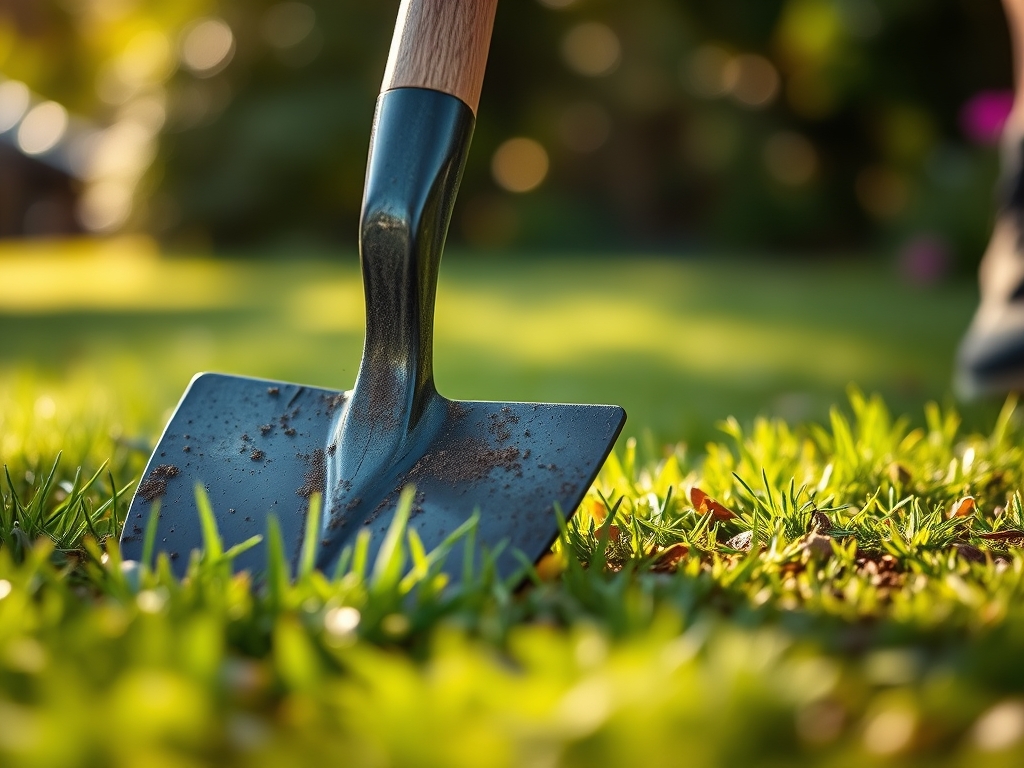
8 Tips to Use a Straight-Edge Spade for Professional Edging
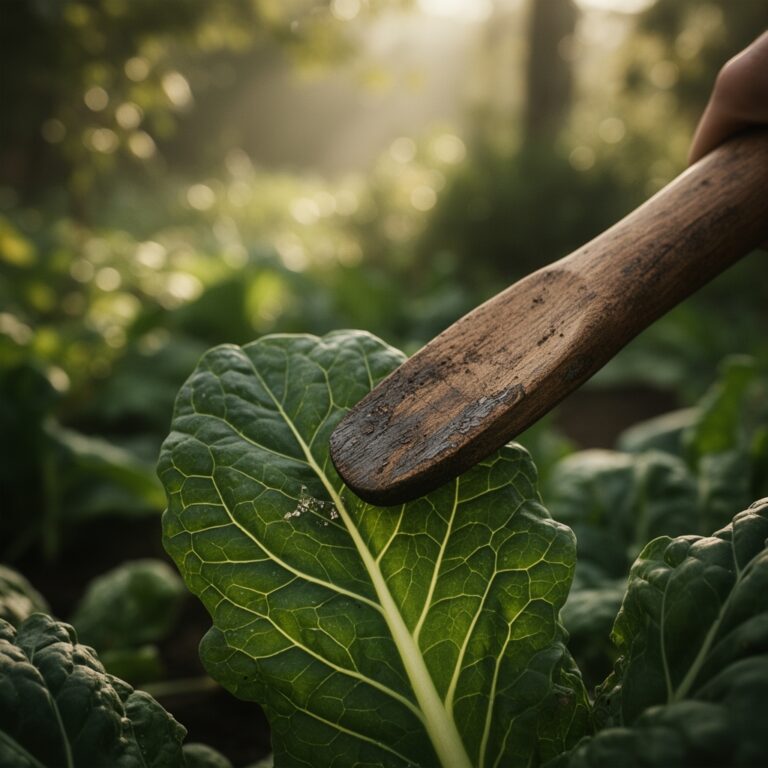
The smell of damp, anaerobic decomposition rises from the turf line as the steel blade shears through fibrous root masses. Using a spade for lawn edging is a mechanical intervention that demands physical force and structural precision. When the blade strikes the soil, you feel the turgor pressure of the grass blades resisting the compression. A clean edge is not merely aesthetic; it is a biological barrier that halts the lateral expansion of rhizomatous grasses into the sterile environment of a mulch bed. Proper execution requires a vertical entry at a ninety-degree angle to the soil surface. This ensures the rhizosphere of the turf remains contained while the adjacent soil is cleared of invasive stolons. Professional edging relies on the weight of the tool and the density of the substrate to create a crisp, functional transition. By maintaining a sharp edge on the spade, the horticulturist minimizes tissue trauma to the grass, preventing the ragged, necrotic margins that invite fungal pathogens into the crown of the plant.
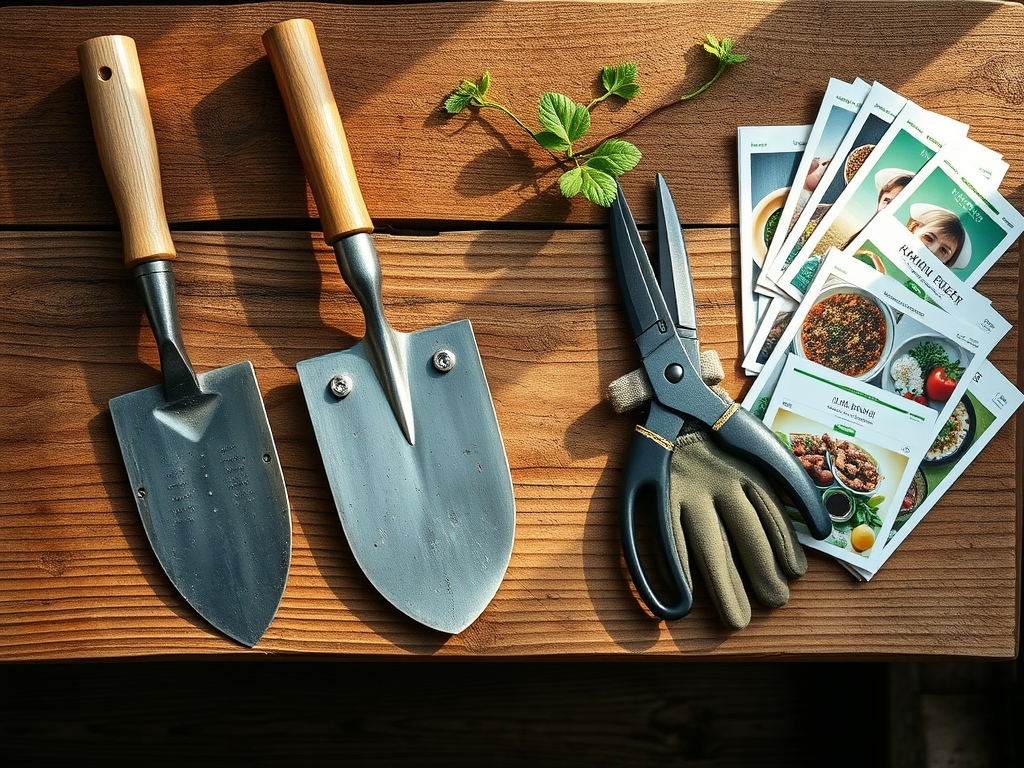
Materials:
The success of a structural edge depends heavily on the **Cation Exchange Capacity (CEC)** and the physical composition of the substrate. Ideal edging occurs in a **friable loam** consisting of roughly **40 percent sand, 40 percent silt, and 20 percent clay**. This balance allows the spade to penetrate without excessive friction while maintaining the structural integrity of the vertical wall. Soil pH should ideally sit between **6.2 and 7.0** to ensure nutrient availability for the turf at the margin. For maintenance of the edge, a top-dressing with an NPK ratio of **10-10-10** or a slow-release nitrogen source like **21-0-0 (Ammonium Sulfate)** supports rapid recovery of the severed root systems. If the soil is excessively sandy, the edge will collapse; if it is heavy clay, the spade will bind, requiring a lubricant or a higher carbon steel blade to facilitate the cut.
Timing:
Hardiness Zones 4 through 8 offer the most critical windows for structural edging. The primary operation should occur during the transition from the dormant phase to the active vegetative stage, typically when soil temperatures reach a consistent 55 degrees Fahrenheit. In the northern hemisphere, this aligns with the period between the last spring frost and the surge of spring growth. Edging during the "Biological Clock" transition—when the plant shifts from root-heavy development to foliar expansion—allows the turf to heal quickly. Avoid edging during the heat of mid-summer when the plant is under high evapotranspiration stress. If the soil is frozen or saturated, the mechanical pressure of the spade will cause compaction, reducing the pore space necessary for oxygen to reach the root zone.
Phases:

### Sowing and Preparation
Before the first cut, mark the perimeter using a high-visibility string line or a flexible garden hose for curves. Ensure the turf is hydrated to full turgidity. A dry plant is brittle and will shatter rather than shear.
**Pro-Tip:** Maintaining high **turgor pressure** in the grass blades before cutting ensures a clean cellular break. This prevents the “shredding” of vascular bundles, which can lead to localized **senescence** and browning at the edge.
Transplanting and Clearing
Drive the straight-edge spade 6 inches deep into the soil. Tilt the handle slightly toward the lawn to undercut the sod, then pull back to create a "V" shaped trench. Remove the severed sod and relocate it to a compost pile or use it to fill depressions elsewhere.
Pro-Tip: Removing the sod creates a physical gap that disrupts rhizome extension. By severing the lateral roots, you trigger auxin suppression at the tip, forcing the plant to redirect energy into vertical growth rather than horizontal encroachment.
Establishing the Wall
Refine the vertical face of the edge by shaving off small increments of soil. The goal is a clean, ninety-degree drop-off. Pack the base of the trench lightly to prevent erosion during irrigation cycles.
Pro-Tip: A firm soil wall encourages mycorrhizal symbiosis to remain concentrated within the turf's root zone. This fungal network improves nutrient uptake and drought resistance by extending the reach of the root hairs within the contained area.
The Clinic:
Physiological disorders often manifest at the lawn edge due to mechanical stress or environmental exposure.
Symptom: Yellowing of grass blades specifically at the cut margin (Chlorosis).
Solution: This is often Nitrogen chlorosis caused by the rapid loss of root mass. Apply a liquid kelp extract or a light dose of 4-0-2 fertilizer to provide immediate micronutrients.
Symptom: Rapid wilting of the edge despite regular irrigation.
Solution: Check for localized dry spot. The vertical cut increases the surface area for evaporation. Use a soil moisture meter to verify if the edge is reaching the permanent wilting point.
Symptom: Edge collapse or "slumping" after rain.
Solution: This indicates low soil structure or poor CEC. Incorporate organic matter or a calcined clay soil conditioner to increase the stability of the vertical interface.
Fix-It for Nutrient Deficiency: If the grass appears stunted and purple at the edges, it may be a Phosphorus deficiency. Apply a bone meal or a 0-20-0 amendment directly to the trench floor to stimulate deep root regeneration.
Maintenance:
Maintain the edge by monitoring soil moisture levels daily. The exposed soil face loses water faster than the interior lawn. Apply 1.5 inches of water per week specifically at the drip line of the edge to compensate for this loss. Use a hori-hori knife to weed the trench manually, ensuring you remove the entire taproot of any opportunistic invaders. Every three months, use bypass pruners to snip any stray stolons that attempt to bridge the gap. Check the depth of the trench using a soil moisture meter probe; if the trench fills with more than 2 inches of sediment or organic debris, clear it to maintain the physical barrier.
The Yield:
While lawn edging does not produce a caloric harvest, the "yield" is measured in the health and density of the turf. A properly edged lawn shows increased tillering—the production of side shoots from the base of the grass plant. This results in a thicker, more resilient carpet. To maintain "day-one" freshness of the edge, avoid using string trimmers at a high angle, which can scalp the crown of the grass. Instead, rely on the mechanical cut of the spade twice per year to keep the line crisp and the biological boundaries secure.
FAQ:
How deep should I cut the edge?
Aim for a depth of 4 to 6 inches. This depth is sufficient to sever the majority of lateral rhizomes in common turfgrasses while remaining above the primary utility lines and deep structural roots of nearby trees.
How often should I sharpen my spade?
Sharpen the blade after every 50 linear feet of edging or after striking a rock. A dull blade crushes plant tissue, whereas a sharp blade shears it, reducing the risk of opportunistic fungal infections in the grass.
Can I edge when the soil is dry?
Dry soil lacks the cohesion necessary to hold a vertical wall. It also increases the physical resistance against the spade. For best results, edge 24 hours after a rain event or deep irrigation cycle.
Why is my lawn edge turning brown?
This is typically due to desiccation. The vertical cut exposes the root zone to air. Increase localized watering or apply a thin layer of organic mulch to the base of the trench to retain moisture.