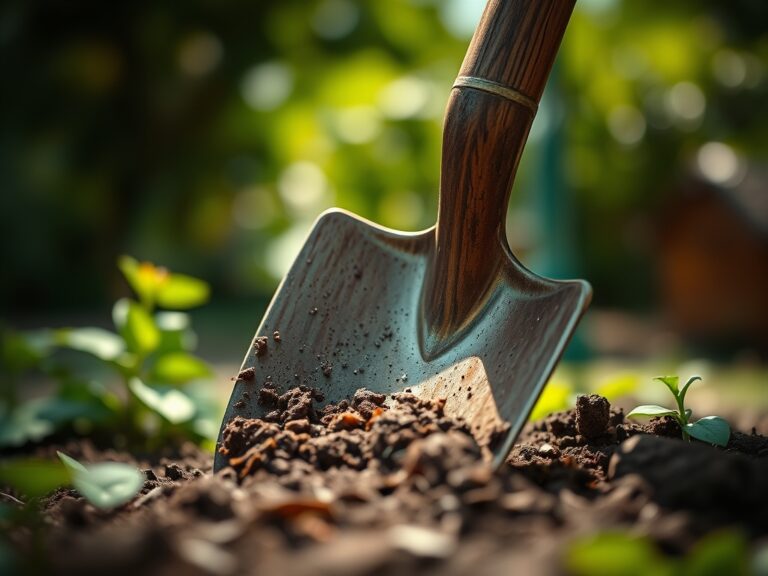
9 Tips to Use a Sharp Spade for Professional Digging
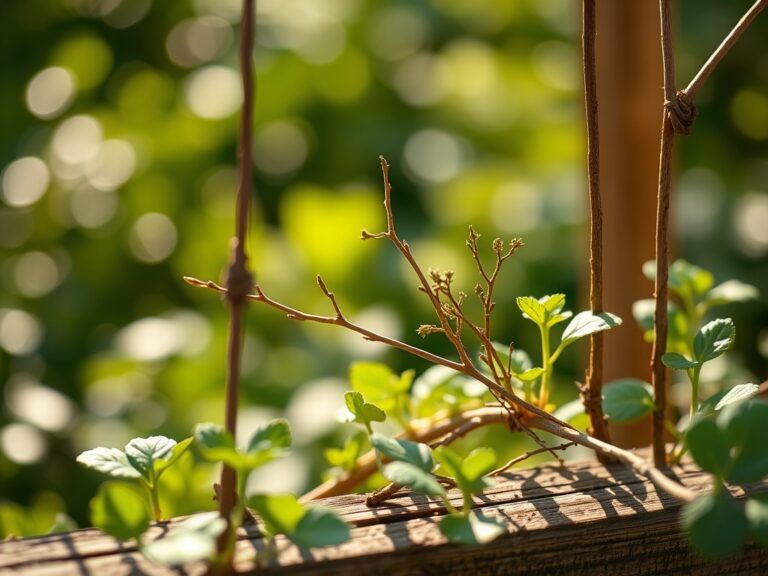
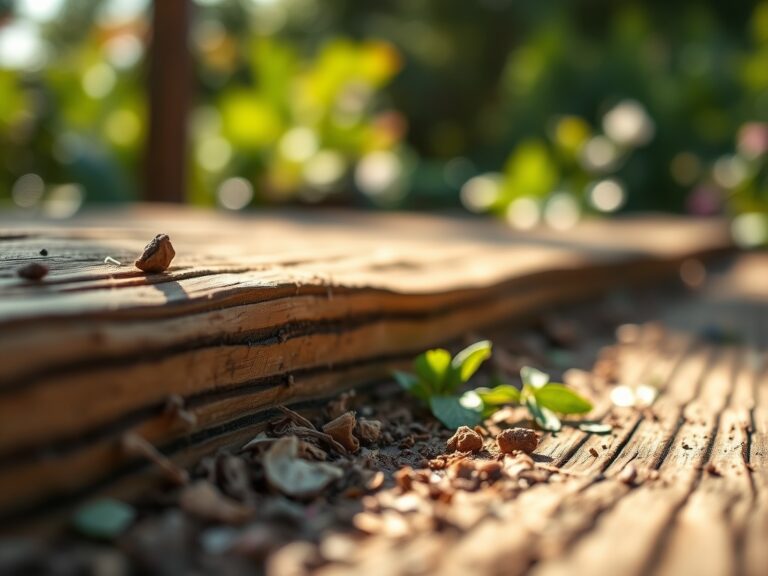
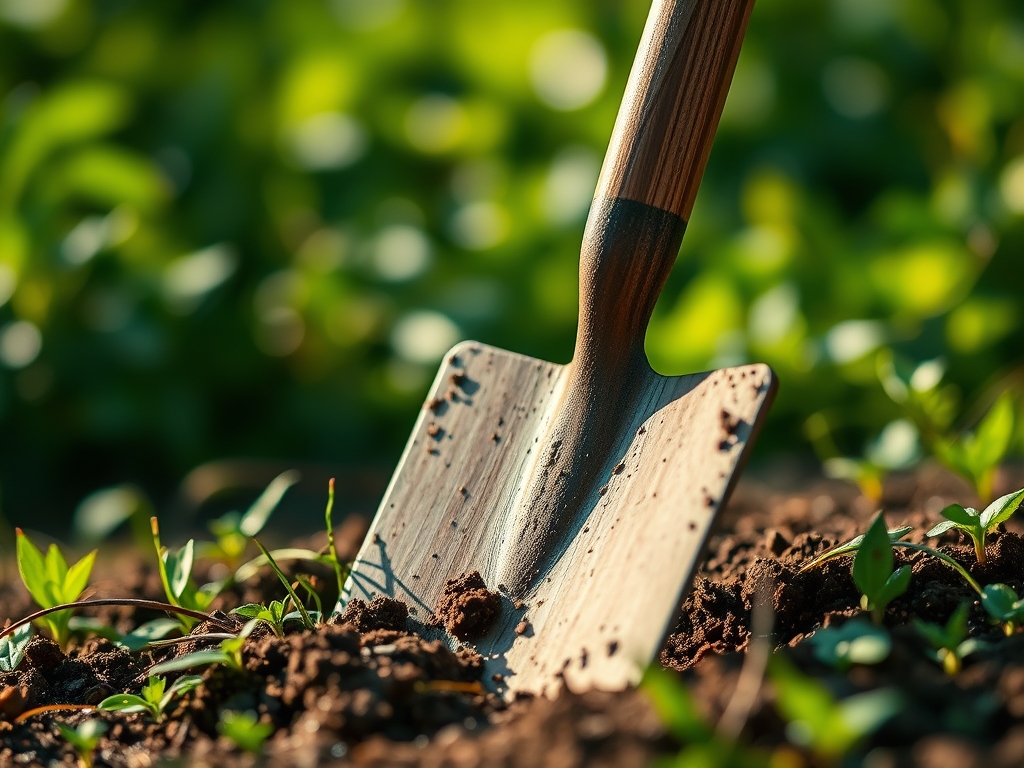
The scent of damp, disturbed earth signals the beginning of a successful project. When the blade shears through the rhizosphere, it releases geosmin and organic volatiles trapped within the soil pores. Using a spade for landscaping requires more than physical force; it demands an understanding of soil physics and plant physiology. A sharp spade allows for clean cuts through fibrous root systems, maintaining the turgor pressure of the remaining plant tissue by preventing jagged, necrotic edges. This precision ensures the structural integrity of the soil profile remains intact during excavation.
Materials:

Professional digging begins with the substrate. The ideal medium is a friable loam with a **pH range of 6.2 to 6.8**, which optimizes nutrient availability. In this environment, the Cation Exchange Capacity (CEC) is typically between **15 and 25 milliequivalents per 100 grams**, allowing the soil to hold essential cations like Calcium and Magnesium. Before breaking ground, analyze the NPK ratios of the site. A balanced **10-10-10** ratio is standard for general landscaping; however, high-nitrogen environments (e.g., **20-10-10**) can lead to rapid vegetative growth at the expense of root density. Ensure the soil is moist but not saturated; digging in anaerobic, waterlogged clay destroys soil structure and leads to compaction.
Timing:
Timing is dictated by the Hardiness Zone and the biological clock of the target species. In Zones 5 through 7, the window for major excavation and transplanting opens when the soil temperature reaches a consistent 45 degrees Fahrenheit. This usually occurs 14 to 21 days after the final spring frost. Digging during the transition from the vegetative stage to the reproductive stage is risky. For perennial species, the dormant season or early spring is preferred to minimize transplant shock. Monitor the photoperiod; as days lengthen, auxin production increases, signaling the plant to prioritize shoot growth. Digging must occur before this hormonal shift to ensure the plant directs its energy toward root re-establishment.
Phases:

Sowing and Site Preparation
Prepare the area by removing the O-horizon (organic litter) to expose the A-horizon (topsoil). Use the spade to turn the soil to a depth of 12 inches. This aeration increases the oxygen diffusion rate, which is vital for seed germination.
Pro-Tip: Maintain a consistent depth to avoid bringing dormant weed seeds from the lower horizons to the surface. This prevents unwanted competition for light and nutrients, a phenomenon known as apical dominance in weeds.
Transplanting
When moving established plants, use the spade to cut a circular trench around the drip line. The goal is to preserve the majority of the lateral roots. Ensure the spade blade is vertical to prevent shearing the root ball at an angle.
Pro-Tip: Clean cuts promote rapid wound periderm formation. Jagged tears invite fungal pathogens and disrupt the flow of water through the xylem, leading to localized wilting.
Establishing
Once the plant is in its new position, backfill with the original site soil to maintain consistent texture. Avoid "potting up" with overly rich amendments, which can create a textural interface that prevents water from moving into the surrounding native soil via capillary action.
Pro-Tip: Inoculate the backfill with mycorrhizal fungi. This symbiotic relationship expands the effective root surface area by up to 1,000 percent, significantly increasing the uptake of phosphorus and water.
The Clinic:
Physiological disorders often manifest shortly after digging or planting. Observe the foliage for specific indicators of stress or nutrient deficiency.
- Nitrogen Chlorosis: Lower leaves turn pale yellow while veins remain slightly green. Fix-It: Apply a quick-release urea-based fertilizer at a rate of 1 pound of actual Nitrogen per 1,000 square feet.
- Transplant Wilt: Leaves lose turgor despite adequate soil moisture. Symptom: The root-to-shoot ratio is imbalanced. Solution: Prune back the canopy by 20 percent to reduce the transpiration load on the compromised root system.
- Iron Deficiency: Interveinal chlorosis on new growth, common in soils with a pH above 7.5. Fix-It: Apply chelated iron directly to the rhizosphere or lower the pH using elemental sulfur.
- Soil Compaction: Stunted growth and "puddling" at the surface. Solution: Use a core aerator or the spade to perform vertical mulching, breaking the restrictive layers.
Maintenance:
Post-digging care is a game of precision. Provide 1.5 inches of water per week at the drip line, using a soil moisture meter to verify that the moisture has reached a depth of 8 inches. For fine-tuning the edges of a garden bed, a hori-hori knife provides more control than a full-sized spade. Use bypass pruners to remove any dead or crossing branches that may have been damaged during the landscaping process. Maintain a sharp edge on your spade using a mill file; a dull blade requires 30 percent more force and increases the risk of soil "smearing," which seals the soil pores and prevents gas exchange.
The Yield:
When using a spade for landscaping in edible or floral gardens, the harvest depends on the senescence of the plant. For root crops, harvest when the shoulders of the vegetable are visible above the soil line. Use the spade to lift the soil from 6 inches away to avoid mechanical damage to the crop. For floral yields, cut stems early in the morning when turgor pressure is at its peak. Immediately submerge the stems in 110-degree Fahrenheit water to remove air bubbles from the xylem, ensuring "day-one" freshness for the duration of the display.
FAQ:
How do I sharpen a spade for landscaping?
Use a 10-inch mill file at a 45-degree angle against the front edge of the blade. Work in one direction, from the shoulder to the tip, until a bright, clean edge appears. Remove any burrs from the back side.
What is the best soil for digging?
A friable loam with approximately 40 percent sand, 40 percent silt, and 20 percent clay is ideal. This composition provides excellent drainage while maintaining enough Cation Exchange Capacity to hold essential nutrients for plant development.
How deep should I dig for a new shrub?
Dig a hole two to three times wider than the root ball but no deeper than the root flare. Planting too deep leads to oxygen deprivation in the rhizosphere and eventual trunk rot or senescence.
Can I dig in frozen soil?
Digging in frozen soil is not recommended. It damages the spade edge and destroys the soil structure. Wait until the soil temperature reaches at least 40 degrees Fahrenheit to ensure the microbial community is active and the soil is workable.