9 Steps to Prepare for a Custom Garden Pond Installation
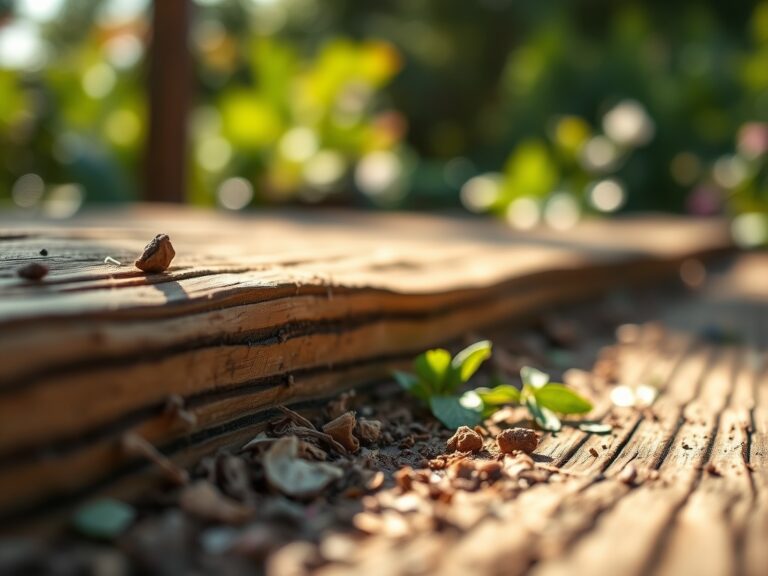
Damp earth emits a distinct petrichor as the soil reaches field capacity; this signifies the ideal moment to assess site drainage. Healthy foliage maintains high turgor pressure when the root system efficiently transports water through the xylem. Success in aquatic integration depends on precise site analysis. Learning how to prepare a garden for a pond requires a rigorous evaluation of the local water table and soil stability. You must calculate the structural integrity of the rhizosphere to ensure the surrounding terrestrial plants do not suffer from sudden anaerobic conditions or nutrient leaching.
Establishing an aquatic ecosystem involves more than digging a hole. It requires a fundamental understanding of hydrology and soil mechanics. The transition zone between land and water is a high-stress environment for traditional garden cultivars. You must manage the Cation Exchange Capacity (CEC) of the surrounding soil to prevent nitrogen runoff from contaminating the new water feature. Proper preparation ensures that the pond becomes a functional nutrient sink rather than a source of eutrophication for the rest of the landscape.
Materials:
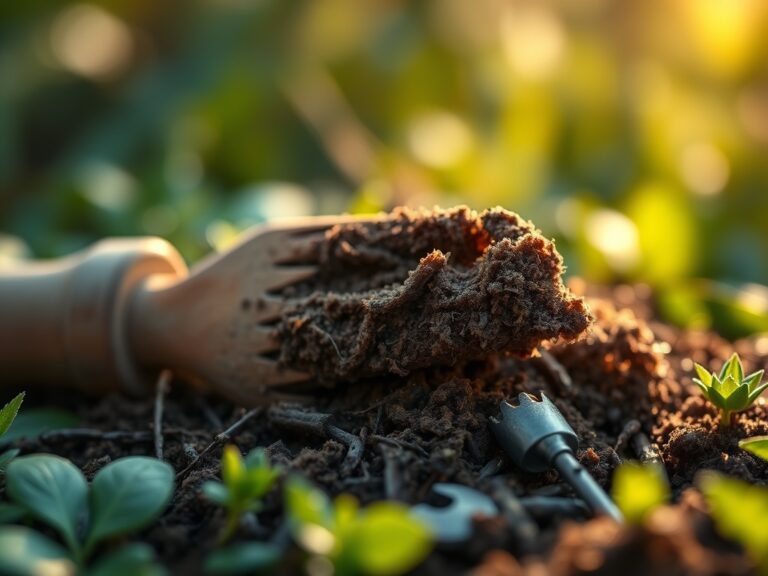
The success of the perimeter planting depends on a **friable loam** substrate with a **pH range of 6.2 to 6.8**. This acidity level optimizes the availability of phosphorus and micronutrients. Before installation, amend the surrounding soil based on these specific NPK requirements:
- Nitrogen (N): Target a ratio of 10-5-5 for perimeter grasses to encourage vegetative biomass without excessive leaching.
- Phosphorus (P): Maintain low levels near the water line, approximately 2-3%, to prevent algae blooms.
- Potassium (K): Use a 10-20-20 blend for woody shrubs to enhance cellular wall strength and cold hardiness.
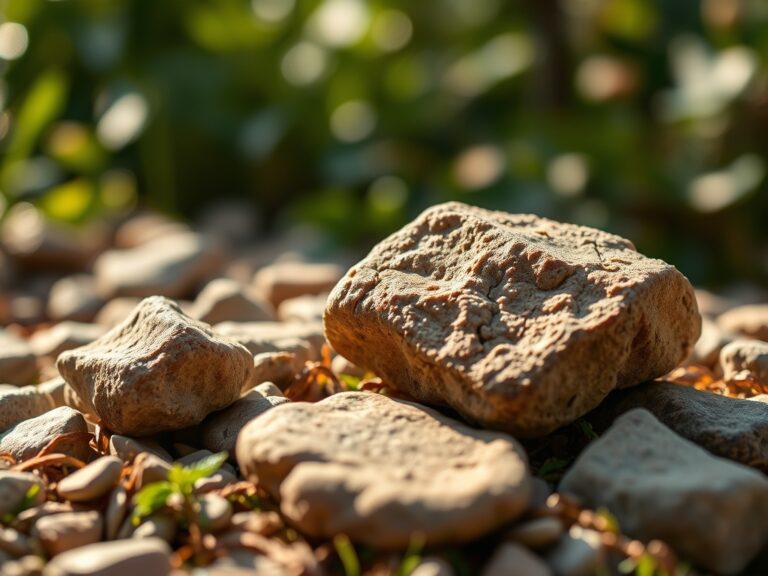
The substrate must possess a high CEC to retain essential cations like calcium (Ca2+) and magnesium (Mg2+). A silt-heavy or clay-heavy soil will require the addition of coarse organic matter to improve aeration and prevent the compaction that leads to root rot in the transition zone.
Timing:
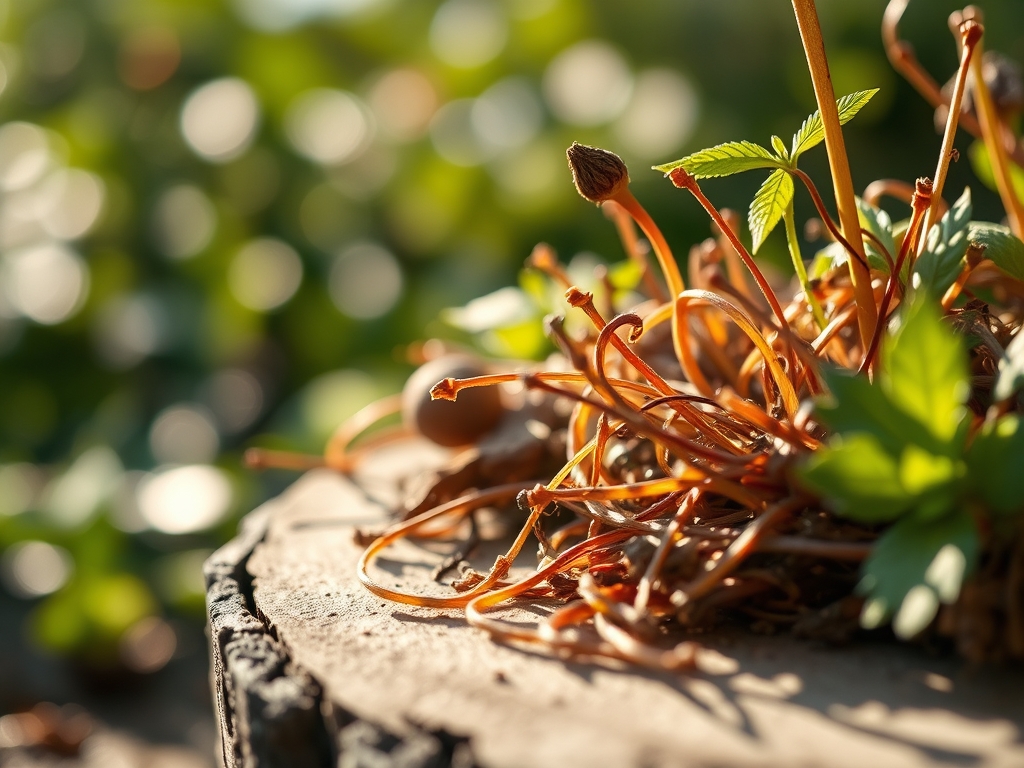
Installation should align with the dormant period of your specific Hardiness Zone. In Zones 5 through 7, the ideal window occurs between late autumn and early spring, specifically when soil temperatures remain between 35 and 45 degrees Fahrenheit. This timing respects the biological clock of the garden; plants are in a state of senescence, reducing the risk of transplant shock.
Avoid excavation during the peak reproductive stage of nearby perennials. High auxin levels during spring growth make plants sensitive to root disturbance. By timing the installation during the vegetative rest period, you allow the mycorrhizal networks to recover before the next photoperiod extension triggers rapid growth.
Phases:
Sowing the Perimeter
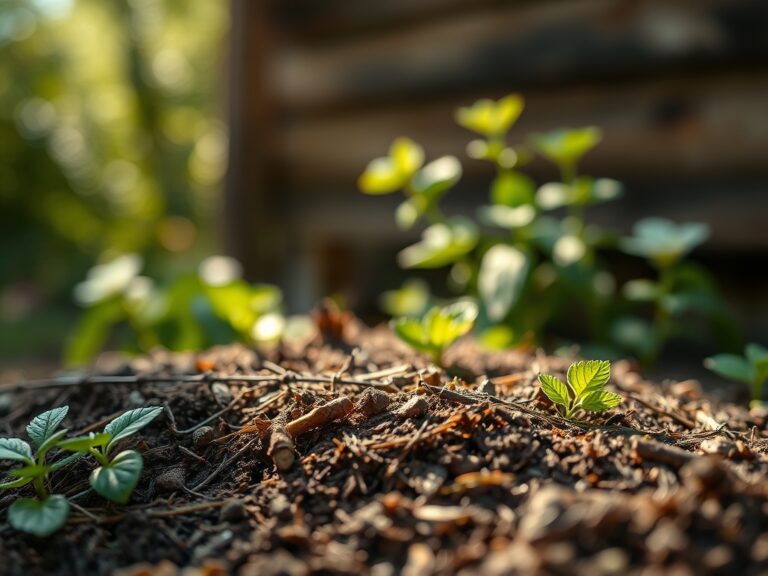
Direct-sow native sedges and rushes in the riparian zone once the pond liner is secured. These species require a consistent moisture level of 20% to 30% in the top two inches of soil.
Pro-Tip: Utilize the principle of hydrotropism. Plant roots will naturally grow toward the moisture gradient of the pond. By placing phosphorus-rich amendments six inches away from the water's edge, you encourage deeper root penetration and stabilize the pond bank.
Transplanting Aquatic Cultivars
Introduce floating and submerged plants when the water temperature stabilizes at 60 degrees Fahrenheit. Use heavy clay loam for aquatic pots to prevent the media from floating.
Pro-Tip: Manage phototropism by rotating submerged containers every fourteen days. This ensures even distribution of light across the entire leaf surface area, preventing lopsided growth and promoting balanced oxygenation of the water column.
Establishing the Ecosystem
The first 90 days are critical for establishing a bacterial colony. Monitor the nitrogen cycle closely using a digital tester. Ammonia levels must drop to 0 ppm before introducing any sensitive aquatic fauna.
Pro-Tip: Foster mycorrhizal symbiosis by inoculating the surrounding soil with beneficial fungi. These organisms extend the reach of the root system, allowing plants to scavenge for phosphorus more efficiently and protecting the pond from nutrient spikes.
The Clinic:
Physiological disorders often arise from the sudden change in soil moisture. Monitor these specific symptoms:
-
Symptom: Interveinal chlorosis in new leaves.
Solution: This indicates an iron deficiency, often caused by a pH above 7.5. Apply chelated iron to the rhizosphere.
Fix-It: Lower the pH using elemental sulfur at a rate of 1 pound per 100 square feet. -
Symptom: Marginal leaf burn on perimeter shrubs.
Solution: This suggests salt accumulation or "fertilizer burn" from runoff.
Fix-It: Flush the soil with 2 inches of fresh water and switch to slow-release organic fertilizers with a lower salt index. -
Symptom: Soft, blackened roots on marginal plants.
Solution: Anaerobic soil conditions due to poor drainage.
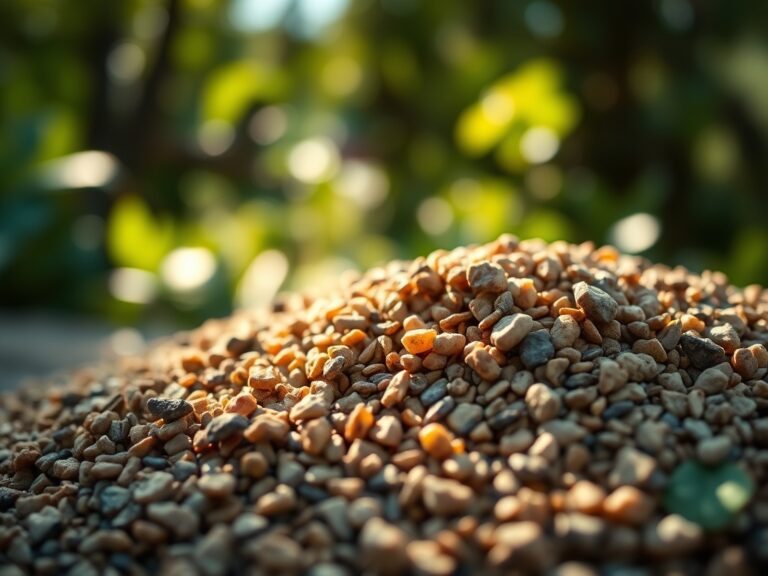
Fix-It: Incorporate expanded shale or coarse sand to increase the macropore space in the soil.
Maintenance:
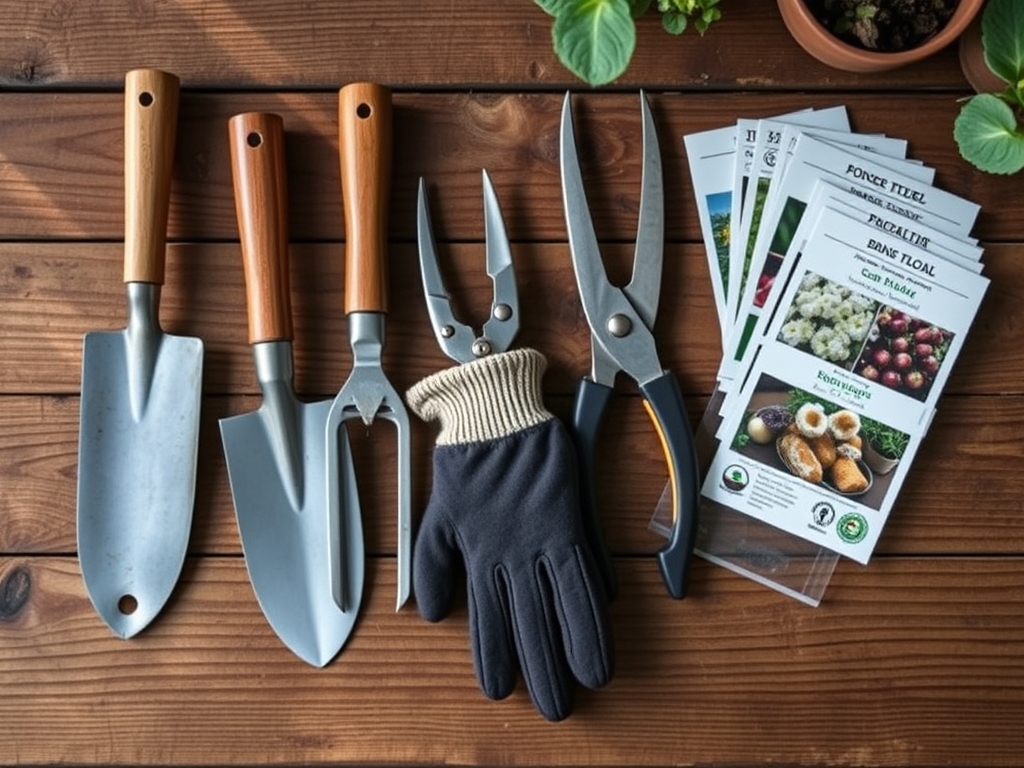
Precision maintenance prevents system failure. Use a soil moisture meter to ensure the transition zone receives exactly 1.5 inches of water per week at the drip line. This prevents the soil from pulling away from the pond liner during dry spells.
Employ a hori-hori knife for deep weeding near the pond edge to avoid damaging the liner. Use bypass pruners to remove any decaying organic matter from the water surface; this prevents the buildup of hydrogen sulfide gas. Conduct a soil test every 24 months to monitor the CEC and adjust NPK ratios as the ecosystem matures.
The Yield:
For those integrating edible aquatic plants like watercress or lotus, harvest timing is governed by the photoperiod. Harvest watercress when stems reach 6 inches in length but before the plant enters its reproductive flowering stage. To maintain "day-one" freshness, submerge the cut ends in 40-degree Fahrenheit water immediately. This preserves turgor pressure and prevents the rapid degradation of cellular nutrients.
FAQ:
How deep should I dig for a fish pond?
A minimum depth of 24 to 36 inches is required in most climates. This provides a thermal refuge where water temperatures remain stable, preventing total freezing in winter and lethal overheating during the summer months.
What is the best liner for a garden pond?
Use a 45-mil EPDM rubber liner. It offers superior UV resistance and flexibility. Avoid thin PVC liners as they degrade under solar radiation and are prone to punctures from root penetration or sharp aggregate.
How do I stop my pond from leaking into the garden?
Ensure the liner extends at least 6 inches above the maximum water level and is tucked behind a secure stone coping. Use a spirit level to verify that the entire perimeter is perfectly horizontal to prevent localized overflow.
Which plants oxygenate the water best?
Submerged macrophytes like Anacharis or Hornwort are most effective. They utilize dissolved carbon dioxide and release oxygen directly into the water column through photosynthesis. Maintain a density of one bunch per two square feet of surface area.