6 Best Gravel Stabilizers for Driveways
The smell of damp earth after a spring rain signifies more than just a seasonal shift; it indicates the precise moment when soil turgor and structural integrity become critical for land management. When heavy machinery or foot traffic compresses saturated ground, the resulting compaction destroys the pore space necessary for a healthy rhizosphere. Installing the best gravel stabilizers for driveways prevents this mechanical degradation by distributing weight across a rigid cellular matrix. This infrastructure maintains the soil's hydraulic conductivity while providing a stable surface for vehicles. Without stabilization, gravel migrates into the subgrade, leading to rutting and anaerobic conditions that suffocate beneficial soil microbes. A professional grade stabilizer ensures that the driveway remains permeable, allowing oxygen and water to reach the root zones of flanking vegetation. We are not merely laying stone; we are engineering a drainage system that respects the physics of the local watershed. Achieving this requires a calculated approach to sub-base preparation and an understanding of how particulate matter interacts with synthetic geogrids under pressure.
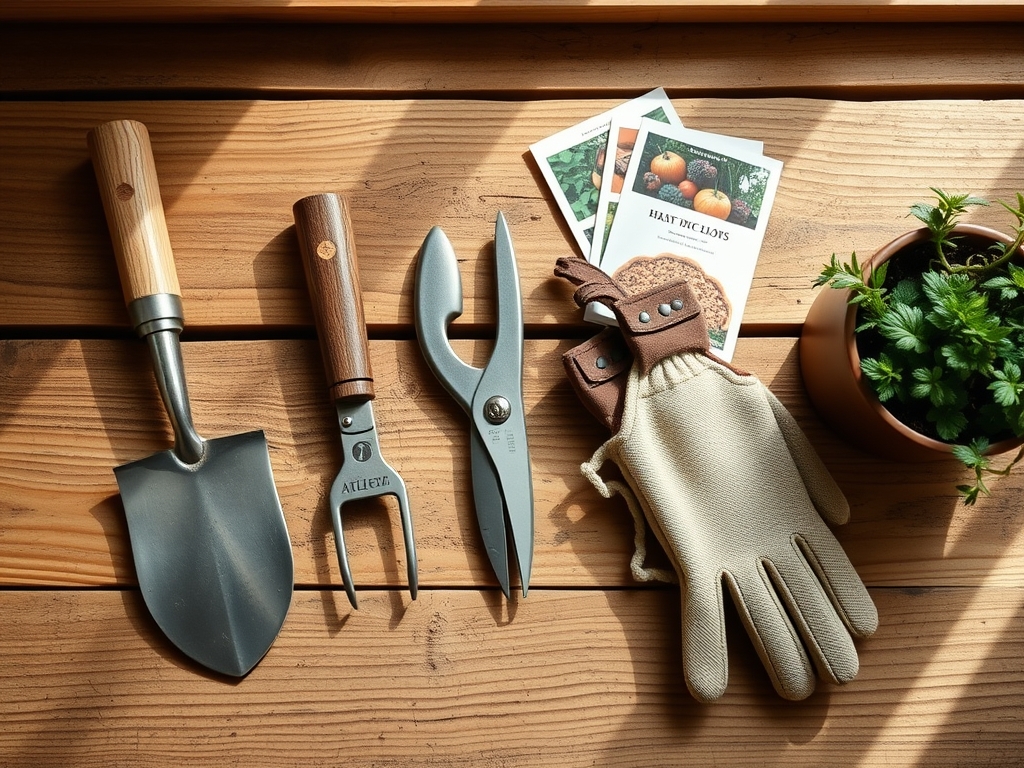
Materials:
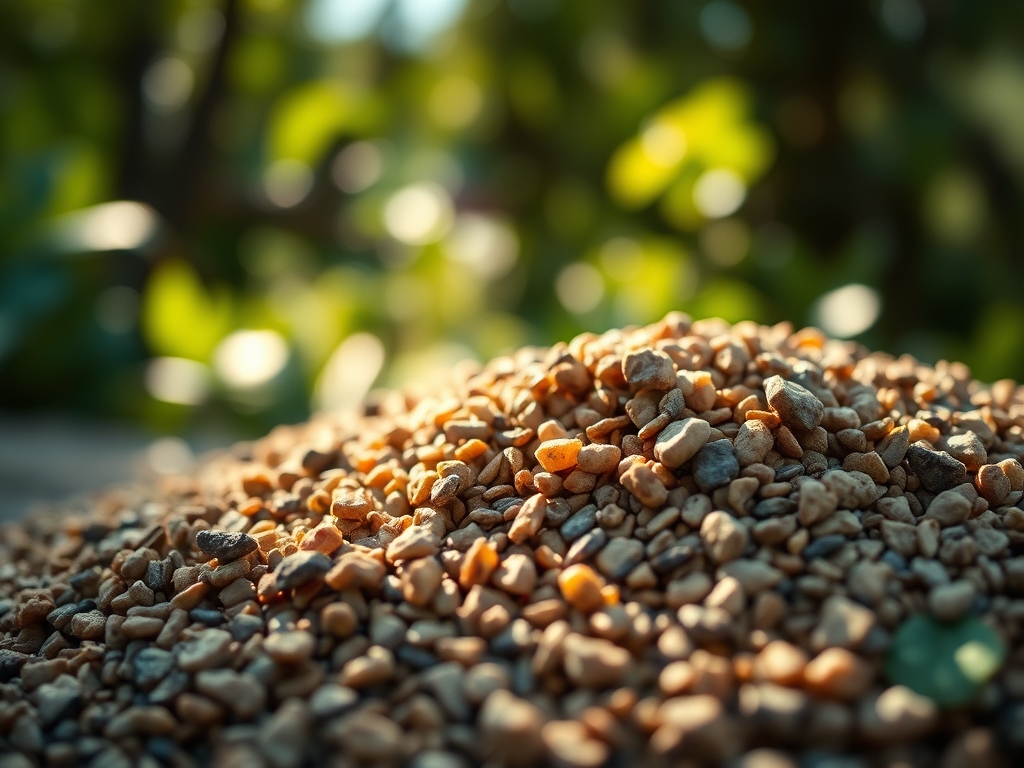
Before selecting a stabilizer, you must analyze the surrounding soil chemistry and texture. The ideal substrate for the areas bordering a stabilized driveway is a **friable loam** with a **sand-to-silt ratio of 40:40:20**. This texture ensures a high **Cation Exchange Capacity (CEC)**, allowing the soil to retain essential nutrients like ammonium and potassium. For the structural base, use a **well-graded 3/4-inch minus crushed rock**.
If you intend to plant groundcovers within the gravel matrix, the soil pH must be calibrated. Most stabilizing grids perform best when the fill material maintains a pH between 6.0 and 7.0. For acidic soils (pH below 5.5), apply calcitic lime at a rate of 50 pounds per 1,000 square feet to neutralize aluminum toxicity. If the area requires fertilization, target an NPK ratio of 10-10-10 for general establishment or 5-10-15 for flowering perennials to encourage root development over excessive vegetative growth. High nitrogen levels (above 20 percent) should be avoided as they can lead to succulent growth that is susceptible to frost damage.
Timing:
Installation and subsequent planting must align with the biological clock of your specific Hardiness Zone. In Zones 5 through 7, the window for stabilization begins after the final hard frost, typically when soil temperatures consistently reach 55 degrees Fahrenheit. This temperature threshold is critical because it triggers the transition from dormancy to the vegetative stage in surrounding flora.
The "Biological Clock" dictates that installation should occur during the period of peak root elongation. For cool-season grasses or sedges used alongside driveways, this occurs in early spring or late autumn. Avoid installation during the summer solstice when high evapotranspiration rates can stress the root systems of plants adjacent to the heat-absorbing gravel. Monitor the photoperiod; as days shorten in autumn, plants enter senescence, diverting energy from leaf production to carbohydrate storage in the root mass. All heavy grading must be completed before the ground freezes to prevent the formation of ice lenses within the stabilizer cells.
Phases:

Sowing and Base Preparation
Excavate the driveway to a depth of 8 to 12 inches depending on the expected load. The subgrade must be compacted to 95 percent Proctor density. Lay a non-woven geotextile fabric to prevent the migration of fines from the subgrade into the gravel layer. This fabric acts as a barrier while maintaining water infiltration.
Pro-Tip: Proper compaction prevents the "pumping" effect where saturated fines rise to the surface. This is vital because excessive silt in the gravel layer can cause osmotic stress in nearby plants by altering the water potential of the soil solution.
Transplanting the Grid
Lay the stabilizer grids, such as high-density polyethylene (HDPE) honeycombs or rigid plastic pavers. Connect the units using the manufacturer's interlocking tabs. Ensure the grid is level to prevent uneven pressure distribution. Fill the cells with angular stone rather than rounded river rock; angular facets lock together to provide superior shear strength.
Pro-Tip: If using permeable pavers for a "green" driveway, ensure the soil media within the cells contains mycorrhizal inoculants. This symbiotic relationship between fungi and roots increases the surface area for nutrient uptake, allowing plants to survive the high-heat environment of a driveway.
Establishing the Surface
Once filled, the gravel should be compacted with a plate vibrator. For driveways incorporating vegetation, sow seeds or install plugs directly into the cells. Maintain a consistent moisture level of 1 inch of water per week during the first 21 days of establishment to ensure the seeds do not desiccate against the warm plastic or stone.
Pro-Tip: Control auxin suppression by avoiding heavy pruning of border plants during the first month. Auxins are hormones produced in the shoot tips that signal for root growth; keeping the canopy intact ensures the plant allocates enough energy to establish a deep root system beneath the stabilizer.
The Clinic:
Physiological disorders often arise when driveway construction interferes with natural soil processes.
- Symptom: Interveinal chlorosis (yellowing leaves with green veins) in border shrubs.
- Solution: This indicates Iron deficiency, often caused by high alkalinity from limestone gravel leaching into the soil. Apply chelated iron and lower the pH using elemental sulfur.
- Symptom: Leaf scorch or marginal necrosis.
- Solution: This is frequently a result of drought stress or high salt accumulation from winter de-icing agents. Flush the soil with 2 inches of fresh water to leach salts below the root zone.
- Symptom: Stunted growth and purpling of lower leaves.
- Solution: Phosphorus deficiency is common in compacted, cold soils. Use a soil moisture meter to ensure the area isn't waterlogged, and apply a high-phosphate starter fertilizer.
Fix-It: For general Nitrogen chlorosis (uniform paling of the entire leaf), apply a slow-release urea-based fertilizer at a rate of 1 pound of actual nitrogen per 1,000 square feet.
Maintenance:
Precision is the hallmark of a master horticulturist. Use a soil moisture meter twice weekly to check the hydration levels at a depth of 6 inches. Plants adjacent to gravel driveways require 1.5 inches of water per week delivered at the drip line to compensate for the heat island effect.
Use a hori-hori knife to remove deep-rooted weeds that penetrate the stabilizer cells without disturbing the gravel matrix. For woody perennials bordering the path, use bypass pruners to make clean cuts at a 45-degree angle, just above the lateral bud, to prevent pathogens from entering the vascular system. Annually inspect the gravel levels; if the grid becomes visible, top-dress with 1/4 inch of matching stone to protect the HDPE from UV degradation and maintain the structural integrity of the system.
The Yield:
While a driveway is structural, the "yield" of a stabilized system is measured in its longevity and the health of the surrounding ecosystem. A properly installed stabilizer prevents erosion and sediment runoff into local storm drains. If you have integrated "steppable" herbs like Thymus serpyllum into the grid, harvest by clipping the top 2 inches of growth during the morning hours when essential oil concentration is highest. Handle these cuttings gently and place them in a cool, shaded environment immediately to maintain cellular turgor and aromatic potency.
FAQ:
What is the best gravel size for stabilizers?
Use 3/8-inch to 3/4-inch angular crushed stone. Angular gravel locks together within the cells, providing a stable surface. Avoid rounded pea gravel, as it does not compact and will "roll" under the weight of vehicle tires.
How do I prevent weeds in my gravel driveway?
Install a heavy-duty non-woven geotextile fabric beneath the stabilizer. This blocks weed emergence from the subgrade. For wind-blown seeds, maintain a clean surface and use a flame weeder or manual extraction with a hori-hori knife.
Can I use gravel stabilizers on a slope?
Yes, but the slope should not exceed 10 to 12 percent. For steeper inclines, use a grid with an integrated base or anchor the units using rebar stakes to prevent the entire matrix from sliding down the grade.
How long do plastic gravel stabilizers last?
High-quality stabilizers made from UV-stabilized HDPE can last 25 to 50 years. Longevity depends on proper installation, ensuring the grid is fully covered by gravel to protect it from direct sunlight and mechanical shear.