6 Useful Steps to Create a Tool Storage Showcase
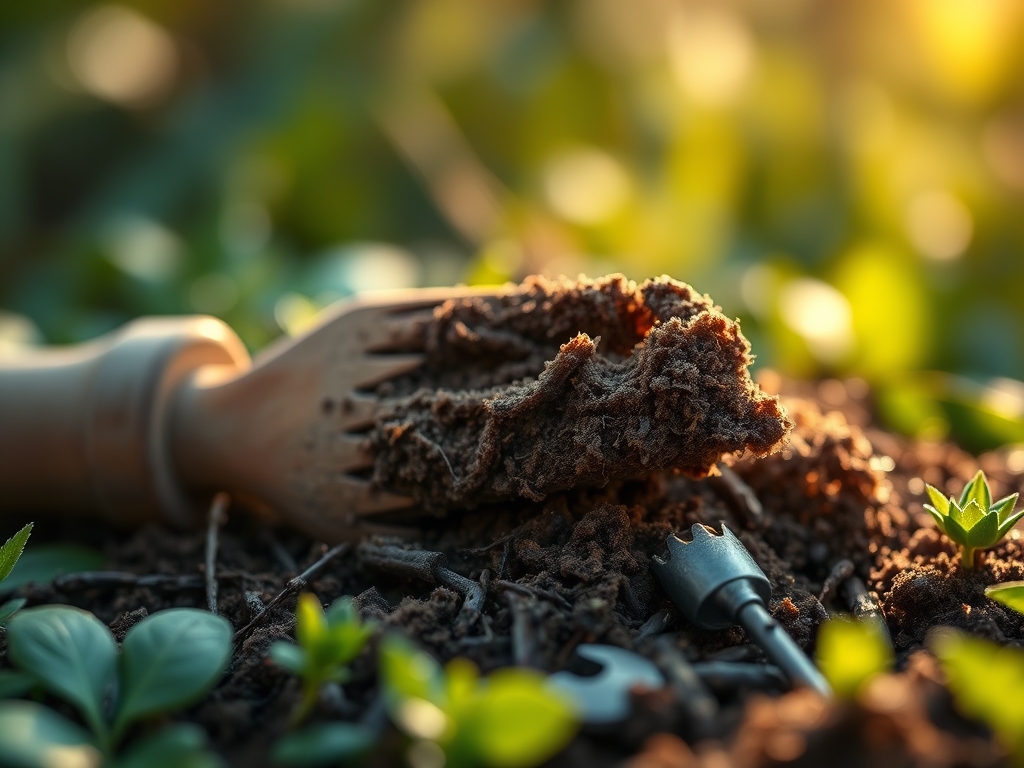
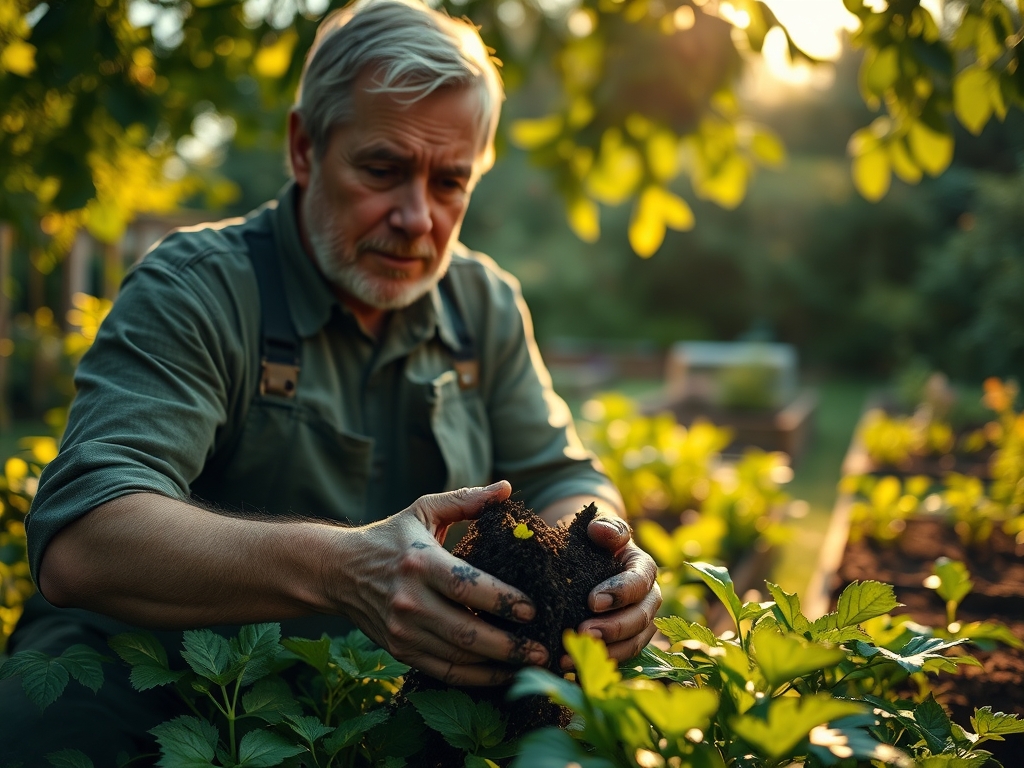
The smell of damp earth and the high turgor pressure of a hydrated leaf indicate a garden at its physiological peak. Achieving this state is the first requirement when learning how to prepare a garden for a tool storage video. Viewers respond to the structural integrity of the plants and the dark, carbon-rich color of the soil. A garden that looks neglected will undermine the authority of the tools being showcased. You must manage the rhizosphere to ensure every specimen displays maximum health and architectural form before the cameras begin recording.
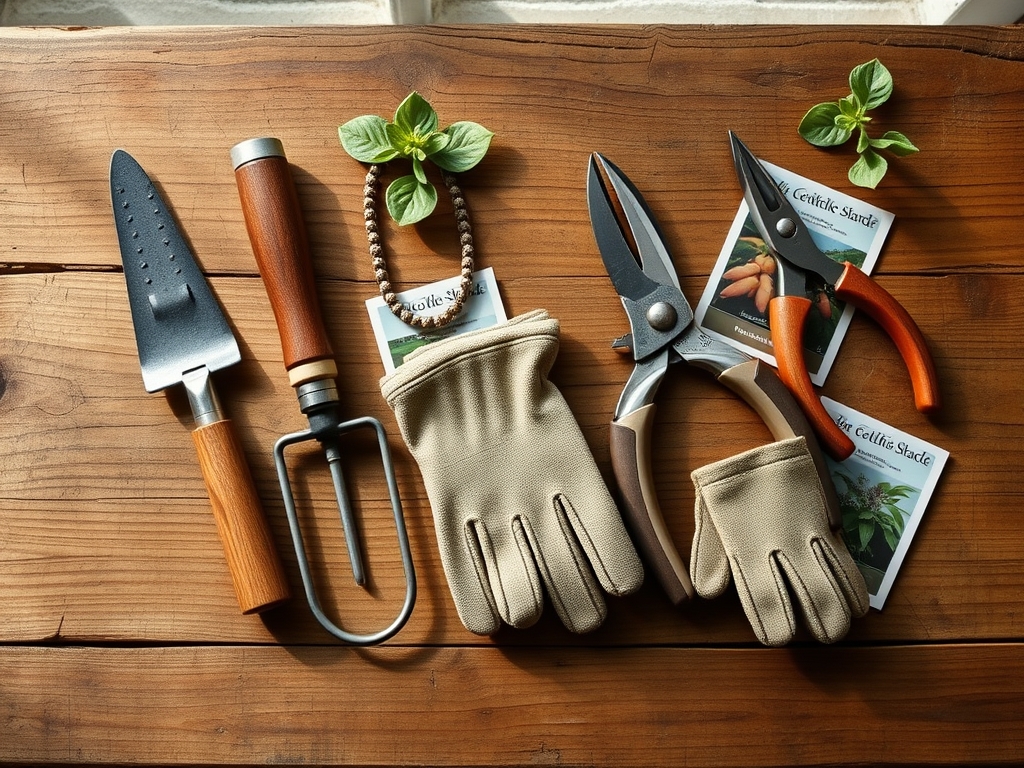
Materials:
To prepare the site, you must optimize the soil Cation Exchange Capacity (CEC). The ideal substrate is a **friable loam** consisting of 40 percent sand, 40 percent silt, and 20 percent clay. This texture ensures adequate pore space for oxygen while maintaining moisture. Target a **soil pH between 6.2 and 6.8** to ensure maximum nutrient bioavailability.
For vegetative growth that looks lush on camera, apply a fertilizer with an NPK ratio of 10-5-5. The high nitrogen content drives chlorophyll production and leaf expansion. If the video focuses on flowering plants, pivot to a 5-10-10 ratio to support reproductive development without causing excessive leggy growth. Ensure you have a soil moisture meter to verify that the root zone maintains a consistent 15 to 20 percent volumetric water content.
Timing:
Successful garden preparation depends on the local frost-date window and specific Hardiness Zones. In Zones 5 through 7, the primary preparation window occurs 14 to 21 days after the last spring frost. This timing aligns with the "Biological Clock" of most temperate perennials, capturing them during the transition from early vegetative stages to full leaf expansion.
You must monitor the photoperiod. Most long-day plants require 14 or more hours of light to trigger the hormonal shifts necessary for peak aesthetic density. Avoid filming during the late-summer senescence phase, as the plant begins to relocate mobile nutrients from the foliage to the root system, resulting in yellowing leaves and reduced turgor.
Phases:
Sowing
Direct-sow seeds at a depth exactly three times the diameter of the seed. This ensures the hypocotyl has enough energy to reach the surface before exhausting its endosperm reserves. Maintain a soil temperature of 65 to 70 degrees Fahrenheit for optimal germination rates.
Pro-Tip: Utilize a light dusting of vermiculite to maintain humidity at the soil surface. This prevents the formation of a "crust" that can cause mechanical impedance, a biological phenomenon where the seedling cannot break through the soil surface.
Transplanting
When moving starts into the showcase area, preserve the integrity of the root ball to avoid transplant shock. Dig a hole twice as wide as the root mass but no deeper. This encourages lateral root expansion into the surrounding native soil.
Pro-Tip: Inoculate the planting hole with mycorrhizal fungi. This creates a symbiotic relationship that increases the effective surface area of the root system by up to 1,000 percent, significantly improving water and phosphorus uptake.
Establishing
During the first 14 days, the plant focuses on root architecture over foliage. Use a liquid seaweed extract to provide natural cytokinins, which stimulate cell division in the root apical meristems.
Pro-Tip: Practice auxin suppression by pinching off the terminal buds of young plants. This disrupts apical dominance and forces the plant to redirect energy to lateral buds, resulting in a bushier, more photogenic specimen for the video.
The Clinic:
Physiological disorders can ruin the visual appeal of a garden showcase. Identify and rectify these issues before filming.
- Nitrogen Chlorosis: Symptoms include a uniform yellowing of older, lower leaves. Fix-It: Apply a high-nitrogen foliar spray (urea-based) for rapid absorption through the stomata.
- Interveinal Chlorosis: Leaves remain green along the veins but turn yellow in between; this indicates a Magnesium or Iron deficiency. Fix-It: Check pH first; if pH is above 7.0, iron becomes insoluble. Lower pH with elemental sulfur.
- Blossom End Rot: A dark, sunken spot on the base of fruit caused by localized Calcium deficiency. Fix-It: This is often a water management issue rather than a soil lack. Ensure consistent irrigation to facilitate calcium transport through the xylem.
- Leaf Scorch: Brown, necrotic edges on foliage. Fix-It: This indicates excessive transpiration. Provide temporary shade or increase irrigation to maintain cellular turgor.
Maintenance:
Precision maintenance is the difference between a hobbyist garden and a professional showcase. Provide 1.5 inches of water per week delivered directly at the drip line. Use a soil moisture meter to ensure you are not saturating the root zone, which leads to anaerobic conditions and root rot.
Keep your bypass pruners and hori-hori knife sharpened and disinfected with a 70 percent isopropyl alcohol solution to prevent the spread of pathogens. When pruning for the camera, make cuts at a 45-degree angle approximately 1/4 inch above a node. This directs the plant's energy into new, healthy growth and prevents water from pooling on the wound, which reduces the risk of fungal infection.
The Yield:
If your tool storage video involves harvesting, timing is critical for "day-one" freshness. Harvest most crops in the early morning when field heat is lowest and turgor pressure is at its maximum. For leafy greens, use a sharp blade to make a clean cut, then immediately submerge the stems in 40-degree Fahrenheit water. This rapid cooling halts the metabolic processes that lead to wilting and preserves the crispness of the cell walls. For woody herbs, harvest just before the flower buds open to ensure the highest concentration of essential oils in the foliage.
FAQ:
How do I make soil look dark for a video?
Apply a thin layer of screened organic compost or aged bark mulch. Ensure the material is moist, as water changes the refractive index of the organic matter, making it appear darker and more nutrient-rich on camera.
What is the best time of day to film?
Film during the "Golden Hour," either one hour after sunrise or one hour before sunset. This provides soft, diffused light that eliminates harsh shadows and prevents the bleaching of green pigments in the foliage.
How do I fix wilted plants quickly?
Check the soil moisture. If dry, perform a deep soak. If the soil is wet, the plant may have root rot or heat stress. Move the plant to a shaded area and mist the foliage to reduce the transpiration rate.
Should I fertilize right before filming?
No. Avoid granular fertilizers that leave visible blue or white prills on the soil. Use a liquid-based fertilizer five days prior to filming to allow the plant to metabolize the nutrients and show improved color.