8 Natural Ways How to Design a Woodland Path
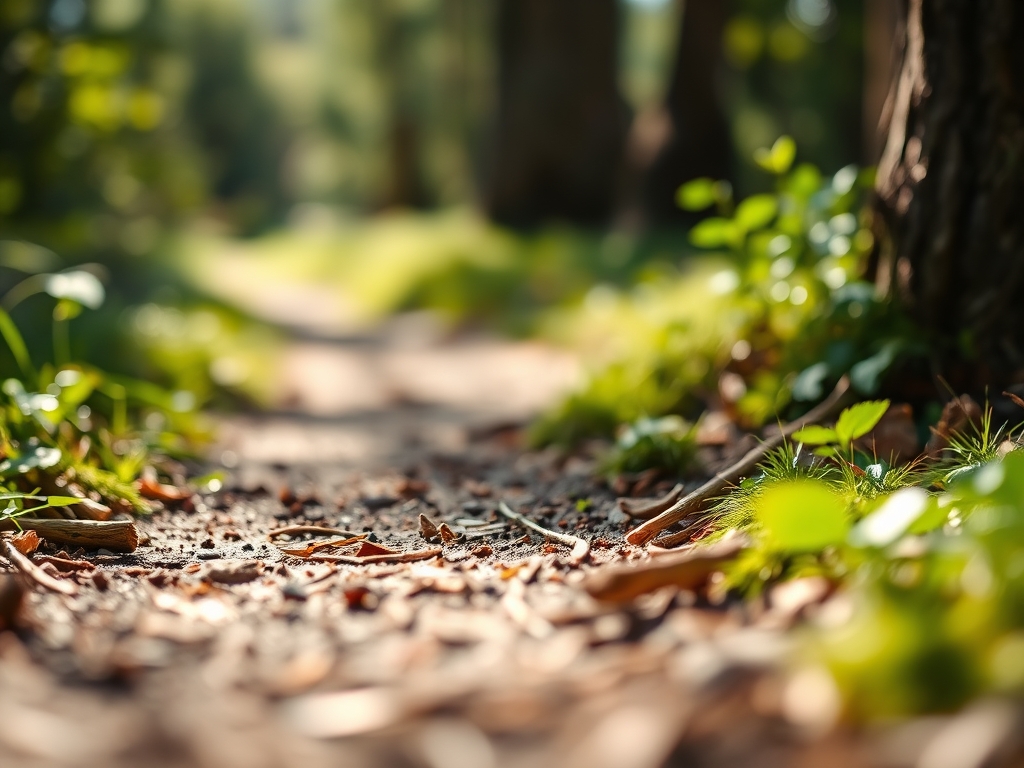
Damp earth releases geosmin as the canopy traps humidity; this scent signals a high-functioning rhizosphere where organic matter decomposes into stable humus. Understanding how to design a woodland path requires more than aesthetic placement. It demands an analysis of light penetration and soil compaction. A successful path navigates the delicate balance between human traffic and the preservation of fungal networks. You must observe the turgor pressure of surrounding ferns to ensure your route does not disrupt the local hydrology.
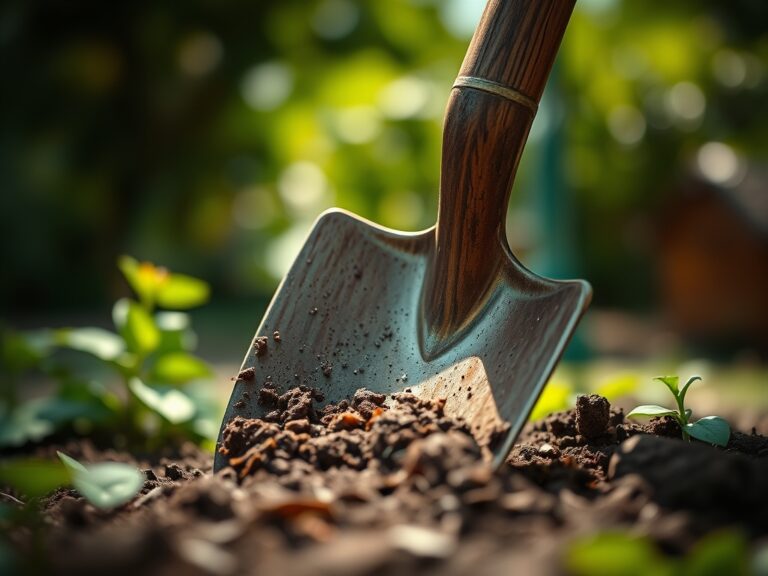
The forest floor is a living membrane. When you plan your layout, you are managing the gas exchange between the soil and the atmosphere. Heavy foot traffic collapses macropores; this leads to anaerobic conditions that kill beneficial aerobic bacteria. To avoid this, your design must follow the natural contours of the land. This prevents erosion and maintains the structural integrity of the slope. Every curve should serve a purpose; it redirects water runoff or protects a specific root flare. By integrating these scientific principles, your path becomes a permanent fixture of the ecosystem rather than a temporary intrusion.
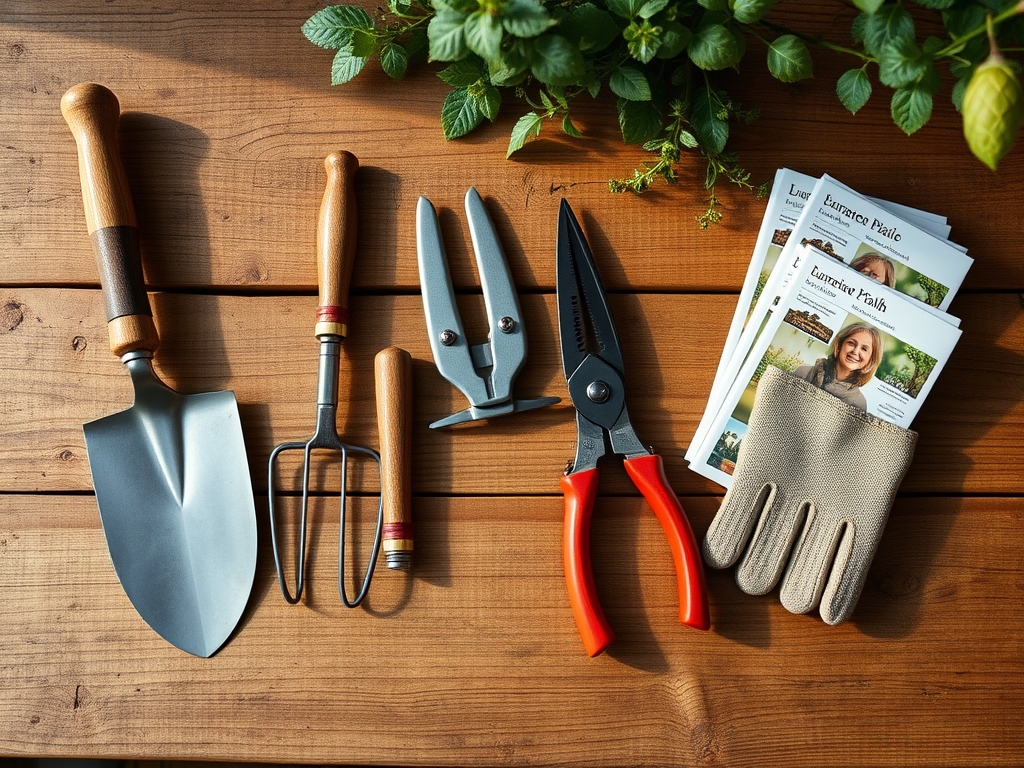
Materials:
The substrate of a woodland path must mirror the surrounding soil profile while providing structural stability. Ideal woodland soils are typically acidic; they maintain a **pH between 5.5 and 6.5**. This range ensures optimal availability of micronutrients like iron and manganese. The texture should be a **friable loam**; this consists of approximately 40 percent sand, 40 percent silt, and 20 percent clay.
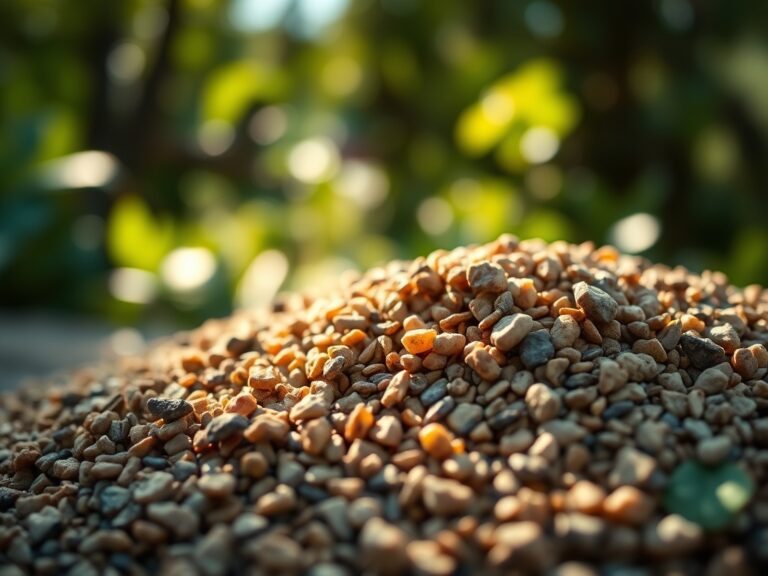
For the path surface, use organic mulches with a high carbon-to-nitrogen (C:N) ratio. Arborist wood chips are superior because they possess a C:N ratio of approximately 200:1. This high carbon content slows decomposition and prevents the rapid release of nitrates that could over-stimulate weed growth. If you are amending the surrounding soil to support path-side plantings, aim for an NPK ratio of 3-1-2. This ratio supports steady vegetative growth without causing the salt accumulation associated with high-analysis synthetic fertilizers. The Cation Exchange Capacity (CEC) of your path-side soil should ideally fall between 15 and 25 meq/100g. This ensures the soil can hold onto essential cations like Calcium (Ca2+) and Magnesium (Mg2+) despite heavy rainfall.
Timing:
Construction should align with the dormant season of the local flora. In Hardiness Zones 4 through 7, the window between the first killing frost and the spring thaw is optimal. This timing prevents damage to actively growing meristems and reduces the risk of soil compaction when moisture levels are high.
The biological clock of the forest dictates that most perennial species transition from the vegetative stage to senescence in late autumn. Working during this period minimizes the impact on the plants' metabolic processes. You must complete heavy excavation before the soil temperature drops below 40 degrees Fahrenheit. At this temperature, microbial activity slows significantly; the soil becomes harder to manipulate without destroying its structure. Spring installation is possible but requires completion at least four weeks before the last predicted frost. This allows the soil to settle before the rapid increase in auxin production triggers new spring growth.
Phases:

Sowing
If you are establishing a "living path" of moss or low-profile groundcovers, seed distribution must be precise. Distribute spores or seeds at a rate of 5 grams per square meter. Ensure the seed-to-soil contact is maximized by lightly tamping the surface.
Pro-Tip: Maintain consistent moisture to support germination physiology. Seeds require a specific water potential to break dormancy; if the seed coat dries out after imbibition begins, the embryo will suffer irreversible cellular collapse.
Transplanting
When moving native ferns or sedges to the path margins, preserve the entire root ball. Dig a hole twice as wide as the root system but no deeper. This prevents the plant from settling too deep; deep planting leads to stem rot and reduced gas exchange in the rhizosphere.
Pro-Tip: Avoid disturbing the mycorrhizal symbiosis. These fungal networks extend the reach of the root system; keeping the original soil intact ensures the plant retains its established nutrient-sharing connections with the surrounding forest.
Establishing
The establishment phase requires monitoring for at least one full growing season. Apply a 2-inch layer of organic mulch around new plantings to regulate soil temperature. This layer acts as a buffer against extreme fluctuations that can stress young vascular tissues.
Pro-Tip: Watch for phototropism in new plantings. If plants lean aggressively toward the path, they are seeking higher light intensity. Adjust your pruning of the overhead canopy to allow 10 to 20 percent more dappled light to reach the forest floor.
The Clinic:
Woodland plants are susceptible to specific physiological disorders caused by environmental stress or nutrient imbalances.
-
Symptom: Interveinal chlorosis on new leaves (yellowing between green veins).
-
Solution: This indicates an Iron deficiency, often caused by high soil pH. Apply chelated iron to the soil or lower the pH using elemental sulfur at a rate of 1 pound per 100 square feet.
-
Symptom: Marginal leaf scorch or browning edges.
-
Solution: This is a sign of drought stress or high salt accumulation. Increase irrigation to 1.5 inches per week and flush the soil with fresh water to leach excess salts.
-
Symptom: Stunted growth and purple tinting on the underside of leaves.
-
Solution: This is a Phosphorus deficiency. Phosphorus becomes immobile in cold, wet soils. Apply a bone meal supplement or a high-phosphorus starter fertilizer (NPK 5-10-5) to the root zone.
Fix-It: For general Nitrogen chlorosis (overall paling of older leaves), apply a slow-release organic nitrogen source like blood meal. This provides a steady supply of nitrogen without the risk of burning the delicate root hairs.
Maintenance:
Precision maintenance ensures the path does not revert to wild growth. Use a soil moisture meter twice weekly to check the hydration levels at a depth of 6 inches. The soil should remain consistently moist but never saturated. Aim for 1.5 inches of water per week delivered at the drip line of surrounding trees to prevent competition for resources.
Keep a sharp hori-hori knife for removing deep-rooted taproots like dandelion or dock that may emerge in the path. Use bypass pruners for any woody encroachment; make clean cuts at the branch bark ridge to facilitate rapid compartmentalization of the wound. Every two years, top-dress the path with 1 inch of fresh wood chips to replace what has been integrated into the soil through microbial action.
The Yield:
If your woodland path includes edible species like ramps or medicinal herbs like goldenseal, harvest timing is critical. Harvest ramps only when the leaves are fully expanded but before the flower stalk emerges. This ensures the bulb has stored enough carbohydrates for the following year.
Use a sharp blade to cut only 10 percent of any given colony to ensure sustainability. For flowers, harvest in the early morning when turgor pressure is at its peak. This prevents wilting. Place stems immediately into water cooled to 40 degrees Fahrenheit. This rapid cooling slows the respiration rate and preserves the "day-one" freshness of the plant tissue.
FAQ:
What is the best width for a woodland path?
A width of 36 to 48 inches allows two people to walk comfortably. This measurement prevents foot traffic from spilling over into the delicate root zones of path-side plants; it also provides enough space for maintenance equipment.
How do I stop weeds on a woodland path naturally?
Use a 4-inch layer of coarse wood chips over a layer of corrugated cardboard. This creates a physical and light-blocking barrier that prevents weed seeds from germinating while allowing gas exchange and water infiltration into the soil.
Which plants are best for path borders?
Select species adapted to low light and high humidity. Polystichum acrostichoides (Christmas Fern) and Carex pensylvanica (Pennsylvania Sedge) are excellent choices. They tolerate occasional foot traffic and have fibrous root systems that stabilize the soil.
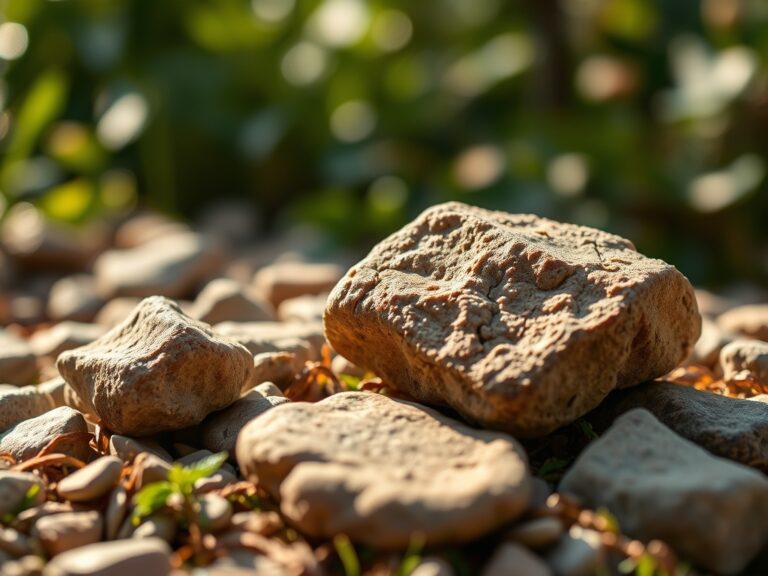
How do I handle drainage on a sloped path?
Install water bars at a 45-degree angle across the path. Use natural logs or stones partially buried to redirect water into "rain gardens" or vegetated swales. This prevents the path from becoming a channel for erosive runoff.