9 Professional Steps to Install an Automatic Gate
Damp earth emits a sharp, petrichor scent as the spade breaks the surface tension of a compacted loam. Maintaining the turgor of a healthy landscape requires precision engineering that balances structural integrity with botanical preservation. When you begin the steps to install an automatic gate, you are not merely placing a barrier; you are anchoring a mechanical system into a living rhizosphere. The weight of the gate must be offset by deep concrete footings that avoid disrupting the root systems of nearby perennial specimens. A successful installation demands an understanding of soil physics and structural load. You must ensure the gate swing or slide path remains clear of encroaching woody biomass. This process requires a 48 hour window of dry weather to allow for proper concrete curing and electrical conduit sealing. Failure to respect the mechanical and biological constraints of the site leads to motor burnout or root rot from poor drainage around the post holes.
Materials:
The substrate for the gate posts must be a friable loam with a **pH between 6.0 and 7.0** to minimize the oxidation of galvanized steel components. If the soil Cation Exchange Capacity (CEC) is high, it indicates a heavy clay content that will expand and contract with moisture levels, potentially shifting the gate alignment. Use a high strength concrete mix with an **NPK ratio of 0-0-0** for the base, ensuring no nitrogen leaching occurs near the foundation. You will need 12 gauge underground rated wire, a digital multimeter, and a heavy duty post hole auger. The gate itself should be powder coated steel or aluminum to resist the corrosive effects of high humidity and soil acidity. Ensure you have a bag of crushed stone for the bottom 4 inches of each hole to facilitate drainage and prevent anaerobic conditions around the base of the metal.
Timing:
Installation should occur in Hardiness Zones 3 through 10 during the dormant season or late spring after the final frost. In Zone 7, this window typically opens in mid April. The "Biological Clock" of the surrounding flora is critical; you must install the gate before the transition from vegetative to reproductive stages to avoid stressing plants during their peak energy expenditure. Soil temperature must be at least 55 degrees Fahrenheit to ensure the concrete cures at a rate that prevents internal fracturing. Avoid installation during periods of high transpiration, as heavy machinery near the root zone can cause immediate turgor loss in sensitive species like Hydrangea macrophylla.
Phases:

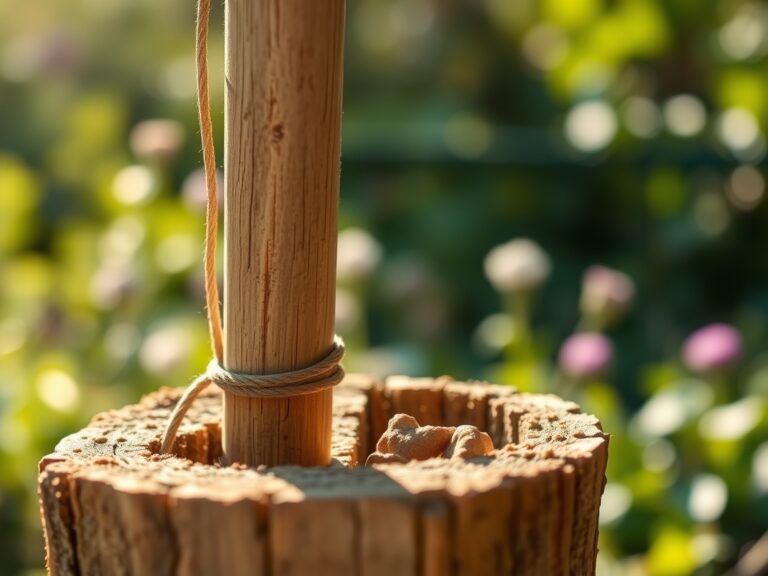
Sowing the Foundation
Excavate post holes to a depth of 36 to 48 inches, depending on the local frost line. The diameter must be at least three times the width of the post. Level the bottom with 4 inches of aggregate.
Pro-Tip: Ensure the hole walls are jagged rather than glazed. This increases the surface area for the concrete to bond with the soil, mimicking the way mycorrhizal symbiosis increases nutrient uptake by expanding the root surface area.
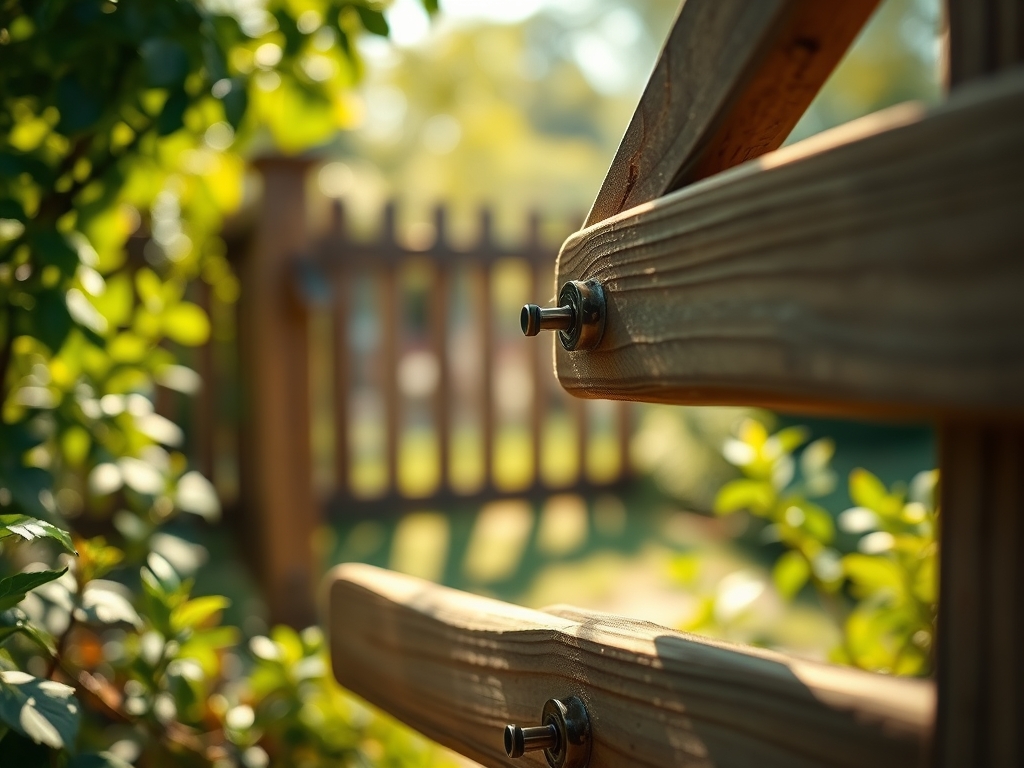
Transplanting the Hardware
Set the posts and pour the concrete, sloping the top of the pour away from the metal to prevent water pooling. Use a level to ensure a 90 degree vertical alignment. Once the concrete reaches 75 percent of its compressive strength, usually after 24 hours, hang the gate leaf on the hinges.
Pro-Tip: Lubricate hinges with a lithium based grease immediately. This reduces mechanical friction, much like how turgor pressure reduces internal resistance within a plant cell, allowing for smooth movement without structural fatigue.
Establishing the Automation
Mount the actuator arms and the control box. Run the electrical conduit through a trench at least 18 inches deep to avoid future damage from aeration or tilling. Wire the sensors and the battery backup system.
Pro-Tip: Position the infrared safety sensors away from dense foliage. This prevents "false triggers" caused by phototropism, where leaves grow toward the light source and eventually obstruct the sensor beam.
The Clinic:
Symptom: Gate motor hums but the leaf does not move.
Solution: Check for soil heave. If the ground has frozen and expanded, it may have lifted the post, causing the gate to drag. Re-level the hinges.
Symptom: Premature rusting at the soil line.
Solution: This indicates high soil acidity. Apply a lime buffer to the surrounding earth to raise the pH and reduce the concentration of hydrogen ions.
Symptom: Slow gate operation in summer.
Solution: Thermal expansion of the metal components. Adjust the limit switches to account for the linear expansion coefficient of the steel.
Fix-It for Nutrient Deficiencies:
If nearby plants show Nitrogen chlorosis (yellowing of older leaves) after installation, the soil was likely depleted during excavation. Apply a 10-10-10 water soluble fertilizer at a rate of 1 pound per 100 square feet to restore the nitrogen levels in the disturbed rhizosphere.
Maintenance:
Precision maintenance ensures longevity. Check the gate alignment every six months using a soil moisture meter to correlate gate movement with soil saturation levels. If the soil is dry, the gate may shift slightly outward. Apply 1.5 inches of water per week at the drip line of nearby trees to prevent the soil from shrinking away from the gate footings. Use a hori-hori knife to remove any deep rooted weeds growing within 12 inches of the motor housing. Prune any encroaching branches with bypass pruners to maintain a 24 inch clearance zone. Every spring, inspect the electrical housing for moisture ingress and clean the solar panels with a microfiber cloth to ensure maximum photoperiod efficiency.
The Yield:
A properly installed automatic gate provides a seamless transition between the public domain and the private sanctuary. The "yield" in this context is the mechanical reliability and the preservation of the surrounding landscape. Observe the gate operation; it should move silently with a consistent velocity. The surrounding turf should recover within 21 days if top dressed with a fine compost and reseeded with a species appropriate for your Hardiness Zone. Handle the final adjustments with the same care used for a post-harvest specimen to ensure "day-one" functionality for years to come.
FAQ:
How deep should I dig the gate posts?
Dig posts to a minimum of 36 inches or below the local frost line. This prevents soil heave from shifting the gate alignment during freeze thaw cycles. Proper depth ensures structural stability and long term motor health.
What is the best soil for gate stability?
A well draining, friable loam is ideal. High clay soils expand when wet and can push posts out of plumb. If you have heavy clay, backfill with crushed stone to improve drainage and reduce pressure.
Can I install an automatic gate near large trees?
Yes, but you must avoid the Critical Root Zone (CRZ). Digging near the trunk can cause moisture stress and limb dieback. Use a hand spade near roots to avoid tearing the vascular tissue of the tree.
How do I protect the electronics from moisture?
Ensure all wire splices are housed in NEMA 4X rated enclosures. Seal conduit entries with silicone. Maintaining a dry environment prevents short circuits and corrosion of the control board, extending the system's operational lifespan significantly.