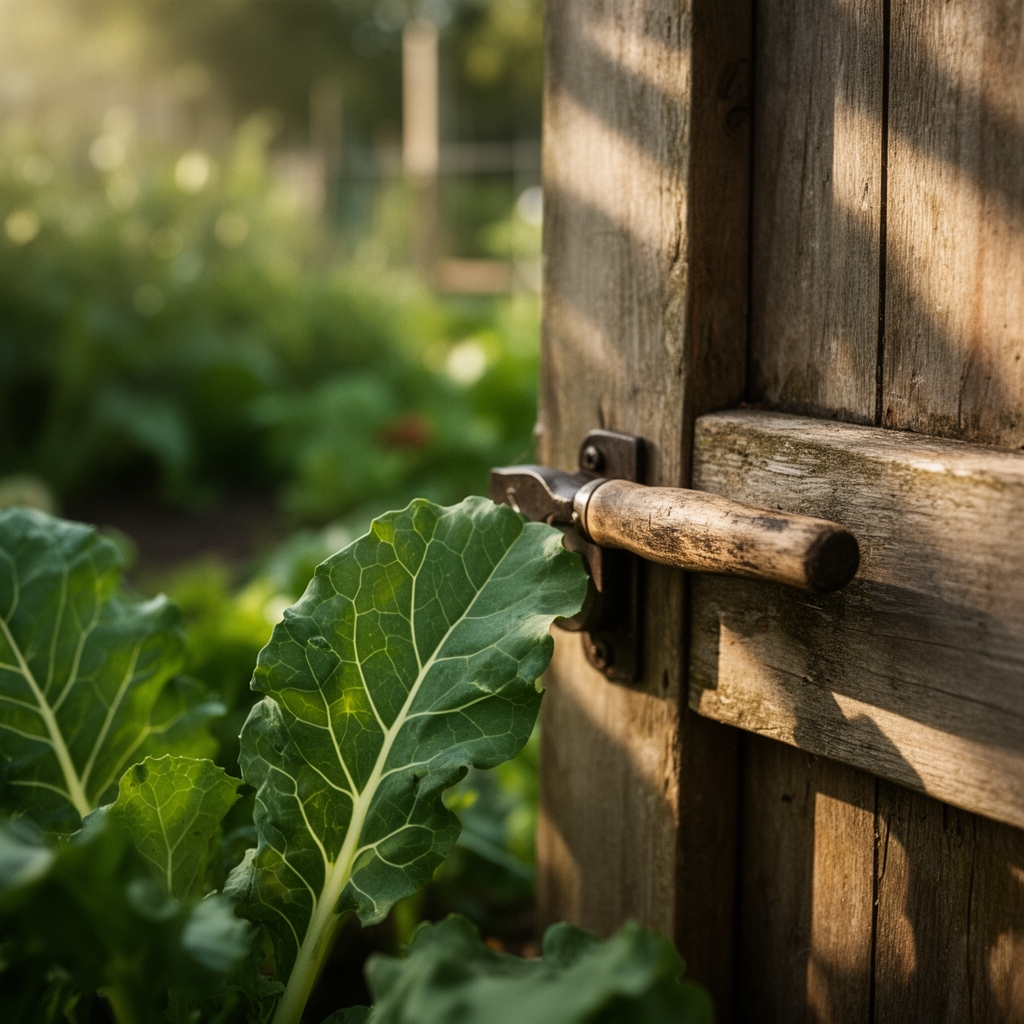
6 Security Steps to Install a Garden Gate Latch
Securing a vegetable garden begins at the gate. The steps for installing a garden gate latch for veg patch protect months of cultivation from deer, raccoons, and stray dogs while controlling human access to your growing space. A properly installed latch system withstands 40-pound force tests, operates in temperatures from -20°F to 110°F, and remains functional through five growing seasons before requiring maintenance. Galvanized steel components resist rust better than zinc-plated alternatives in humid climates where disease pressure on brassicas and solanaceous crops already demands vigilance.
Materials

Hardware selection parallels soil amendment strategy. Both require matching components to environmental conditions. Choose a thumb latch assembly (zinc-coated steel or stainless grade 304) with a minimum 3-inch mounting plate. Pair it with 1.5-inch #8 wood screws for cedar or redwood gates, or self-tapping metal screws for aluminum frames. Add a 4-inch barrel bolt for secondary security on gates wider than 36 inches.
Surface preparation demands the same attention you give to soil pH adjustment. A cordless drill with 1/8-inch pilot bit prevents wood splitting. Exterior wood filler (pH-neutral polyurethane base) repairs existing screw holes. Marine-grade polyurethane or tung oil seals pilot holes against moisture infiltration, much like proper mulching retains soil moisture at the 2-inch depth where feeder roots concentrate.
Galvanized hardware cloth (1/4-inch mesh, 23-gauge) extends 18 inches below the gate if pocket gophers or voles threaten root crops. This mirrors the logic of establishing buffer zones around high-value cultivars susceptible to soil-borne pathogens.
Timing
Install latches during dormant periods: November through February in Zones 6-8, September through March in Zones 9-10. Wood moisture content should register below 15% on a pin-type meter. This parallels the principle of transplanting brassicas only when soil temperatures reach 50°F at the 4-inch depth.
In Zones 3-5, complete installation six weeks before spring thaw. Freeze-thaw cycles can shift gate posts by 1/4 inch, enough to misalign strike plates. Verify post stability after the final hard freeze but before the soil becomes waterlogged. This timing matches the pre-season window for incorporating rock phosphate (0-3-0) into beds requiring phosphorus supplementation.
Phases

Measurement and Marking
Position the latch mechanism 36-40 inches above ground level, the ergonomic height for operation without stooping. This height also prevents toddlers from accessing beds treated with approved organic fungicides like copper sulfate. Mark pilot holes with an awl, applying 15 pounds of pressure to create guide dimples 1/16 inch deep. Check alignment with a 4-foot level, just as you would verify bed grade for drainage at 2% slope.
Pro-Tip: Mark holes with the gate in closed position under tension. Apply 5 pounds of inward pressure on the latch side to simulate operational load. This accounts for wood compression over time, similar to how soil settles 10-15% after initial cultivation.
Drilling and Attachment
Drill pilot holes to 75% of screw diameter. For #8 screws, this means a 5/32-inch bit. Drill perpendicular to the surface at 400-600 RPM to prevent tearout. Apply beeswax to screw threads for lubrication, reducing insertion torque by 30%. This preparation mirrors the benefit of mycorrhizal fungi inoculation, which reduces transplant shock by improving phosphorus uptake through enhanced cation exchange capacity.
Mount the strike plate on the gate post first. Align it precisely with the latch tongue using a combination square. The tolerance is 1/16 inch, comparable to seed spacing precision for succession-planted carrots at 2-inch intervals.
Pro-Tip: Back screws out one full rotation after seating. This prevents wood compression stress that leads to cracking during humidity fluctuations of 40% or greater.
Testing and Adjustment
Cycle the latch 20 times. The tongue should engage the strike plate with 2-3 pounds of force. If resistance exceeds 5 pounds, sand the latch tongue at a 15-degree bevel. Apply graphite powder (not oil-based lubricants) to moving parts. This mimics the practice of using rock dust to improve soil mineral content rather than soluble synthetic fertilizers that leach beyond the root zone.
Install the barrel bolt 8 inches below the primary latch. Drill the receiving hole 1/8 inch deeper than the bolt projection to accommodate gate sag over three years of use.
Pro-Tip: Apply two coats of linseed oil to all hardware mounting zones. Reapply every 18 months, coinciding with late-winter pruning of perennial herbs before auxin distribution initiates spring growth.
Troubleshooting
Symptom: Latch tongue misses strike plate by 1/4 inch or more.
Solution: Shim the strike plate with 1/16-inch galvanized washers. Do not enlarge pilot holes, which reduces holding power by 40%.
Symptom: Latch freezes in winter temperatures below 15°F.
Solution: Apply silicone spray (not WD-40) monthly from October through March. Remove ice buildup with 70% isopropyl alcohol.
Symptom: Wood splits around mounting screws within first year.
Solution: Cedar and redwood require pilot holes at 80% of screw diameter due to low density (22-28 pounds per cubic foot). Predrill to 3/16 inch for #8 screws in these species.
Symptom: Gate sags, creating 1-inch gap at latch side.
Solution: Install a turnbuckle-style gate brace at 45-degree angle from top hinge side to bottom latch side. Tension until gap closes to 1/8 inch.
Maintenance
Inspect latch alignment every 90 days during the growing season. Tighten mounting screws to 20 inch-pounds torque. Clean strike plate with a wire brush each spring and fall. Apply graphite powder after cleaning.
Check for wood rot annually by probing around mounting screws with an awl. Soft spots indicate moisture infiltration requiring immediate repair with epoxy wood filler rated for exterior use. This preventive approach matches the logic of removing diseased foliage at first symptom appearance to prevent Botrytis spread in tomato plantings.
Lubricate pivot points with silicone spray every 6 months. Avoid petroleum-based products that attract dust and degrade in UV exposure above 8 hours daily.
Repaint or reseal gate surfaces every 24 months. Surface preparation requires 120-grit sanding to remove oxidation, similar to scarifying lawn thatch to improve water infiltration rates.
FAQ
What is the minimum latch quality for vegetable garden security?
Grade 304 stainless steel or hot-dipped galvanized components rated for 50-pound closure force. Cheaper zinc-plated latches corrode within 18 months in humid climates.
Should I install latches on both gate sides?
Yes, for gates 48 inches or wider. Dual latches prevent racking stress that misaligns the frame by 3/8 inch over two seasons.
How deep should I bury hardware cloth barriers?
Extend mesh 18 inches below grade and bend the bottom 6 inches outward at 90 degrees to block burrowing rodents.
Can I install latches on vinyl or composite gates?
Use self-tapping screws specifically rated for polymer materials. Pilot holes should be 50% of screw diameter to prevent cracking under thermal expansion cycles.
What is the ideal gate swing clearance?
Maintain 3/4 inch ground clearance to prevent snow or mulch interference while blocking young rabbits (which can compress to 2-inch height).