7 Steps to Prepare a Decorative Garden Archway Site
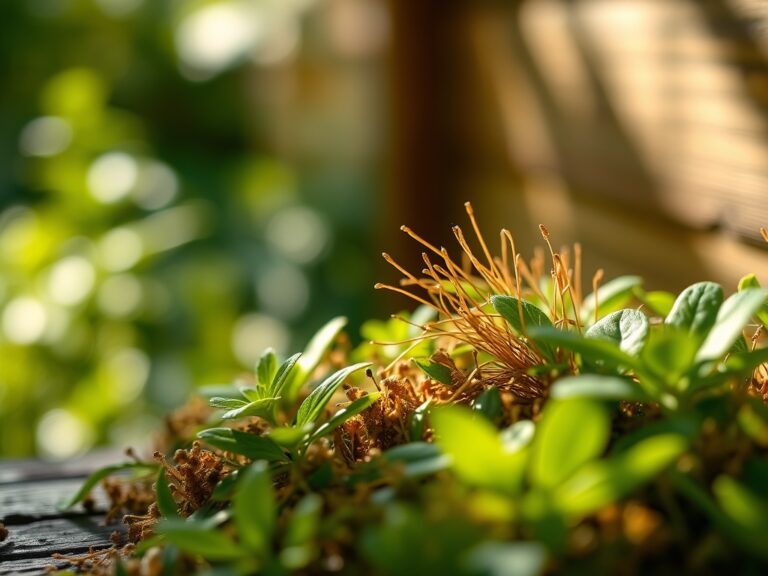
The smell of damp, anaerobic clay gives way to the metallic scent of freshly turned loam as the spade shears through the rhizosphere. Success in vertical horticulture depends on the structural integrity of the soil and the hydraulic conductivity of the root zone. Learning how to prepare a site for a garden arch requires more than aesthetic placement; it demands a rigorous analysis of soil mechanics and plant physiology. A stable archway must withstand wind loads while supporting the increasing biomass of woody perennials. Failure to establish a deep, nutrient-dense foundation leads to stunted turgor pressure and eventual structural collapse. By focusing on the Cation Exchange Capacity (CEC) and the physical density of the substrate, you ensure that climbing species can maintain the vascular efficiency needed to transport water ten feet above the soil line.
Materials:
The substrate must be a friable loam with a composition of approximately 40 percent sand, 40 percent silt, and 20 percent clay. This balance ensures adequate macropores for oxygen diffusion and micropores for water retention.
- Soil pH: Target a range of 6.2 to 6.8 to maximize the bioavailability of micronutrients like iron and manganese.
- Base NPK Ratio: A slow-release 5-10-5 fertilizer is preferred for initial site prep. High phosphorus (P) levels encourage robust primary and secondary root architecture without triggering excessive, weak vegetative growth.
- Organic Matter: Incorporate 3 inches of aged leaf mold to increase the CEC, allowing the soil to hold positively charged ions like Calcium (Ca2+) and Magnesium (Mg2+).
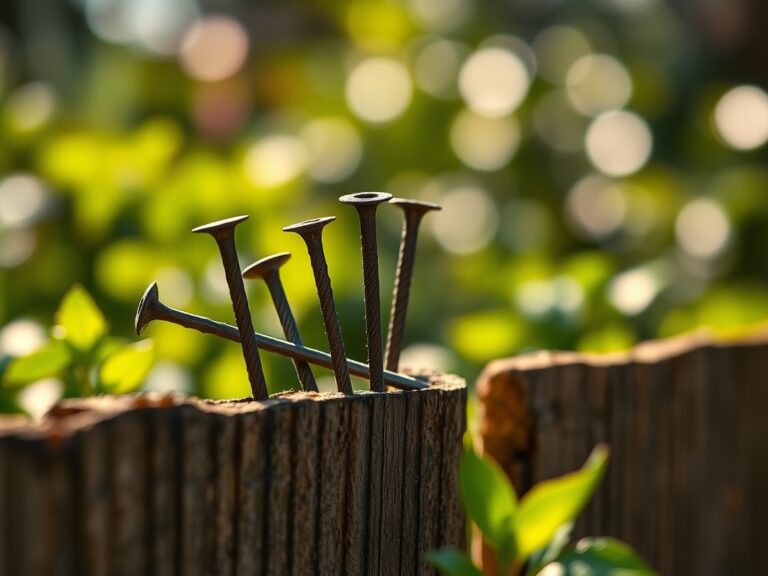
- Structural Anchors: Use 18-inch rebar stakes or concrete footings if the arch will support heavy woody vines like Wisteria or climbing Hydrangea.
Timing:
Site preparation should occur during the dormant season, typically 4 to 6 weeks before the last spring frost. In Hardiness Zones 5 through 7, this window usually opens in late February or early March. The goal is to allow the soil to settle and the microbial community to stabilize before the biological clock triggers the transition from dormancy to the vegetative stage.
Monitor the soil temperature with a probe; do not begin excavation until the soil consistently reaches 45 degrees Fahrenheit (7.2 Celsius). Working frozen or waterlogged soil destroys the crumb structure, leading to compaction that restricts root respiration. For fall installations in Zones 8 through 10, prepare the site in October to take advantage of the secondary root growth phase that occurs as photoperiods shorten and air temperatures drop.
Phases:
Sowing and Soil Amendment
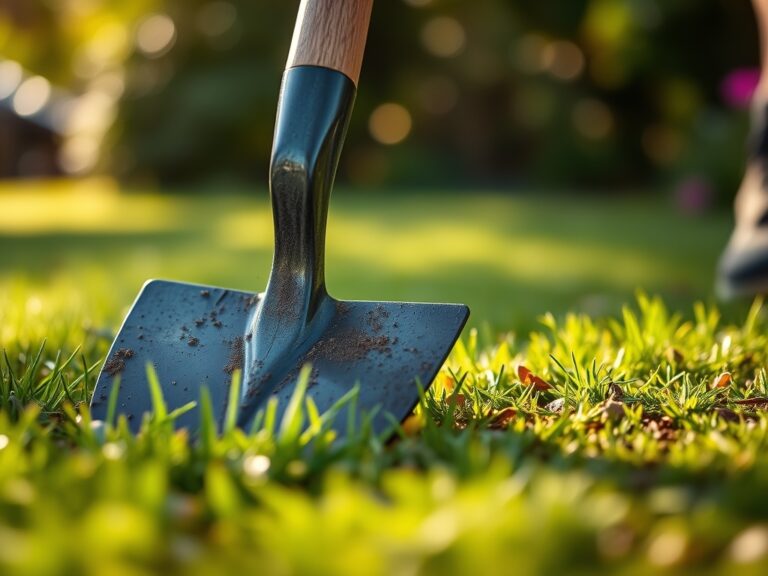
Excavate a footprint 24 inches deep and 18 inches wide for each vertical support of the arch. This volume provides ample space for the root system to expand without hitting the "pot-bound" effect of compacted native soil. Mix the native soil with the specified NPK amendments and organic matter.
Pro-Tip: Incorporate mycorrhizal fungi inoculants into the planting hole. Biological Why: This establishes a symbiotic relationship where the fungi extend the reach of the root system, increasing the surface area for phosphorus absorption and drought resistance.
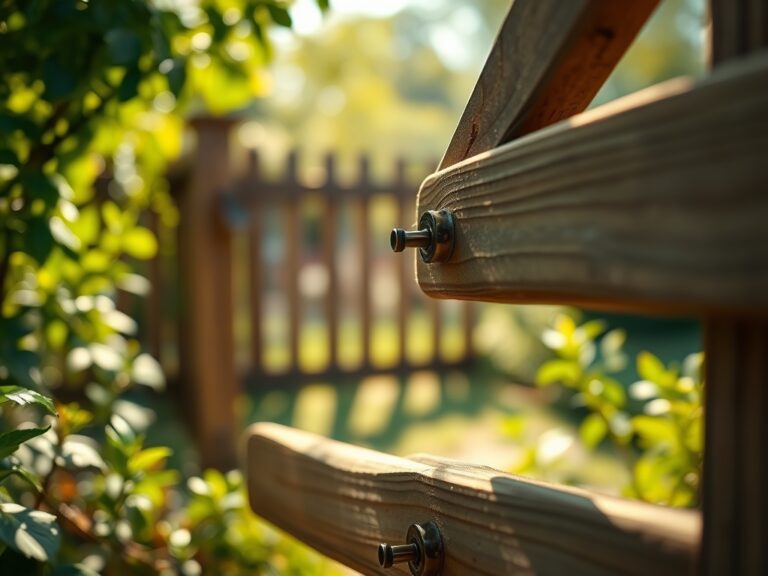
Transplanting and Anchoring
When placing the arch, ensure the vertical posts are perfectly plumb using a spirit level. If using container-grown climbers, tease the roots outward to prevent girdling. Set the crown of the plant exactly at the soil line; burying the crown can lead to stem rot and reduced gas exchange.
Pro-Tip: Use soft garden twine to tie main canes at a 45-degree angle rather than perfectly vertical. Biological Why: This suppresses apical dominance (auxin suppression) and stimulates lateral bud break, resulting in a more prolific display of foliage and flowers from the ground up.
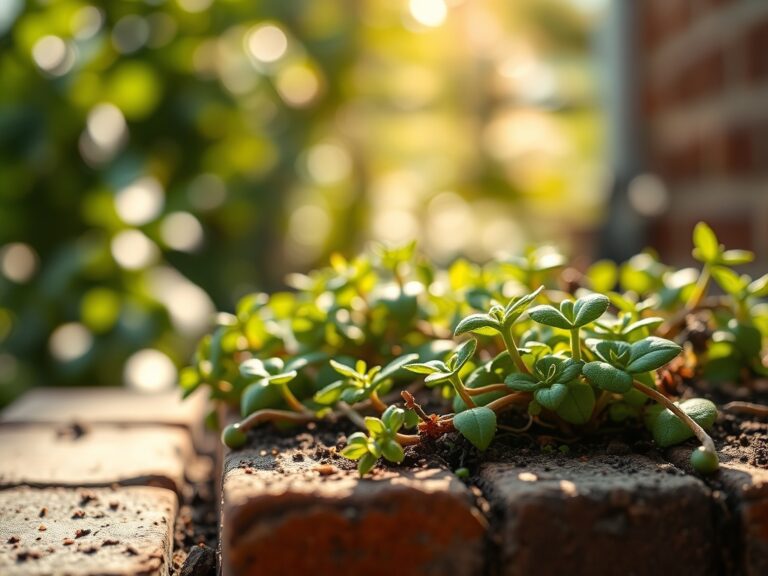
Establishing and Mulching
Apply a 2-inch layer of arborist wood chips around the base, keeping the mulch 3 inches away from the main stem. This regulates soil temperature and prevents moisture fluctuations that cause physiological stress.
Pro-Tip: Maintain consistent soil moisture during the first 12 months. Biological Why: High turgor pressure is required to drive cell elongation in the meristematic tissues, allowing the plant to reach the top of the arch within its first two growing seasons.
The Clinic:
Physiological disorders often manifest when the site preparation is inadequate or the nutrient profile is imbalanced.
- Symptom: Interveinal chlorosis (yellow leaves with green veins) on new growth.
- Solution: This indicates an Iron (Fe) deficiency, often caused by a pH above 7.0. Apply chelated iron and lower pH with elemental sulfur.
- Symptom: Purpling of older leaves and stunted growth.
- Solution: This is a classic Phosphorus (P) deficiency. Ensure the soil temperature is above 55 degrees Fahrenheit, as cold soils limit P uptake.
- Symptom: Marginal leaf burn on lower foliage.
- Solution: This suggests Potassium (K) deficiency or high salt accumulation. Flush the rhizosphere with 3 inches of water to leach excess salts.
- Fix-It for Nitrogen Chlorosis: If the entire plant turns pale green, apply a liquid seaweed or fish emulsion. Nitrogen is highly mobile; a quick-release organic source restores chlorophyll production within 7 to 10 days.
Maintenance:
Precision is required to maintain the health of an arched display. Use a soil moisture meter to ensure the root zone receives 1.5 inches of water per week, delivered at the drip line rather than the base of the stem. During the heat of mid-summer, increase this to 2 inches if the plant shows signs of midday wilt.
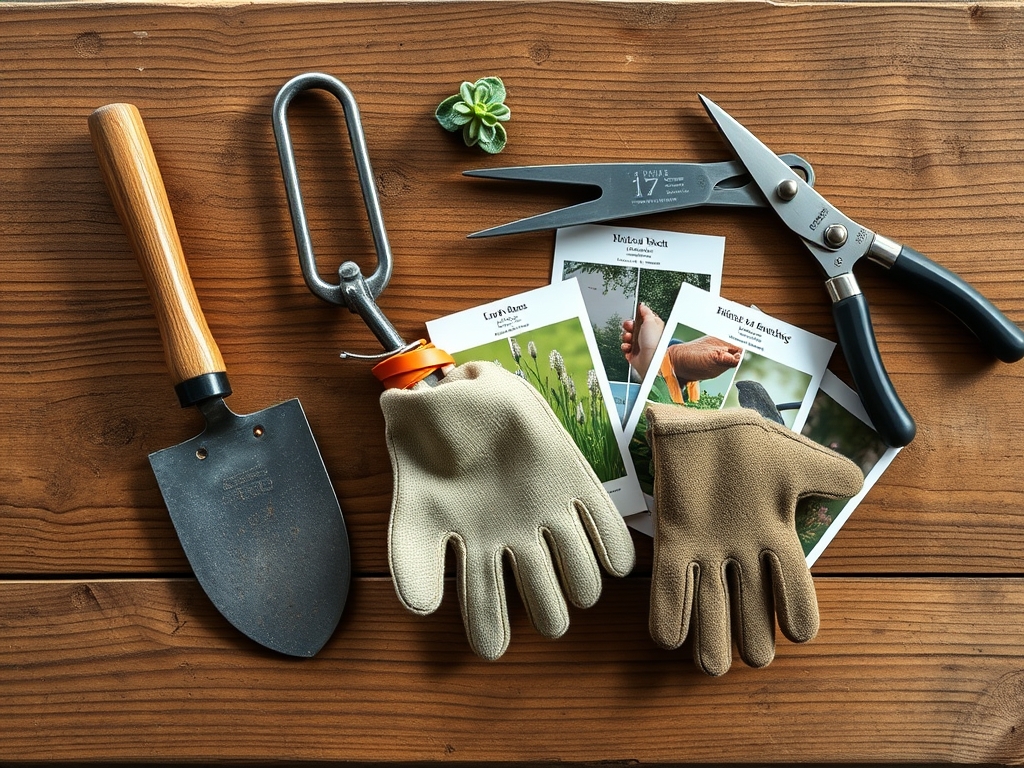
Utilize a hori-hori knife to remove deep-rooted perennial weeds that compete for nutrients within the arch footprint. For pruning, use sharp bypass pruners to make clean cuts at a 45-degree angle above a leaf node. This prevents water from pooling on the wound and reduces the risk of fungal pathogens entering the vascular system. Sanitize tools with 70 percent isopropyl alcohol between plants to prevent the spread of systemic infections.
The Yield:
If the arch features flowering species like Rosa or Clematis, timing the harvest is critical for longevity. Harvest flowers in the early morning when turgor pressure is at its peak and the plant is fully hydrated. Cut stems at a sharp angle and immediately submerge them in 100-degree Fahrenheit water to remove air bubbles from the xylem.
For edible yields like pole beans or hops, harvest when the fruit is firm but before the seeds reach full physiological maturity. This encourages the plant to continue diverting energy into reproductive growth rather than entering senescence. Post-harvest, keep the produce in a high-humidity environment at 40 degrees Fahrenheit to maintain "day-one" crispness and nutritional density.
FAQ:
What is the best soil pH for a garden arch?
A pH between 6.2 and 6.8 is ideal. This range ensures maximum availability of essential macronutrients and micronutrients. Use a digital tester to verify levels before adding any sulfur or lime amendments to the site.
How deep should I dig the footings for the arch?
Dig at least 18 to 24 inches deep. This depth provides structural stability against wind and allows for a significant volume of amended soil to support the extensive root systems required by vigorous climbing plants.
How much water does a climbing plant need?
Target 1.5 inches of water per week. Use a rain gauge or moisture meter to track levels. Apply water directly to the soil at the drip line to prevent foliar diseases and ensure deep root penetration.
When is the best time to install a garden arch?
Install during the dormant season, at least 6 weeks before the last frost. This allows the structure to settle and gives the gardener time to amend the soil chemistry before the spring vegetative growth surge begins.