7 Steps to Install a Decorative Rose Garden Arbor
Crushed basalt underfoot and the sharp, metallic scent of wet clay signal the start of a structural landscape project. Success depends on the turgor pressure of your climbing cultivars; if the vascular system cannot transport water to the highest apical meristem, the aesthetic fails. Executing the steps for installing a garden arbor requires more than basic carpentry. It demands an understanding of soil load-bearing capacity and the specific physiological needs of the Rosa genus. A rose arbor is a living machine. The structure must withstand wind shear while the soil provides the chemical foundation for rapid cane extension. You are building a permanent home for a perennial that can live for decades. This requires a transition from mere decoration to rigorous horticultural engineering. Proper installation ensures that the root zone remains undisturbed by structural shifting, allowing the plant to focus energy on glucose production rather than repairing root hairs damaged by an unstable foundation.
Materials:
The substrate must be a **friable loam** with a Cation Exchange Capacity (CEC) between **15 and 25 milliequivalents per 100 grams**. This ensures the soil can hold and exchange essential nutrients like calcium and magnesium. Roses thrive in a **pH range of 6.0 to 6.5**. If your soil is alkaline, incorporate elemental sulfur; if acidic, use pelletized lime.
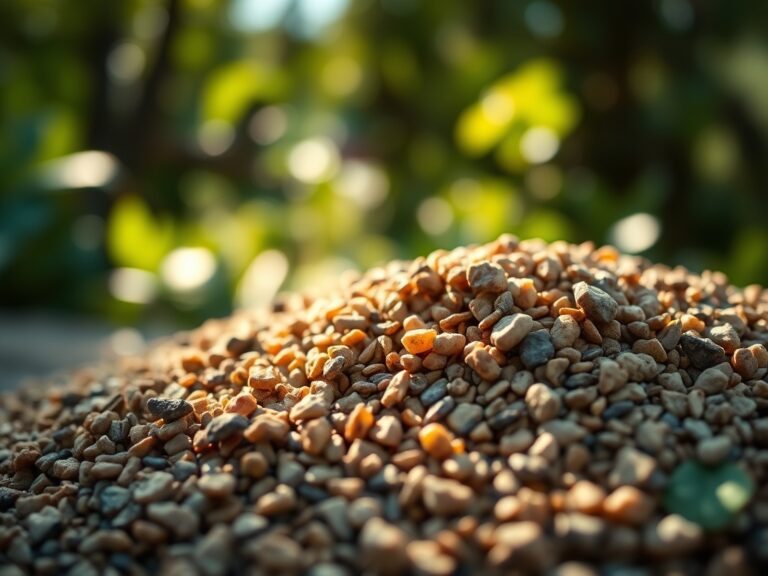
For the planting hole, prepare a customized nutrient profile. Use a 5-10-5 NPK ratio for initial root establishment. High phosphorus (the middle number) is critical for ATP production and root elongation. Avoid high nitrogen (above 10) during installation, as excess nitrogen can burn young feeder roots and promote weak, succulent growth susceptible to temperature fluctuations. Your material list must include 3/4-inch crushed gravel for the base of the post holes to prevent anaerobic conditions and root rot.
Timing:
In USDA Hardiness Zones 5 through 8, the optimal window for installation is late winter or early spring, specifically 4 to 6 weeks before the last predicted frost. This timing aligns with the plant's biological clock. As soil temperatures reach 40 to 45 degrees Fahrenheit, the rose exits dormancy and enters the vegetative stage.
Installing the arbor and the roses during this transition allows the root system to establish in the rhizosphere before the plant begins the high-energy process of leafing out. If you miss this window, you risk transplant shock. During the reproductive stage, the plant diverts carbohydrates to flower production, leaving little energy for structural root repair. Observe the bud swell; when the scales on the dormant buds begin to part, the biological window is closing.
Phases:

Sowing and Structural Foundation
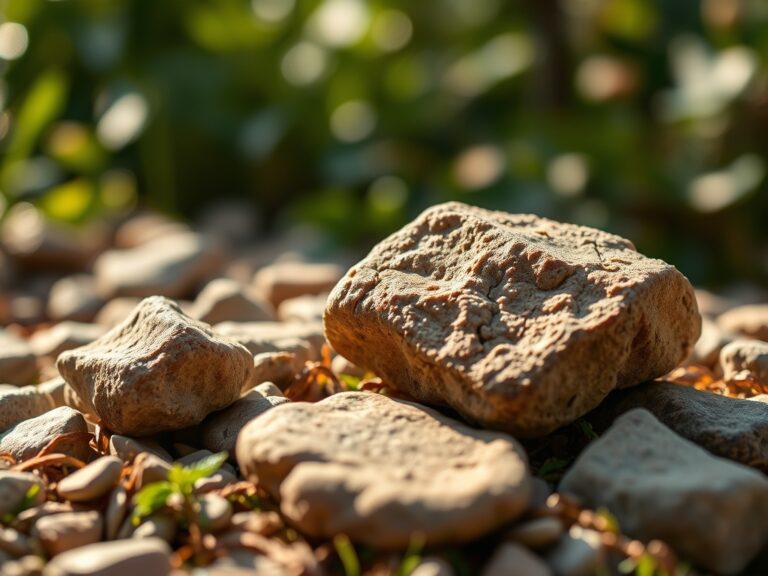
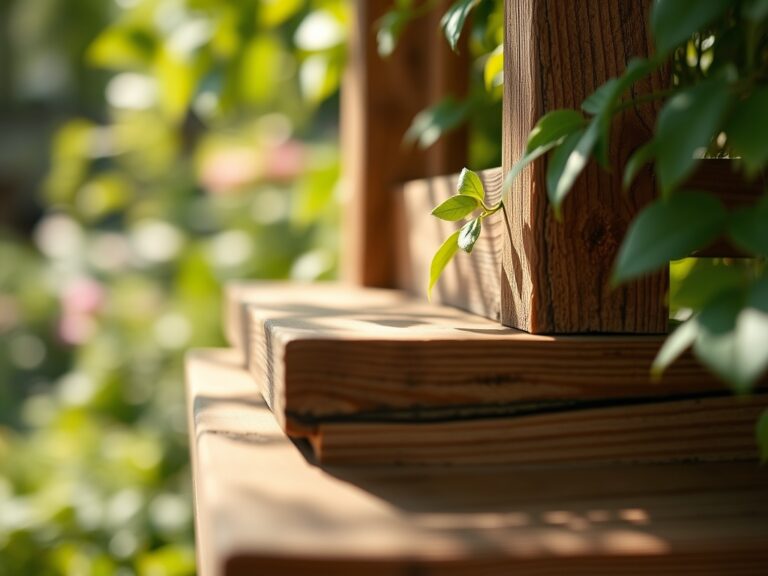
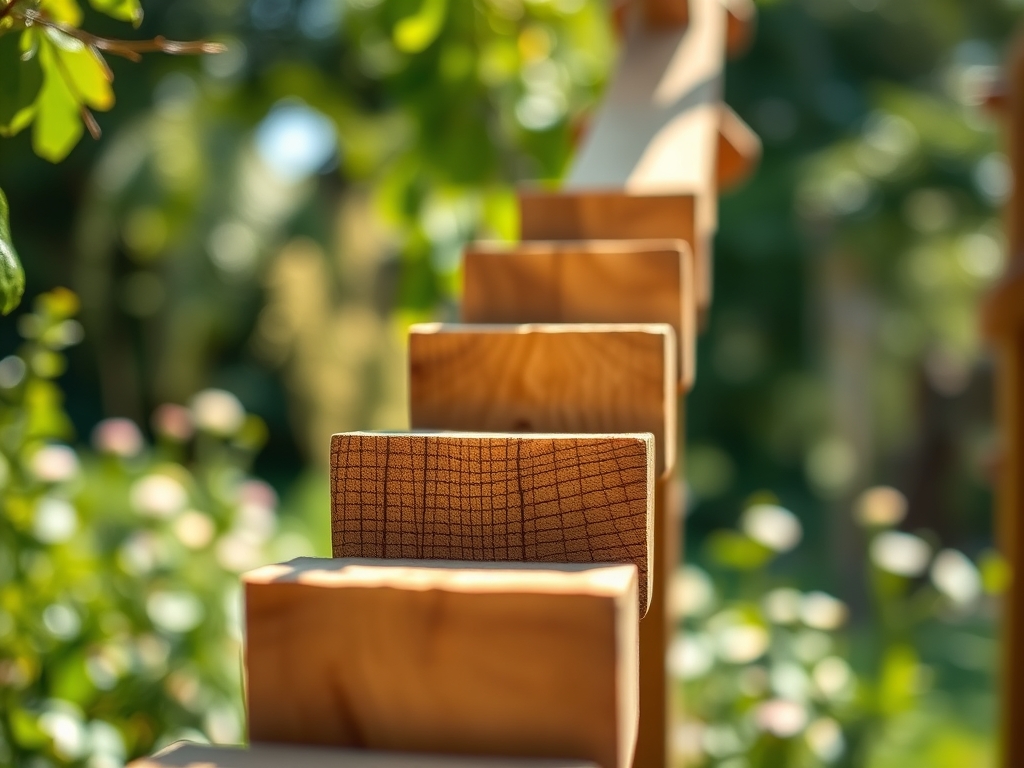
Excavate post holes to a depth of 24 to 36 inches, depending on your local frost line. Fill the bottom 6 inches with gravel to facilitate drainage. Secure the arbor posts using fast-setting concrete, ensuring the structure is perfectly level.
Pro-Tip: Proper leveling prevents uneven weight distribution as the rose develops heavy woody canes. This avoids thigmotropism issues, where the plant's growth response to touch is compromised by a shifting or vibrating support structure.
Transplanting the Climbers
Dig a planting hole twice as wide as the root ball but no deeper. Position the rose 12 inches from the arbor base. If the rose is grafted, bury the bud union 2 inches below the soil surface in colder zones to protect it from freezing. Spread the roots outward to maximize contact with the soil.
Pro-Tip: Inoculate the root zone with mycorrhizal fungi. This symbiotic relationship extends the reach of the root system, increasing the surface area for water and phosphorus absorption through fungal hyphae.
Establishing and Training
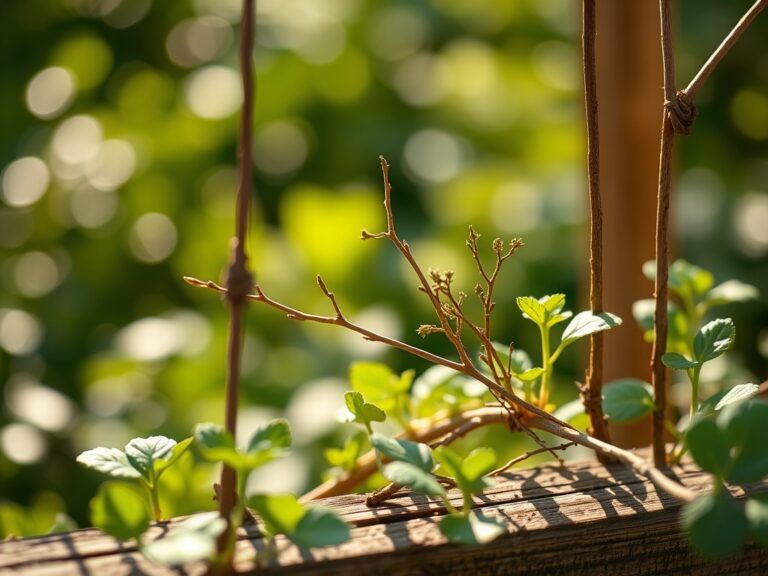
As new canes reach 18 inches in length, begin training them horizontally across the arbor. Secure them with soft garden twine, leaving enough space for the cane to expand in diameter without girdling.
Pro-Tip: Horizontal training suppresses apical dominance. By lowering the tip of the cane, you disrupt the flow of auxins (growth hormones). This triggers the development of lateral shoots, resulting in more flowers along the entire length of the arbor rather than just at the top.
The Clinic:
Physiological disorders often mimic mechanical damage. Use these diagnostics to maintain plant health.
- Symptom: Interveinal Chlorosis. The leaf is yellow, but the veins remain dark green.
- Solution: This indicates an Iron deficiency, often caused by high pH (above 7.0) locking up micronutrients. Apply chelated iron and adjust soil pH with sulfur.
- Symptom: Marginal Leaf Burn. Brown, crispy edges on older leaves.
- Solution: This is typically Potassium deficiency or salt accumulation. Flush the root zone with 5 gallons of water and check your NPK ratios for high sodium content.
- Symptom: Purplish Tint on Underside of Leaves.
- Solution: This signals Phosphorus deficiency, common in cold, wet soils where nutrient uptake is slowed. Apply a water-soluble high-phosphorus fertilizer once soil temps exceed 55 degrees.
- Symptom: Stunted Growth with Pale Leaves.
- Solution: Nitrogen chlorosis. The plant is cannibalizing nitrogen from older leaves to support new growth. Apply a 10-5-5 organic fertilizer to restore nitrogen levels in the rhizosphere.
Maintenance:
Precision is the difference between a surviving plant and a thriving one. Roses require 1.5 inches of water per week, delivered directly to the drip line. Avoid overhead irrigation to prevent foliar moisture, which encourages fungal spores. Use a soil moisture meter to verify that the top 6 to 8 inches of soil are consistently moist but not saturated.
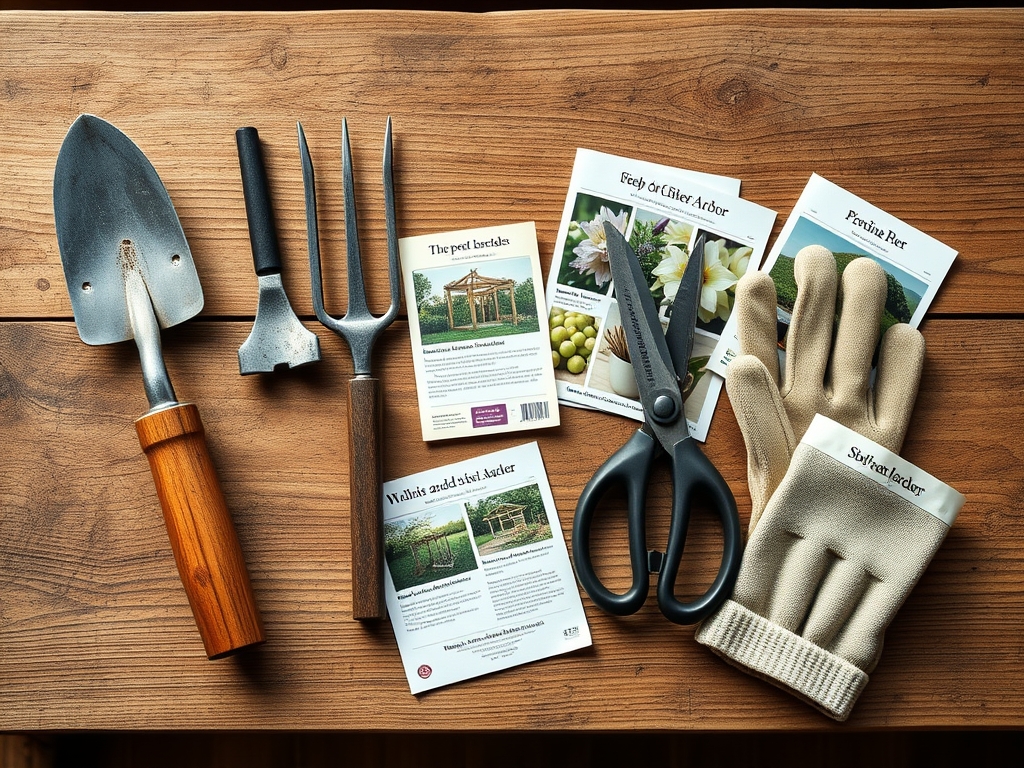
Pruning should be performed with sterilized bypass pruners to ensure clean vascular cuts. Use a hori-hori knife to remove competing weeds and maintain a clean 3-foot diameter mulch ring around the base. Apply 3 inches of organic mulch, such as shredded cedar, but keep it 4 inches away from the main stem to prevent crown rot.
The Yield:
For decorative roses, the yield is the floral display. Harvest blooms when the outer two petals are beginning to unfurl but the center remains tight. Use a sharp blade to cut at a 45-degree angle just above a five-leaflet leaf. This angle prevents water from pooling on the cut, which can lead to tissue necrosis.
To maintain "day-one" freshness, immediately submerge the stems in 100-degree Fahrenheit water containing a floral preservative. This warm water moves more quickly through the xylem, restoring turgor pressure and preventing the "bent neck" syndrome caused by air embolisms in the vascular tissue.
FAQ:
How deep should I set the arbor posts?
Set posts 24 to 36 inches deep. In regions with heavy freeze-thaw cycles, the post must sit below the local frost line to prevent heaving. Use 6 inches of gravel at the base for drainage to prevent wood rot.
What is the best NPK ratio for new roses?
Use a 5-10-5 ratio. High phosphorus (10) is essential for ATP production and root development during the establishment phase. Avoid high nitrogen (the first number) to prevent burning delicate new root hairs and encouraging weak, leggy growth.
How do I stop my arbor from leaning?
Ensure the base is set in fast-setting concrete on a leveled gravel pad. As the rose grows, its weight increases significantly. Check the structure annually for stability; use a spirit level to detect shifting before the plant's weight causes structural failure.
Why are my rose leaves turning yellow between the veins?
This is interveinal chlorosis, usually caused by an iron deficiency. It often occurs when soil pH rises above 7.0, making iron chemically unavailable. Test your soil pH and apply chelated iron to restore the plant's chlorophyll production.