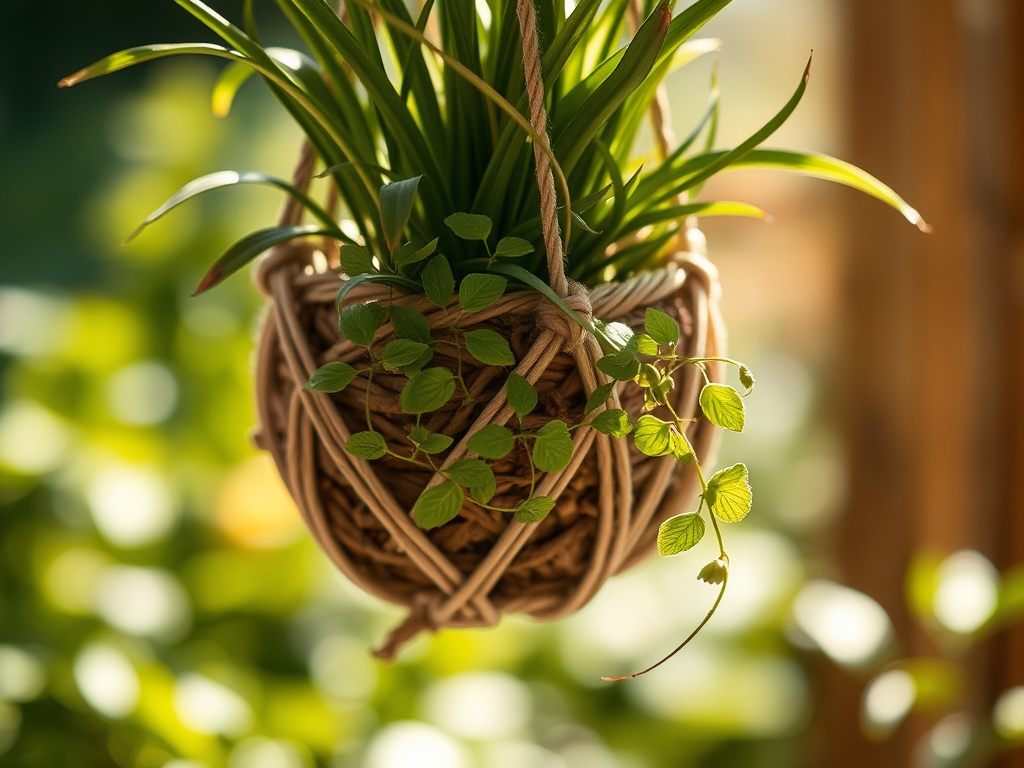
6 Creative Steps to Prepare a DIY Greenery Plant Hanger
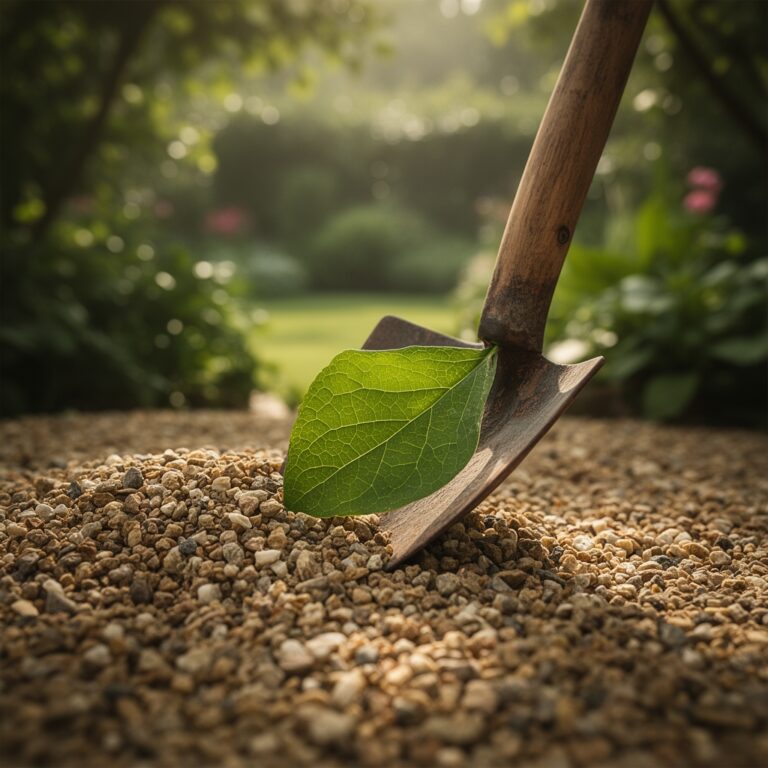
The smell of damp peat moss and the crisp snap of a leaf with high turgor pressure signal a successful indoor installation. Understanding how to prepare a DIY plant hanger requires more than aesthetic intuition; it demands a rigorous assessment of the mechanical load and the physiological needs of the specimen. A hanging environment subjects plants to higher ambient temperatures and faster evaporation rates. You must engineer a system that balances structural integrity with a thriving rhizosphere to ensure long term survival in elevated positions.
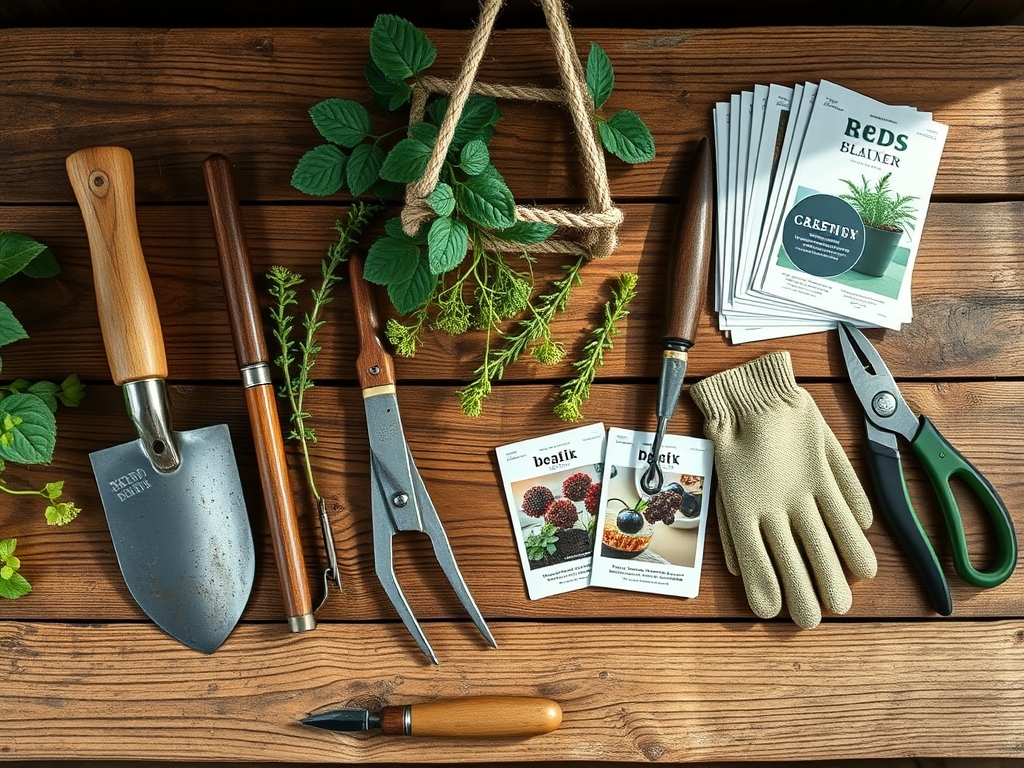
Materials:
The foundation of any hanging display is the substrate. For most tropical foliage, aim for a **pH between 5.8 and 6.5**. The ideal substrate is a friable loam composed of **40 percent peat or coco coir, 30 percent perlite for aeration, and 30 percent composted organic matter**. This mixture ensures a high Cation Exchange Capacity (CEC), allowing the roots to efficiently uptake essential ions.
Nutrient requirements must be precise. Incorporate a slow release fertilizer with an NPK ratio of 10-10-10 for balanced growth, or a high nitrogen 20-10-10 ratio if you are targeting rapid vegetative expansion. Ensure your support material, whether macrame cord or galvanized wire, is rated for at least three times the saturated weight of the container. A ten inch ceramic pot filled with wet soil can easily exceed fifteen pounds.
Timing:
Successful installation depends on the plant's biological clock. While indoor environments are sheltered, most species still respond to the photoperiod of their specific Hardiness Zone. In Zones 7 through 10, the ideal window for assembly and transplanting is early spring, specifically 14 to 21 days before the last frost date. This coincides with the plant's transition from dormancy to active vegetative growth.
During this phase, metabolic activity increases, and the production of auxins at the apical meristems stimulates root elongation. Avoid major structural changes during the reproductive stage (flowering) or late autumn senescence. Attempting to establish a new hanger when light levels drop below 1,000 foot-candles for extended periods will result in leggy growth and reduced leaf cuticle thickness.
Phases:
Sowing and Propagation
If starting from seed or cuttings, use a sterile seed starting mix. Maintain a constant soil temperature of 70 to 75 degrees Fahrenheit using a heat mat. For cuttings, ensure at least two nodes are submerged in the medium to take advantage of the undifferentiated cells capable of becoming roots.
Pro-Tip: Dip the proximal end of cuttings in an indole-3-butyric acid (IBA) solution. This synthetic auxin mimics the plant's natural hormones to trigger rapid adventitious root formation, significantly reducing the risk of pathogen entry before the callus forms.
Transplanting into the Hanger
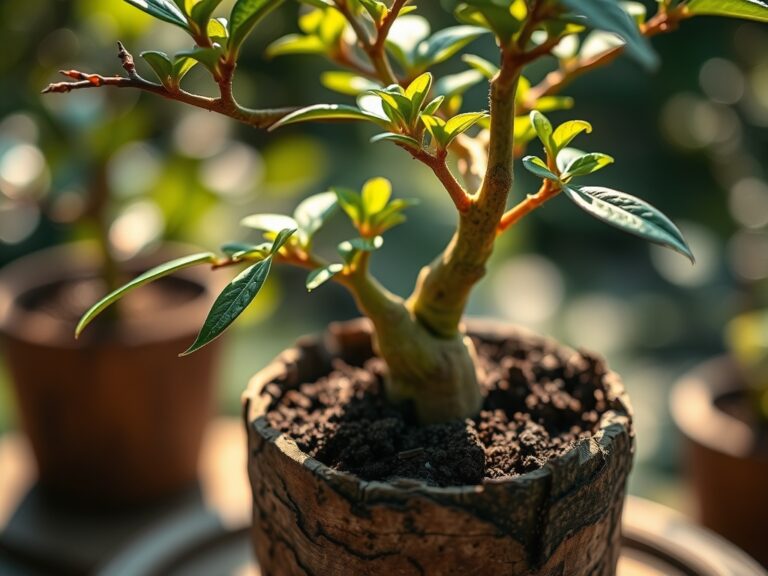
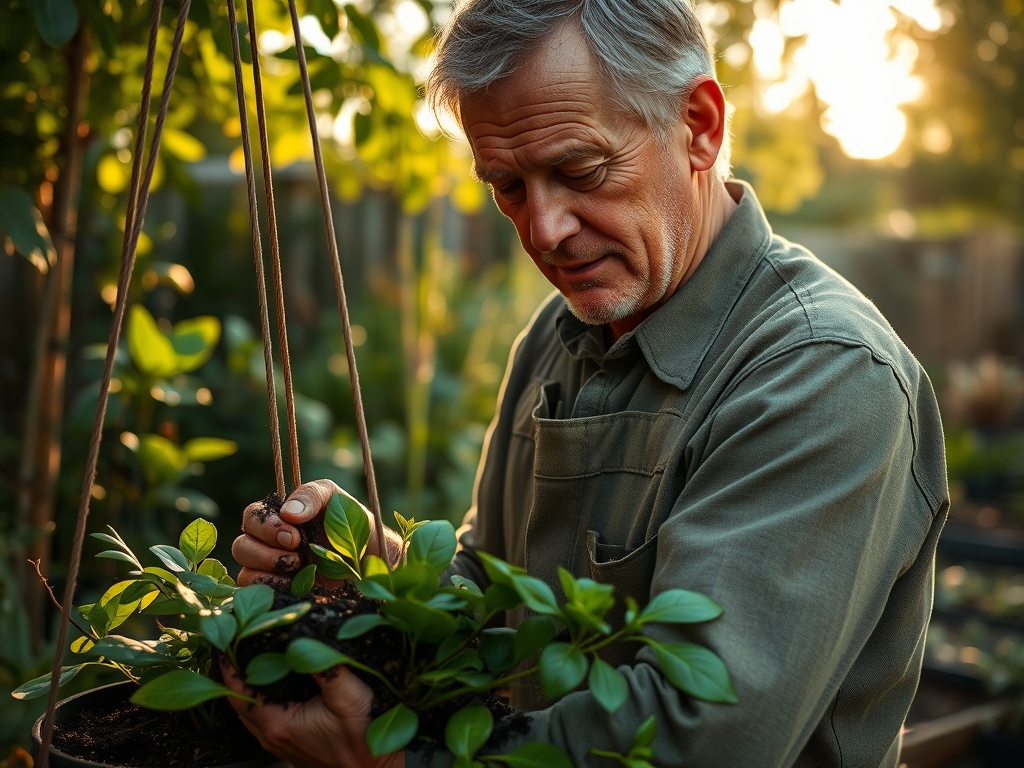
Select a container with adequate drainage apertures. Place a mesh screen over the holes to prevent substrate loss while allowing excess gravitational water to exit. Gently tease the root ball to break any circular growth patterns, which can lead to girdling in confined hanging pots. Position the plant so the crown sits 0.5 inches below the rim of the pot.
Pro-Tip: Inoculate the root zone with mycorrhizal fungi. This symbiotic relationship expands the surface area of the root system by up to 100 times, enhancing the uptake of phosphorus and water in the restricted volume of a hanging container.
Establishing and Hardening
Once the hanger is assembled, place it in a location with 50 percent filtered sunlight for the first ten days. This minimizes transpiration stress while the root system recovers from transplant shock. Observe the leaf angle; a drooping petiole indicates a loss of turgor pressure and the need for immediate hydration.
Pro-Tip: Rotate the hanger 90 degrees every seven days. This prevents extreme phototropism, where the plant leans excessively toward the light source, which can cause an uneven weight distribution and eventual mechanical failure of the hanger.
The Clinic:
Physiological disorders in hanging plants often stem from the microclimate near the ceiling, where temperatures can be 5 to 10 degrees higher than at floor level.
- Symptom: Interveinal chlorosis (yellowing between green veins) on new leaves.
- Solution: This indicates an Iron (Fe) deficiency, often caused by a pH above 7.0. Lower the pH using sulfur or chelated iron supplements.
- Symptom: Marginal leaf burn or "tip crisping."
- Solution: This is typically caused by salt accumulation from synthetic fertilizers. Flush the substrate with distilled water equal to two times the volume of the pot.
- Symptom: Abscission (dropping) of lower leaves.
- Solution: This is often a response to Nitrogen (N) deficiency. The plant mobilizes mobile nutrients from old growth to support new meristems. Apply a liquid 10-5-5 fertilizer to correct the deficit.
Maintenance:
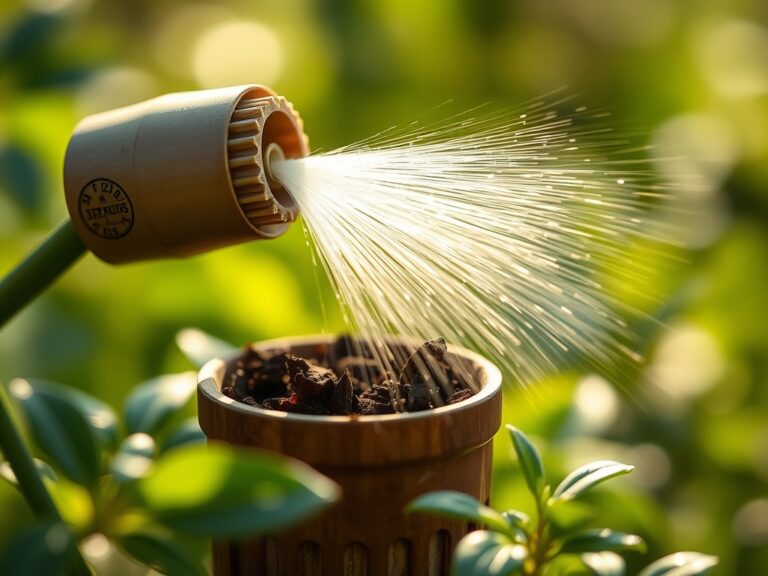
Hanging plants require disciplined monitoring. Use a soil moisture meter to ensure the root zone does not drop below 20 percent moisture content. Generally, provide 1.5 inches of water per week, delivered directly to the soil surface to avoid wetting the foliage, which can invite fungal pathogens.
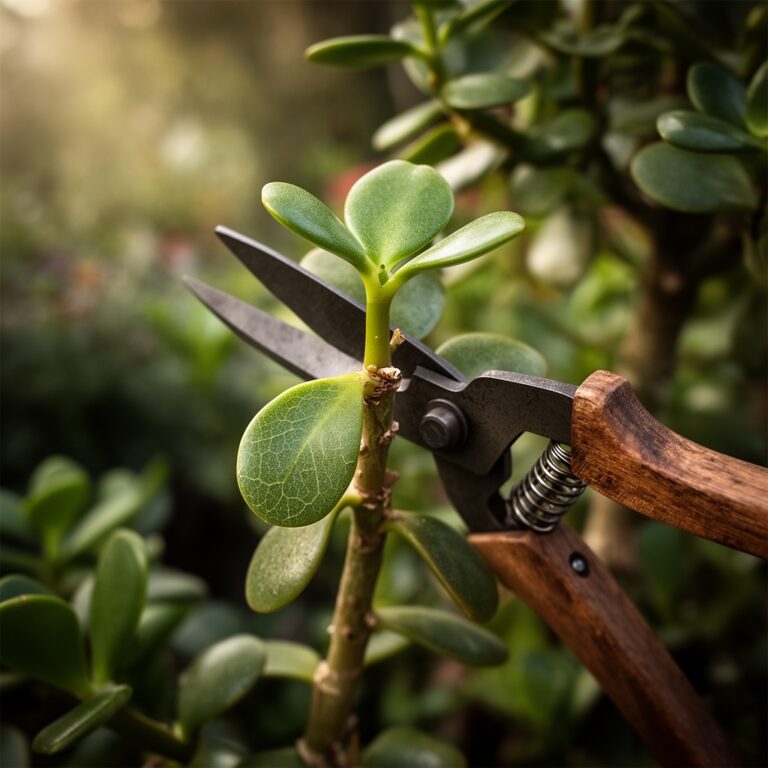
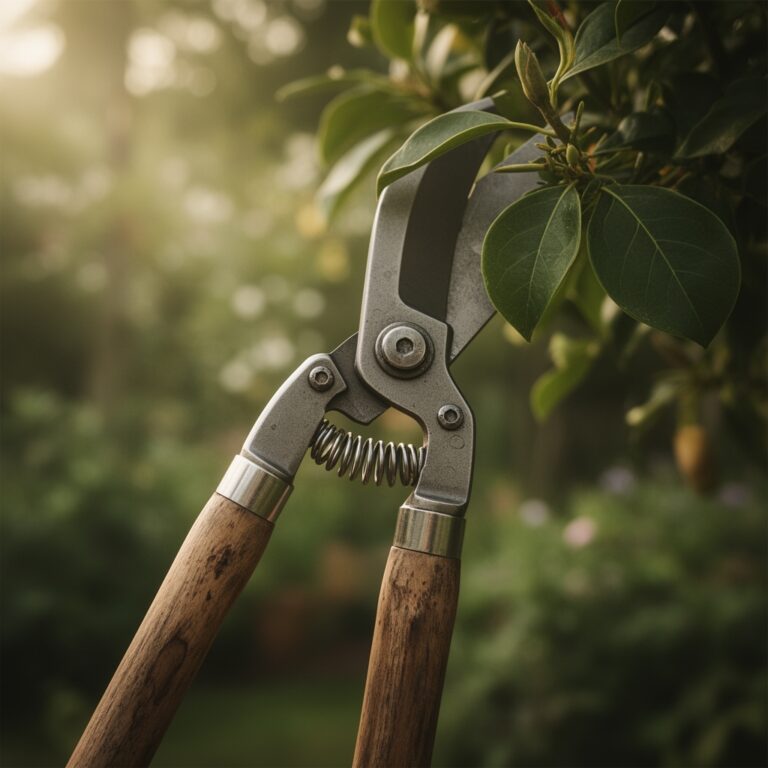
Keep a hori-hori knife for occasional soil aeration and bypass pruners for removing dead tissue. Pruning should be done with surgical precision; always cut at a 45 degree angle just above a node to encourage branching. If the plant becomes root bound, use the hori-hori knife to slice vertically through the outer inch of the root mass before repotting.
The Yield:
For those growing hanging herbs like prostrate rosemary or trailing nasturtiums, harvest timing is critical. Collect foliage in the early morning when essential oil concentration is at its peak and the plant is fully turgid. Use sharp snips to avoid tearing the vascular tissue.
Post harvest, submerge the cut ends in 40 degree Fahrenheit water immediately. This rapid cooling slows the metabolic rate and prevents the degradation of volatile compounds. For floral displays, removing spent blooms (deadheading) redirects energy from seed production back into vegetative vigor, extending the display period by several weeks.
FAQ:
How often should I water a DIY plant hanger?
Check moisture levels every three days. Hanging pots dry faster due to increased airflow. Water when the top one inch of substrate feels dry. Use a moisture meter to ensure the core stays between 40 and 60 percent saturation.
What is the best material for a DIY hanger?
Use nylon or polyester cord for high humidity areas to prevent rot. For heavy pots, use 14-gauge galvanized steel wire. Ensure all hooks are anchored into ceiling joists, as drywall alone cannot support a saturated plant's weight.
Why are my hanging plant leaves turning yellow?
Yellowing, or chlorosis, usually indicates overwatering or nutrient deficiency. If the soil is soggy, oxygen cannot reach the roots, causing rot. If the soil is dry, the plant likely lacks Nitrogen or Magnesium for chlorophyll production.
Can I use garden soil in a hanging pot?
No. Garden soil is too dense and lacks the necessary pore space for container drainage. It often contains pathogens. Use a professional soilless potting mix containing peat, perlite, and vermiculite to ensure proper aeration and weight control.