9 Stem-Stability Steps for Repotting a Tall Dragon Tree
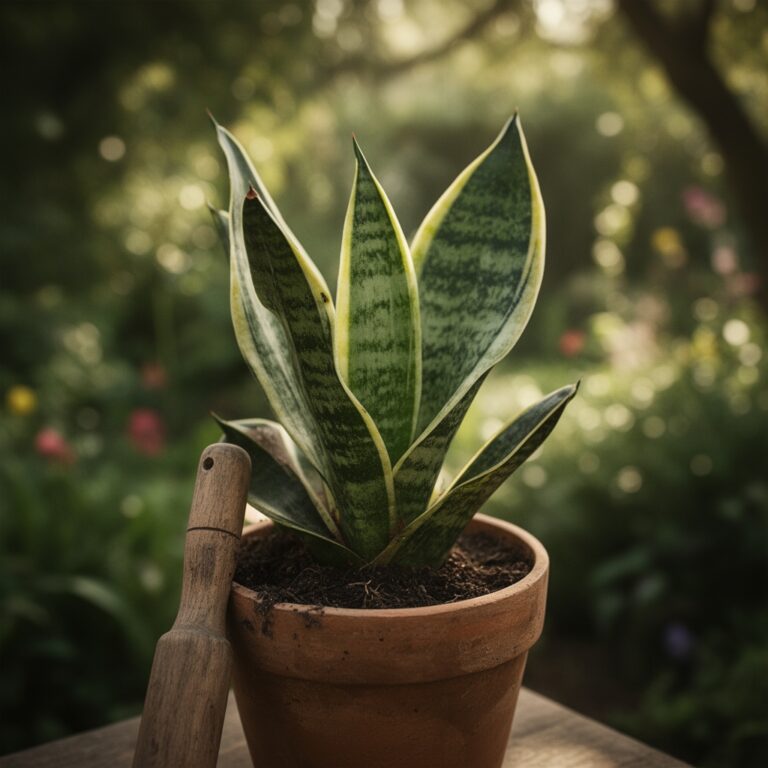
Damp peat moss releases a sharp, earthy scent as the potting bench preparation begins. A healthy Dracaena marginata displays high turgor pressure; its sword-shaped leaves should feel rigid and resist bending. When a specimen reaches six feet in height, the center of gravity shifts, making the root-to-shoot ratio critical for structural integrity. Executing the correct steps for repotting a dragon tree ensures the specimen does not succumb to mechanical failure or root rot during the transition. You must manage the rhizosphere with precision to maintain the plant's vertical posture. This process requires more than a simple container upgrade; it is a recalibration of the plant's entire support system.
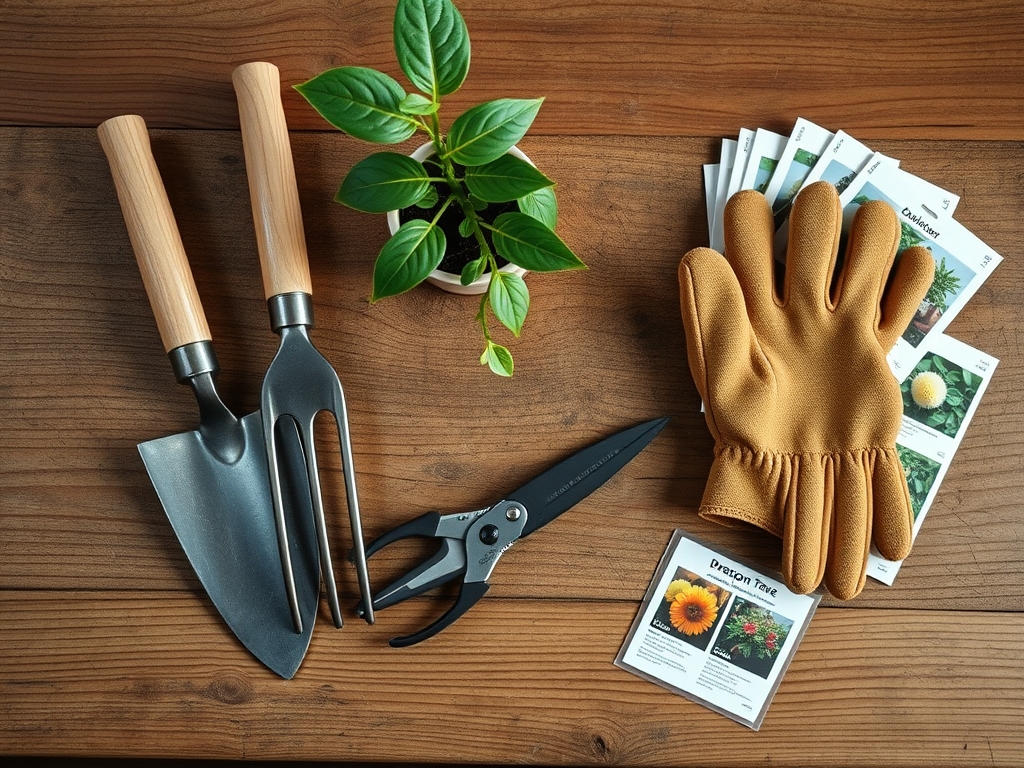
Materials:
Substrate selection dictates the long-term health of the dragon tree. The ideal medium is a **friable loam** consisting of 40 percent peat or coco coir, 30 percent perlite for aeration, and 30 percent pine bark. This mixture provides a high **Cation Exchange Capacity (CEC)**, allowing the roots to efficiently uptake ions like ammonium and potassium.
The target soil pH must fall between 6.0 and 6.5. Dragon trees are sensitive to fluoride; a slightly acidic environment helps mitigate fluoride toxicity which causes necrotic leaf tips. Use a controlled-release fertilizer with an NPK ratio of 3:1:2. This specific balance supports steady vegetative growth without inducing the rapid, weak elongation caused by excessive nitrogen. Ensure the new container is only 2 inches wider than the current root ball to prevent "perched water tables" where excess saturated soil leads to anaerobic conditions.
Timing:
Dracaena marginata is hardy in USDA Zones 10 through 12. For indoor specimens, the biological clock dictates that repotting occur during the onset of the active growing season, typically between late March and early May. This window aligns with increasing photoperiods, triggering the production of auxins in the apical meristems.
Avoid repotting during the winter senescence period when metabolic rates drop. If the plant is moved while dormant, the damaged roots will not regenerate quickly enough to prevent fungal pathogens from colonizing the wounds. Aim for a window at least four weeks before the local last frost date if the plant resides in a three-season porch; however, for true indoor climate control, focus strictly on the transition from the vegetative rest phase to active transpiration.
Phases:

Sowing and Preparation
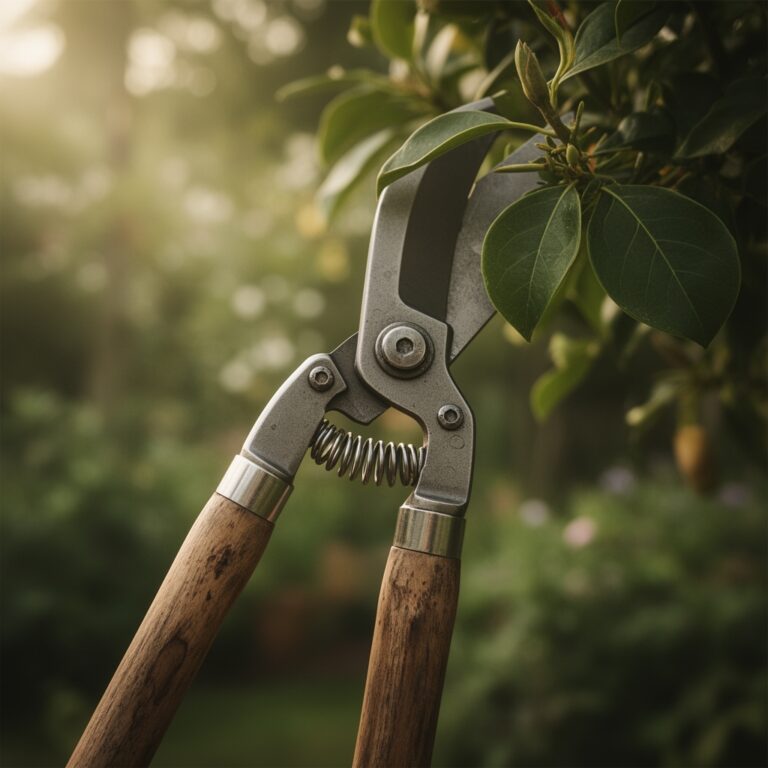
Before the tree leaves its current vessel, hydrate the root ball 24 hours in advance. This increases the elasticity of the root tissues, reducing the risk of mechanical snapping. Sterilize your bypass pruners with 70 percent isopropyl alcohol to prevent the transmission of pathogens. Lay the tree horizontally on a padded surface to protect the foliage from crushing.
Pro-Tip: Maintaining high cell turgidity before the move prevents "transplant shock." When cells are fully hydrated, the plant can better manage the temporary cessation of water uptake during the transition.
Transplanting
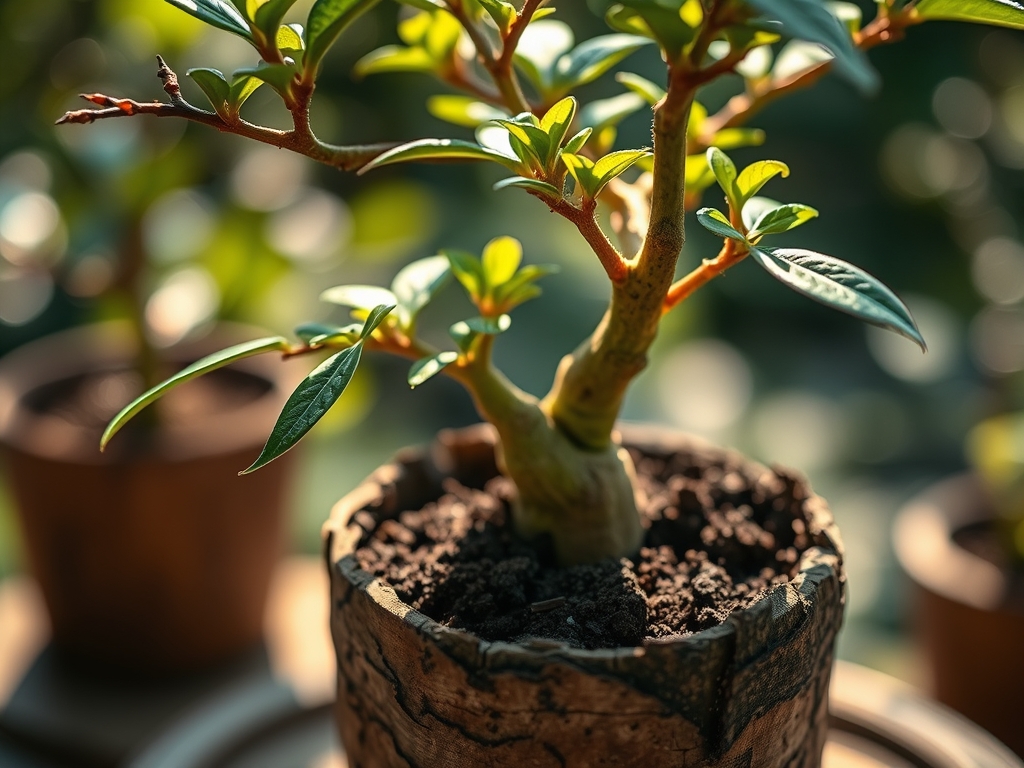
Gently slide the root ball from the container. Use a hori-hori knife to slice through any circling roots. This "root pruning" encourages lateral branching of the root system, which increases the surface area for nutrient absorption. Place the tree in the new pot, ensuring the "flare" of the trunk sits 1 inch below the rim. Backfill with the friable loam, tamping down firmly to eliminate large air pockets that can desiccate fine root hairs.
Pro-Tip: Pruning circling roots disrupts apical dominance within the root system. This suppression of primary root elongation triggers the growth of secondary roots, enhancing the plant's ability to anchor its significant height.
Establishing
Once the tree is upright, water it until the effluent runs clear from the drainage holes. This initial saturation settles the substrate and establishes "capillary action" within the soil. Place the tree in a location with filtered light; direct solar radiation immediately after repotting can lead to excessive transpiration that the compromised root system cannot match.
Pro-Tip: Mycorrhizal symbiosis can be encouraged by adding a fungal inoculant to the backfill. These beneficial fungi extend the reach of the root system, improving the uptake of phosphorus and water during the critical 14-day establishment period.
The Clinic:
Physiological disorders often manifest shortly after the steps for repotting a dragon tree are completed. Monitoring the foliage provides a direct readout of the plant's internal chemistry.
- Symptom: Yellowing of lower leaves (Chlorosis).
- Solution: This indicates a Nitrogen deficiency. Nitrogen is a mobile nutrient; the plant scavenges it from old growth to support new apical development. Apply a liquid 10-10-10 fertilizer at half strength.
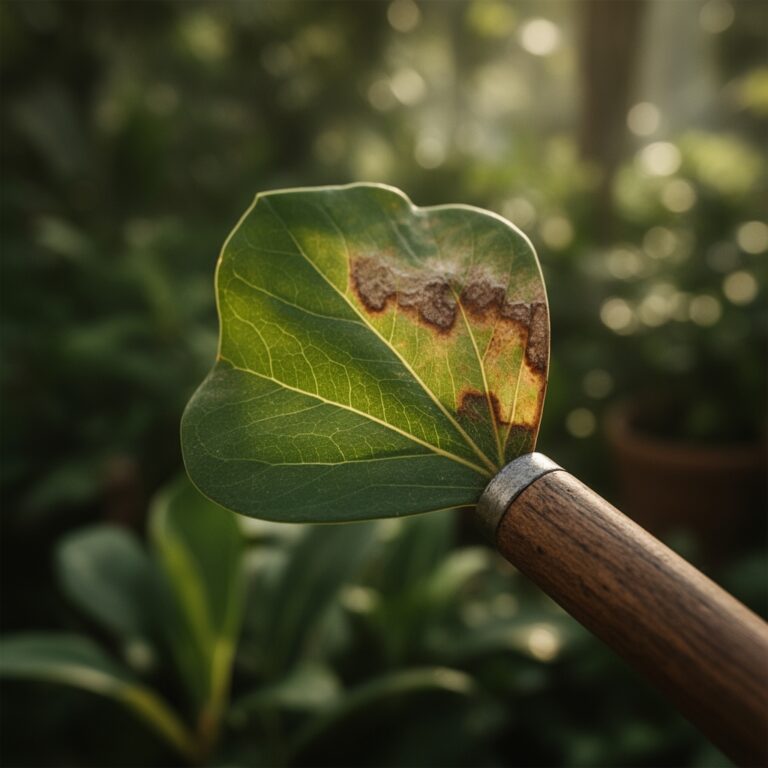
- Symptom: Brown, "burnt" leaf tips.
- Solution: This is often Fluoride or Boron toxicity. Switch to distilled water or rainwater. Ensure the soil pH has not risen above 7.0, as alkalinity increases fluoride solubility.
- Symptom: Soft, darkened stem base.
- Solution: This indicates Phytophthora root rot due to anaerobic soil conditions. Reduce irrigation frequency and ensure the drainage holes are not obstructed.
Fix-It: For general recovery, maintain a consistent temperature of 70 to 75 degrees Fahrenheit. Avoid moving the pot frequently, as this forces the plant to constantly reorient its leaves via phototropism, wasting precious metabolic energy.
Maintenance:
Post-repotting maintenance requires clinical precision. Use a soil moisture meter to verify that the top 2 to 3 inches of substrate have dried before re-watering. In a standard indoor environment, the tree typically requires 1.5 inches of water per week delivered directly to the root zone.
Do not fertilize for the first 6 weeks following the repot; the fresh substrate contains sufficient minerals, and excess salts can burn new root tips. Use bypass pruners to remove any foliage that shows more than 50 percent necrosis. When the plant reaches its desired height, you may pinch the terminal bud to encourage branching, though this will temporarily slow vertical progress.
The Yield:
While Dracaena marginata is not an edible crop, the "yield" is measured in biomass and structural stability. A successful repotting results in a 15 to 20 percent increase in leaf density within one growing season. To maintain "day-one" freshness of the foliage, wipe the leaves with a damp microfiber cloth every 30 days. This removes dust that blocks stomata and reduces photosynthetic efficiency. If you take cuttings for propagation, allow the "wound" to callous for 24 hours before placing it in a rooting medium to prevent vascular collapse.
FAQ:
How do I know when to repot my dragon tree?
Observe the drainage holes. If roots emerge from the bottom or the plant requires water more than twice a week, the root-to-soil ratio is imbalanced. Repotting is necessary to provide fresh minerals and room for expansion.
What is the best soil for a dragon tree?
A well-draining, porous mix with a pH of 6.0 to 6.5 is ideal. Use a combination of peat moss, pine bark, and perlite. This ensures high oxygen availability in the rhizosphere and prevents root rot.
Can I use tap water after repotting?
Tap water often contains fluoride and chlorine, which cause leaf tip necrosis in Dracaena species. Use distilled water, rainwater, or filtered water to maintain leaf integrity and prevent chemical stress on the new root hairs.
How deep should I plant the dragon tree?
Maintain the same soil level as the previous pot. Burying the trunk deeper can lead to stem rot, while planting it too shallow exposes the delicate root flare to desiccation. Leave 1 inch of space below the pot rim.