8 Crafty Steps to Build a Tree Bench
The smell of crushed pine needles and damp earth signals the ideal environment for a permanent garden installation. When the cambium layer of a tree is thick and the turgor pressure within the vascular system is at its peak, the surrounding soil is ready for structural integration. Learning the steps to build a tree bench requires more than basic carpentry; it demands an understanding of the specimen's root flare and the biological needs of the rhizosphere. You must account for the radial growth of the trunk to prevent girdling, which can lead to premature senescence. A successful build respects the tree's drip line and ensures that the soil compaction remains minimal. By following these technical steps to build a tree bench, you create a functional space without compromising the hydraulic conductivity of the host plant. The goal is a symbiotic placement where the timber structure and the living organism coexist for decades.
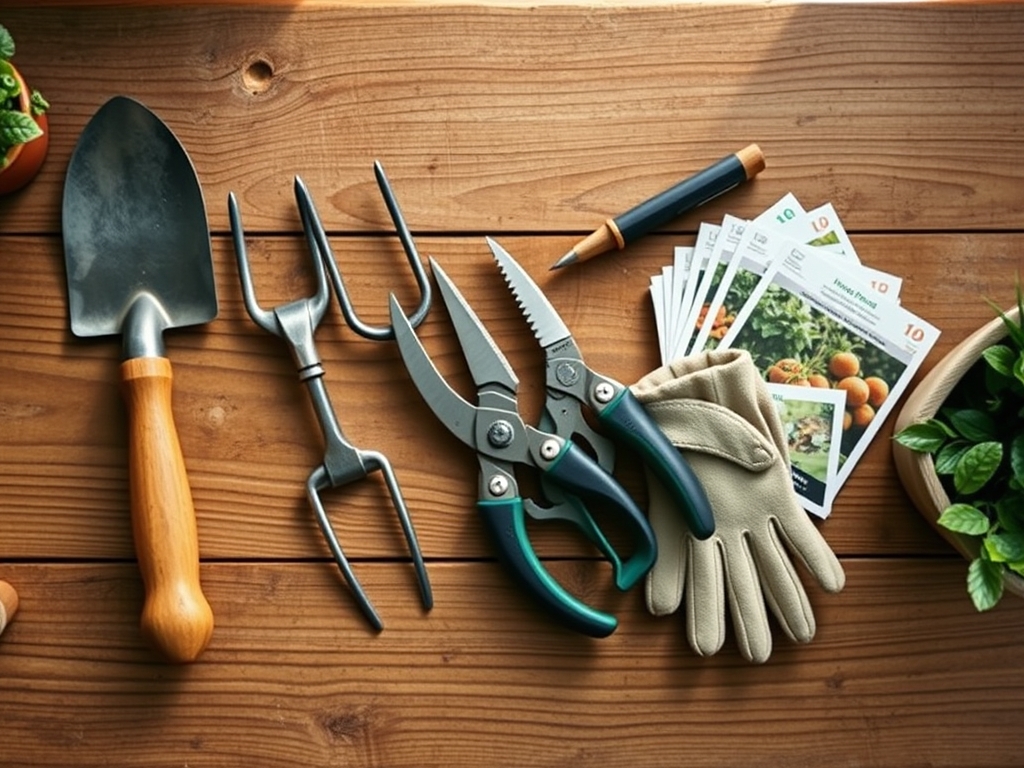
Materials:
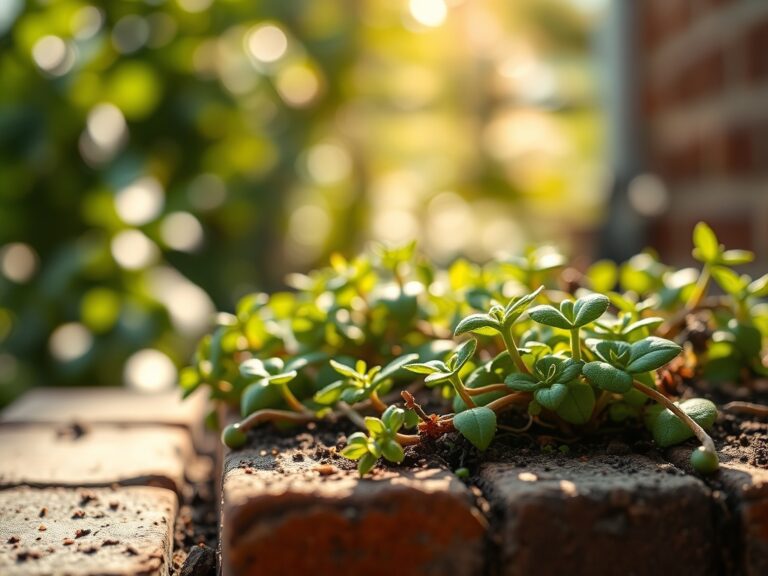
Before driving the first screw, analyze the substrate surrounding the tree. The ideal soil for long term stability is a friable loam with a pH between 6.0 and 7.0. High clay content leads to poor drainage and root rot, while sandy soils with a low Cation Exchange Capacity (CEC) may shift under the weight of the bench.
If the tree shows signs of nutrient deficiency, amend the soil within the drip line before construction. Use a balanced NPK ratio of 10-10-10 for general vigor, or a 5-10-5 ratio if you need to encourage root establishment without excessive vegetative growth. Ensure the wood used is rot resistant, such as cedar or pressure treated lumber, to withstand the constant moisture of the rhizosphere. You will need a soil moisture meter to monitor the hydration levels under the bench once the canopy coverage increases.
Timing:
Construction should align with the dormant season of the tree, typically between late autumn and early spring. In Hardiness Zones 4 through 7, this window occurs after the first hard frost but before the sap begins to rise in the spring. Monitoring the biological clock is essential; you want to avoid heavy foot traffic and soil compaction during the peak vegetative stage when the tree is actively transporting nutrients through the xylem.
By building during dormancy, you minimize the stress on the root system. If you are working in Hardiness Zones 8 through 10, schedule your build for the coolest months to avoid heat stress on both the carpenter and the plant. Ensure the ground is not frozen solid, as you need to clear the surface duff to assess the root flare accurately.
Phases:
Sowing the Foundation
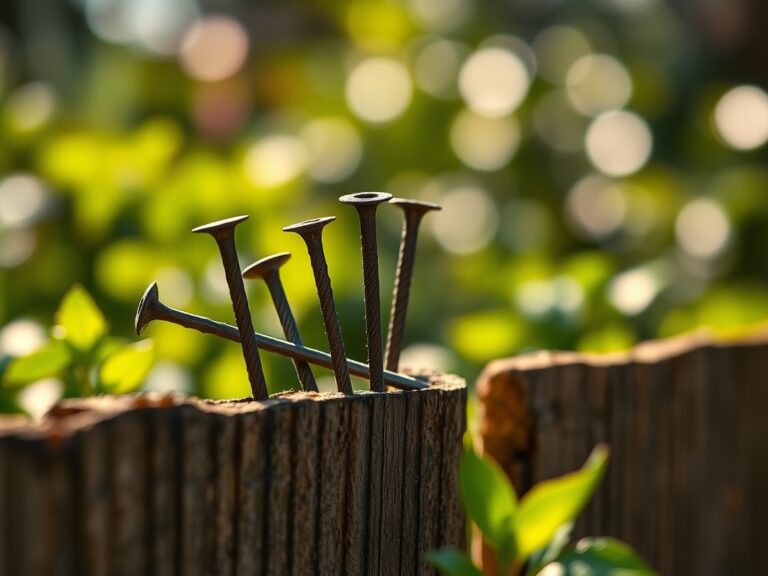
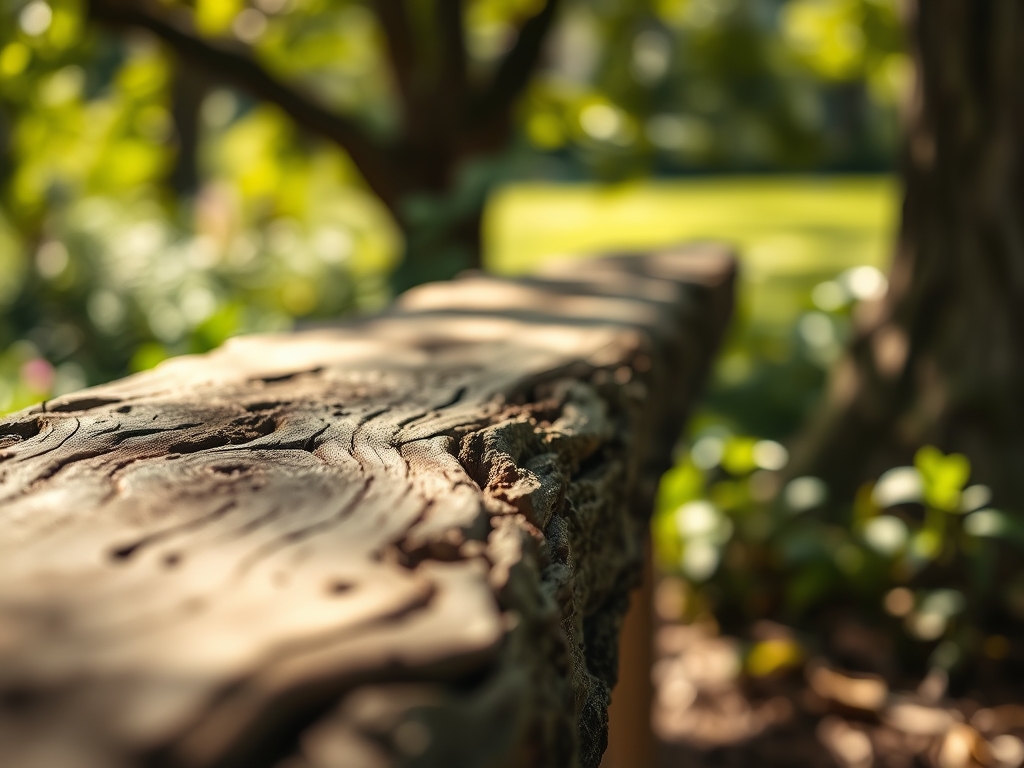
The first of the steps to build a tree bench involves clearing the area. Use a hori-hori knife to gently scrape away the organic matter around the base. Do not dig deep holes for posts; instead, use deck blocks or floating footings to avoid severing major lateral roots. Maintain a 6 inch gap between the bench frame and the bark to allow for secondary growth.
Pro-Tip: Maintaining a gap prevents the accumulation of moisture against the trunk, which can invite fungal pathogens. This protects the phellogen (cork cambium) from decay and ensures the tree's gas exchange remains efficient.
Transplanting the Design
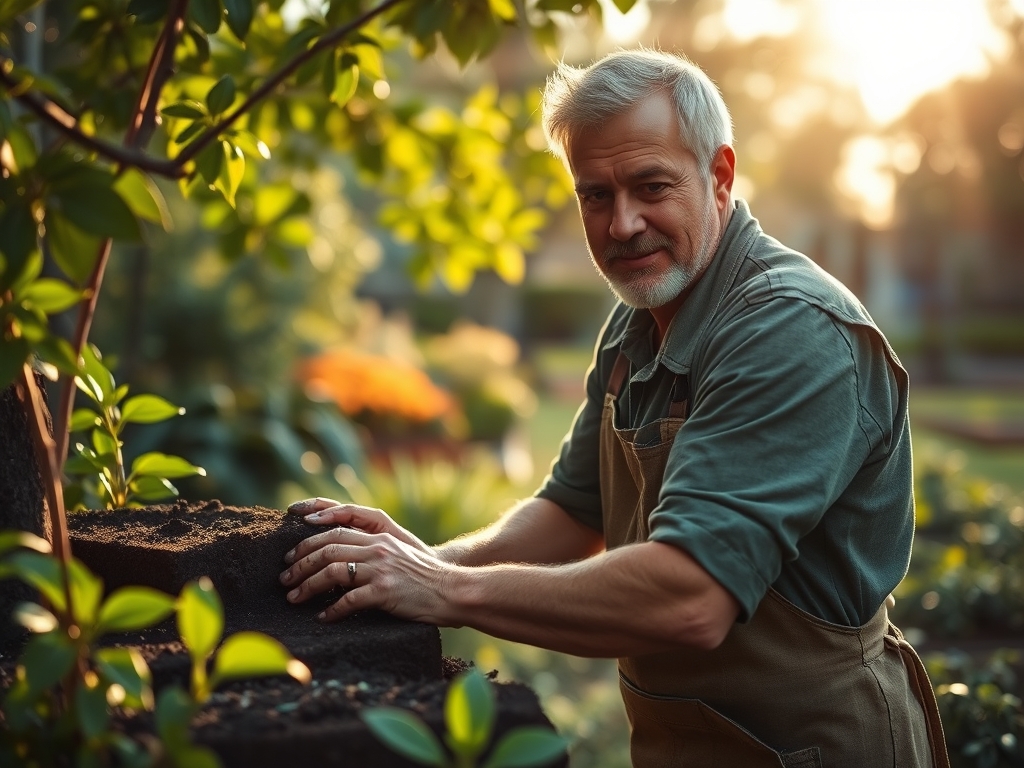
Assemble the hexagonal or circular sections away from the tree to minimize soil compaction. Use 3 inch stainless steel screws to ensure structural integrity. When moving the sections into place, use boards to walk on so your weight is distributed across the soil surface. This prevents the collapse of macropores in the soil, which are vital for oxygen diffusion to the roots.
Pro-Tip: Avoiding soil compaction preserves the mycorrhizal symbiosis in the soil. These beneficial fungi extend the root system's reach; compacted soil suffocates these organisms and reduces the tree's ability to uptake phosphorus.
Establishing the Structure
Level each section using a spirit level. The seat height should be approximately 18 inches from the ground. Once the frame is level, attach the backrests, ensuring they angle slightly outward for comfort. Finalize the installation by applying a UV resistant sealant to the wood.
Pro-Tip: Angling the backrest away from the tree prevents auxin suppression. If branches are physically restricted or shaded too heavily by the structure, the tree may redirect growth hormones away from those areas, leading to asymmetrical canopy development.
The Clinic:
Even with careful construction, the tree may show signs of stress. Monitor for these physiological disorders:
- Symptom: Chlorosis (Yellowing leaves with green veins).
- Solution: This often indicates an iron deficiency or a pH imbalance. Test the soil pH. If it is above 7.5, apply chelated iron or sulfur to lower the pH and increase nutrient availability.
- Symptom: Leaf Scorch (Browning of leaf margins).
- Solution: This is a sign of water stress or high salt accumulation. Increase deep watering at the drip line and ensure the bench is not redirecting rainwater away from the root zone.
- Symptom: Epicormic Sprouting (Water sprouts on the trunk).
- Solution: This is a stress response to sudden changes in light or root damage. Prune these sprouts using bypass pruners to maintain the tree's energy for primary growth.
- Fix-It for Nitrogen Deficiency: If the tree shows stunted growth and pale green foliage, apply a high nitrogen fertilizer (NPK 20-10-10) at the drip line. Nitrogen is the primary driver of chlorophyll production and vegetative expansion.
Maintenance:
A tree bench requires consistent monitoring of the host plant. Provide 1.5 inches of water per week at the drip line during the growing season. Use a soil moisture meter to check the hydration levels at a depth of 6 inches.
Every two years, inspect the gap between the bench and the trunk. If the tree's radial growth has closed the gap to less than 2 inches, use a saw to trim the inner boards of the bench. Use bypass pruners to remove any low hanging branches that interfere with the seating area; always cut back to the branch collar to facilitate proper sealing of the wound. Keep the area under the bench free of leaf litter to prevent the buildup of pests or mold.
The Yield:
While a tree bench does not produce a caloric yield, the "harvest" is the longevity and health of the specimen. Proper construction ensures the tree continues its photosynthetic efficiency and carbon sequestration. To maintain "day-one" freshness of the wood, clean the surface annually with a mild oxygen bleach solution to remove algae and lichen. This prevents the wood from becoming slippery and maintains the aesthetic integrity of the garden.
FAQ:
How far should the bench be from the trunk?
Leave at least 6 inches of space between the bench and the bark. This allows for the tree's natural radial growth and prevents moisture buildup, which can cause fungal infections or girdling of the vascular system.
Can I bolt the bench directly to the tree?
No. Bolting into the tree damages the xylem and phloem, creating entry points for pathogens. A floating design that sits on the ground is the only way to ensure the long term health of the specimen.
What is the best wood for a tree bench?
Use rot resistant hardwoods like cedar, redwood, or ipe. These woods contain natural tannins that resist decay in high moisture environments, ensuring the structure lasts as long as the tree remains healthy.
How do I prevent the bench from sinking?
Place the bench on concrete deck blocks or gravel pads. This distributes the weight and prevents the legs from sinking into the friable loam, while also protecting the wood from direct contact with soil moisture.
When is the best time to build?
Construct the bench during the dormant season, typically late winter. This minimizes root disturbance and soil compaction during the tree's active growth phases, allowing the plant to recover before the spring sap flow begins.