6 Beginner Steps: Using a Garden Hoe for Creating Perfect Vegetable Furrows
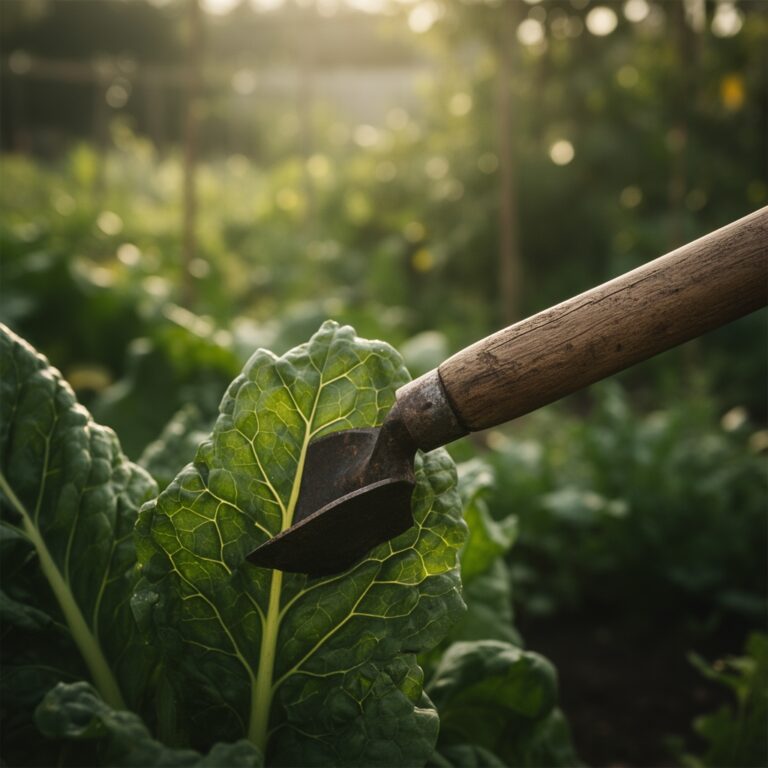
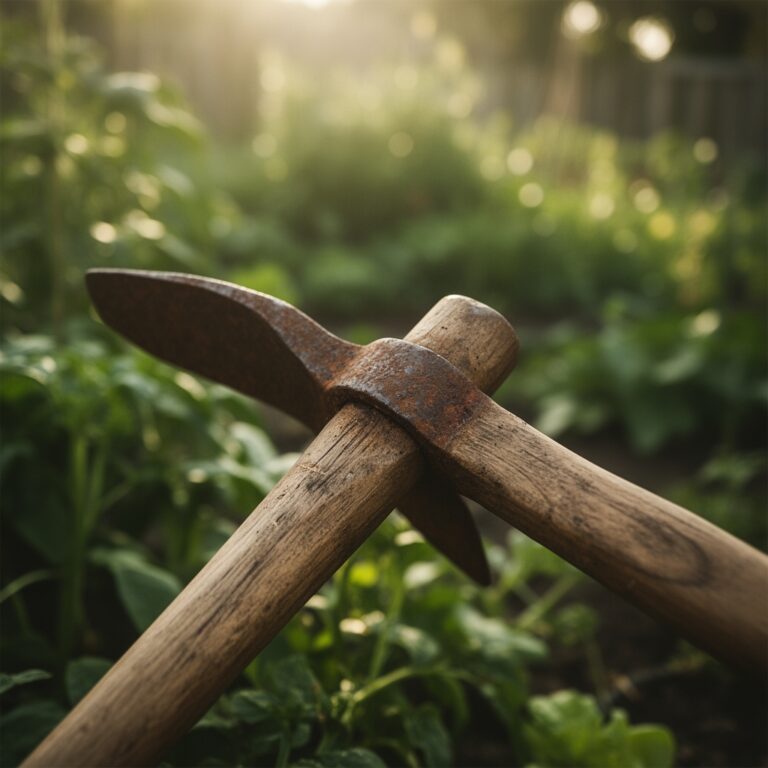
The weight of a well-balanced garden hoe in the palm transmits every stone and root contour through the wooden handle. Using a garden hoe for creating vegetable furrows transforms flat, compacted beds into linear channels that guide water, anchor seeds at precise depths, and warm soil through increased surface area. The blade's angle against earth determines whether you scrape uselessly or carve clean geometry. A furrow is not a ditch. It is an engineered microclimate.
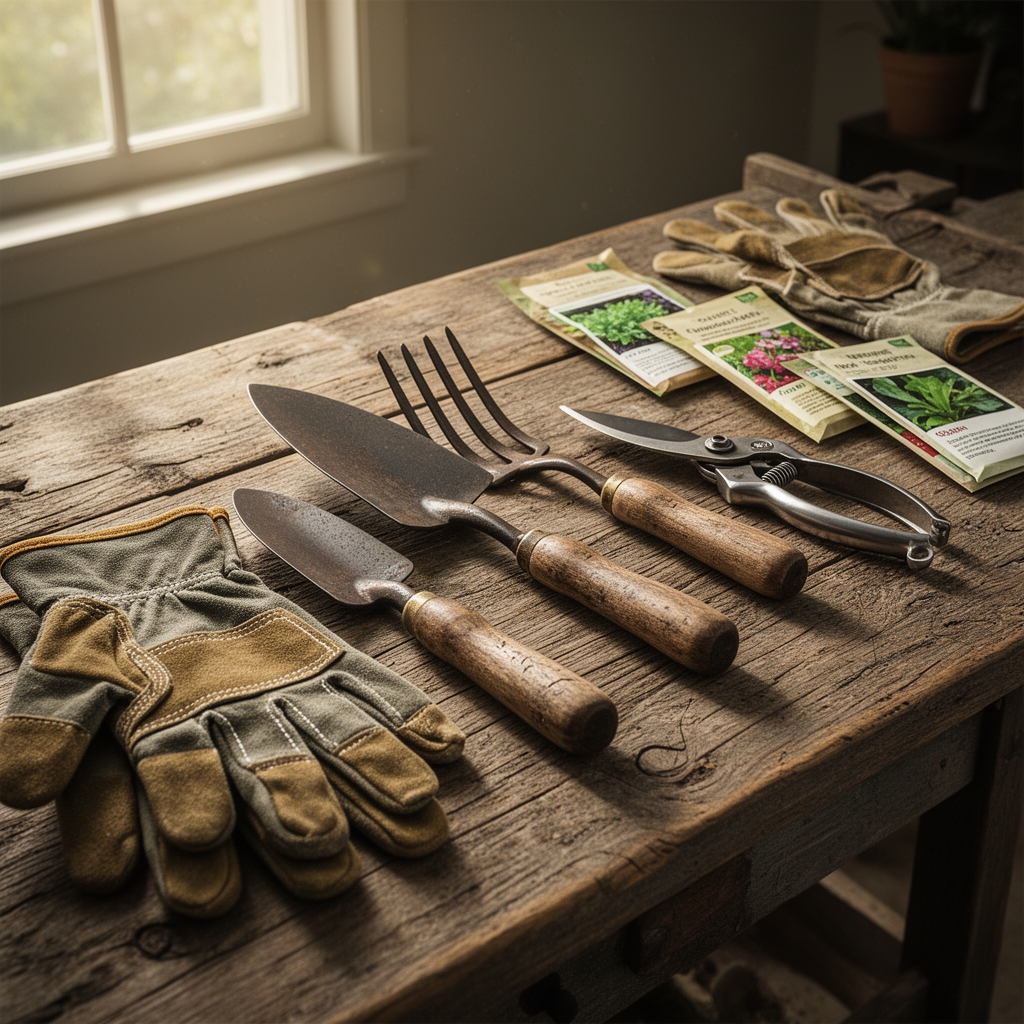
Materials and Amendments
Select a draw hoe or stirrup hoe. The draw hoe features a rectangular blade set perpendicular to the handle, ideal for heavy clay soils with bulk density exceeding 1.4 g/cm³. The stirrup hoe's oscillating loop suits sandy loams where cation exchange capacity falls below 10 meq/100g.
Incorporate amendments two weeks before furrowing. Apply compost at 2 cubic yards per 100 square feet, targeting a finished pH of 6.2 to 6.8 for most vegetables. Band a balanced organic fertilizer rated 4-4-4 along planned furrow lines at 2 pounds per 100 square feet. This ratio delivers nitrogen for foliage, phosphorus for root initiation, and potassium for cell wall integrity. For nitrogen-hungry brassicas, supplement with blood meal (12-0-0) at 1 pound per 100 square feet. Mycorrhizal fungi inoculant, applied at seeding, colonizes root hairs and extends phosphorus uptake radius by 10 to 15 centimeters.
Avoid fresh manure. Pathogens survive 90 days in raw material, and excess nitrogen drives vegetative growth at the expense of fruiting.
Timing by Hardiness Zone
Furrow creation aligns with soil temperature, not calendar dates. In USDA Zones 3 through 5, begin furrowing when soil reaches 50°F at a 4-inch depth, typically 2 to 3 weeks after the last frost date. Zones 6 through 8 achieve workable conditions 10 to 14 days post-frost. Zones 9 through 11 permit year-round furrowing but require afternoon shade cloth during summer months when soil surface temperatures exceed 95°F.
Use a soil thermometer at 8:00 a.m. for three consecutive days. Consistent readings above the threshold indicate stable conditions. Cold soil inhibits germination and promotes damping-off fungi like Pythium and Rhizoctonia.
Plan furrows north to south. This orientation maximizes solar exposure on both sides, balancing auxin distribution and preventing phototropic lean.
Phases of Furrow Construction
Sowing Phase
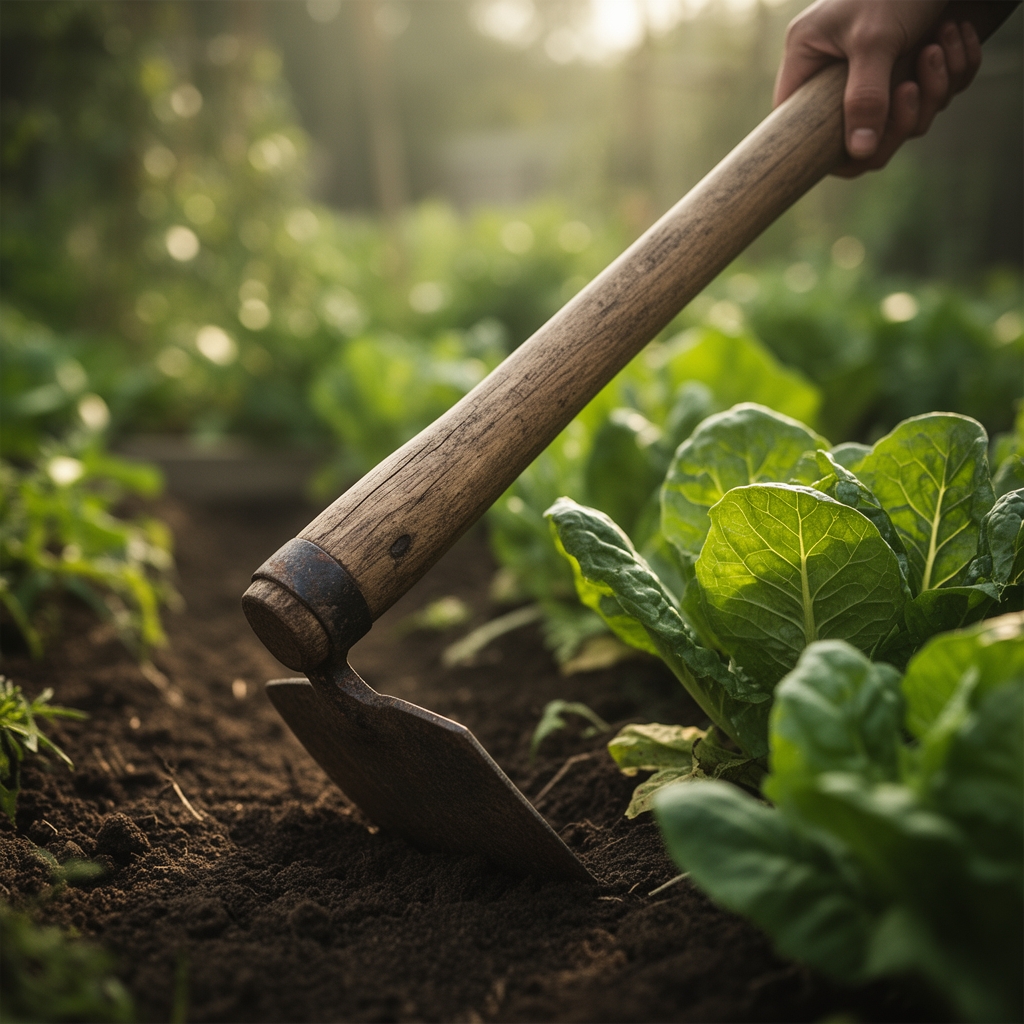
Mark furrow lines with stakes and twine. Pull the line taut 1 inch above soil surface. Stand with feet shoulder-width apart. Grip the hoe handle 6 inches from the end. Draw the blade toward you in smooth 18-inch strokes, keeping the blade angle at 30 degrees. Deeper angles create V-shaped furrows that collapse. Shallow angles fail to displace adequate soil.
Target furrow depth matches seed size. Large seeds like beans require 1.5 inches. Medium seeds such as beets need 0.75 inches. Fine seeds including carrots sit at 0.25 inches. Width should measure 3 to 4 inches at the top, narrowing to 1 inch at the base.
Pro-Tip: Dust furrow bottoms with powdered rock phosphate (0-3-0) at 1 tablespoon per 10 feet. Phosphorus remains immobile in soil. Placement directly beneath seeds accelerates radicle emergence by 20 to 30 percent.
Transplanting Phase
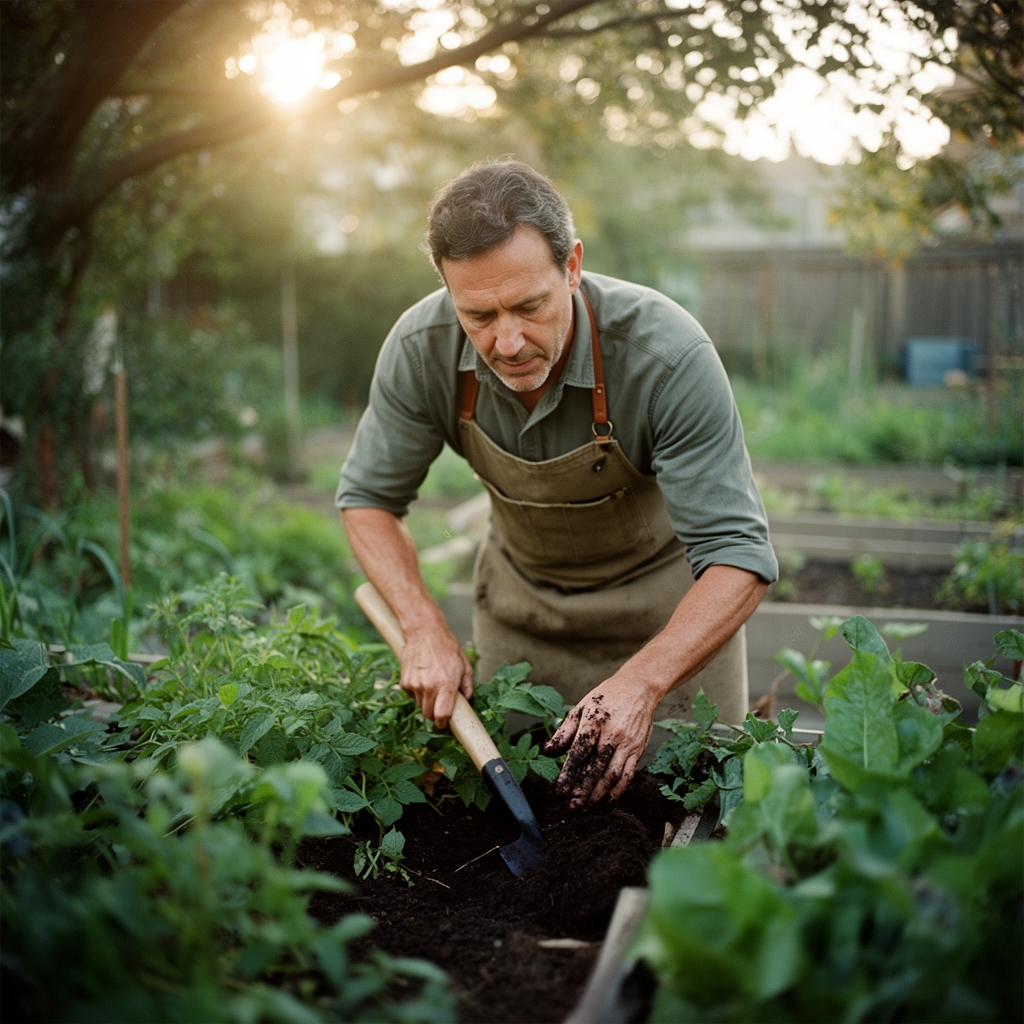
For transplants, widen furrows to 6 inches and deepen to match root ball height. Slice the hoe vertically along each furrow edge to create clean walls. Ragged edges harbor air pockets that desiccate roots.
Set transplants at original crown depth. Burying stems invites collar rot. Space according to mature canopy diameter. Tomatoes require 24 inches. Lettuce needs 8 inches. Improper spacing restricts airflow and elevates humidity, creating conditions favorable for Botrytis and powdery mildew.
Pro-Tip: Backfill with native soil mixed 1:1 with worm castings. Castings contain humic acids that stimulate root hair proliferation and chelate micronutrients for immediate availability.
Establishing Phase
Furrows guide irrigation directly to root zones, reducing foliar wetness and disease pressure. Water settles seeds into contact with soil particles, essential for imbibition. After watering, use the hoe's back edge to gently drag displaced soil over seeds. Aim for coverage equaling three times seed diameter.
Firm soil with the hoe blade laid flat. Press with steady, even force. Firming eliminates air pockets and ensures capillary rise delivers consistent moisture.
Pro-Tip: Ridge soil between furrows into 4-inch mounds. Ridges warm 5 to 8 degrees faster than flat ground, advancing germination in cool climates.
Troubleshooting Common Disorders
Symptom: Seeds rot before sprouting.
Solution: Reduce watering frequency. Saturated soil depletes oxygen necessary for aerobic respiration during germination. Apply water every 48 hours rather than daily.
Symptom: Furrows collapse during heavy rain.
Solution: Install drip irrigation to eliminate overhead water impact. Alternatively, lay burlap strips along furrows to dissipate raindrop energy.
Symptom: Seedlings emerge unevenly.
Solution: Check furrow depth variation. Re-measure with a ruler every 3 feet. Inconsistent depth creates uneven soil temperature and moisture gradients.
Symptom: Crusted soil surface prevents emergence.
Solution: Incorporate perlite or coarse sand at 10 percent by volume into the top 2 inches before furrowing. Amended soil resists crusting.
Symptom: Wireworms sever seedlings at soil line.
Solution: Trap adults by burying potato chunks 4 inches deep every 10 feet. Collect and destroy after 48 hours.
Maintenance Protocols
Irrigate furrows with 1 inch of water per week, applied in two 0.5-inch sessions. Split applications prevent runoff and leaching on sandy soils. Insert a moisture meter to 6 inches. Irrigate when readings drop below 50 percent field capacity.
Cultivate shallowly with the hoe every 7 days. Scrape the top 0.5 inches to sever emerging weed seedlings while avoiding crop roots. Cultivation creates a dust mulch that interrupts capillary rise and conserves subsoil moisture.
Side-dress crops at flowering with 1 pound of 5-10-10 per 25 feet of furrow. Apply granules 4 inches from stems. Immediate proximity burns roots.
Frequently Asked Questions
How far apart should furrows be spaced?
Space furrows 18 to 24 inches apart for most vegetables. Wider spacing accommodates cultivation tools and reduces competition for light and nutrients.
Can furrows be reused for successive plantings?
Yes. Refresh by hoeing out spent roots and incorporating 0.5 inches of compost. Rotate crop families to disrupt pest and disease cycles.
What furrow orientation works best on slopes?
Run furrows perpendicular to slope on grades under 5 percent. This arrangement slows runoff. Steeper slopes require terracing before furrowing.
Do all vegetables benefit from furrows?
Root crops, legumes, and row crops thrive in furrows. Broadcasting suits dense plantings like mesclun or cover crops.
How do I prevent furrow erosion?
Mulch between furrows with 2 inches of straw. Mulch stabilizes soil, moderates temperature, and suppresses weeds without chemical intervention.