6 Steps to Prepare a Level Garden Deck Site
The smell of damp, anaerobic earth often signals a failure in drainage before the first timber is even laid. A successful installation requires understanding the turgor of the surrounding vegetation and the structural integrity of the underlying substrate. Learning how to prepare a site for a garden deck involves more than clearing debris; it requires a deep analysis of soil compaction, moisture migration, and the botanical health of the immediate rhizosphere to prevent future rot or shifting.
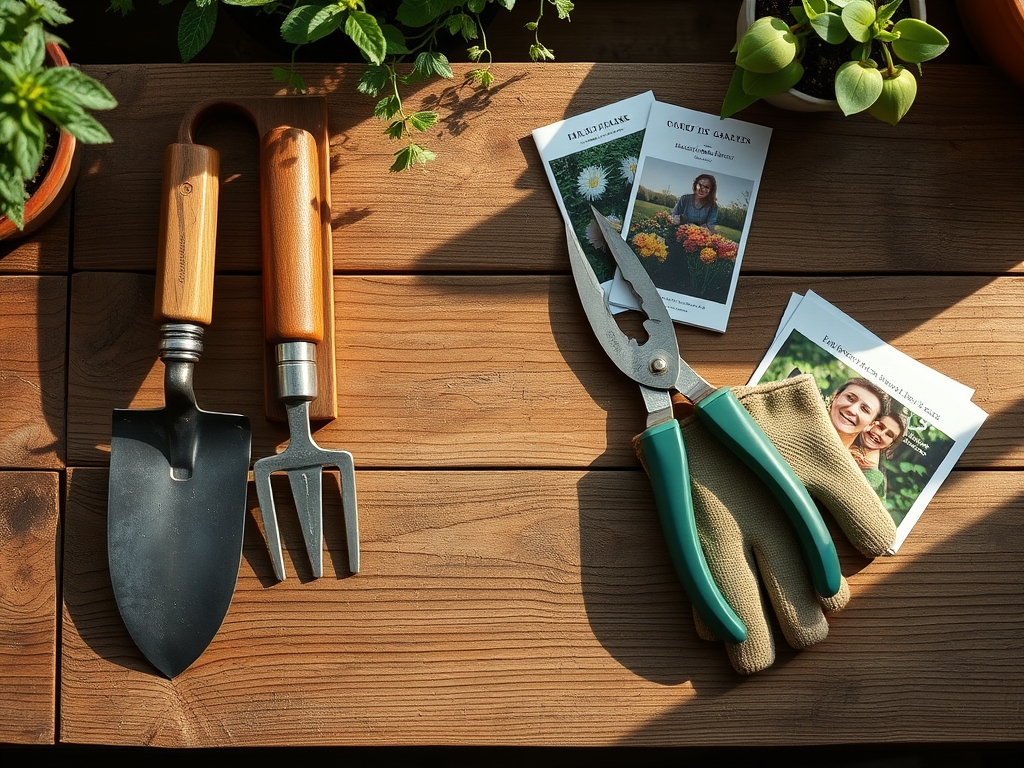
Materials:
The ideal substrate for a deck perimeter is a friable loam with a pH between 6.0 and 7.0. This acidity range ensures that any perimeter plantings can access essential micronutrients. Before construction, test the soil for its Cation Exchange Capacity (CEC). A high CEC indicates a greater ability to hold onto positively charged ions like Calcium and Magnesium.
If you plan to integrate planters into the deck design, maintain a specific nutrient profile. For vegetative growth, use an NPK ratio of 10-5-5. For flowering species, transition to a 5-10-10 ratio to prioritize phosphorus for root development and bloom production over nitrogen-heavy foliage. Ensure the aggregate base consists of crushed limestone or 20mm clean stone to facilitate rapid percolation and prevent the pooling of water against the joists.
Timing:
The window for site preparation is dictated by your local USDA Hardiness Zone. In Zones 4 through 6, ground preparation must occur after the final frost but before the spring equinox triggers rapid vegetative growth. Working the soil while it is frozen or oversaturated destroys the soil structure, leading to compaction that suffocates beneficial aerobic bacteria.
Monitor the biological clock of your garden. You should aim to complete heavy excavation during the plant's dormancy period to minimize root shock to nearby specimens. Once the photoperiod extends beyond 12 hours, plants enter a high-transpiration state. If you disrupt the root zone during this reproductive stage, you risk permanent wilting or premature senescence.
Phases:

Sowing and Clearing
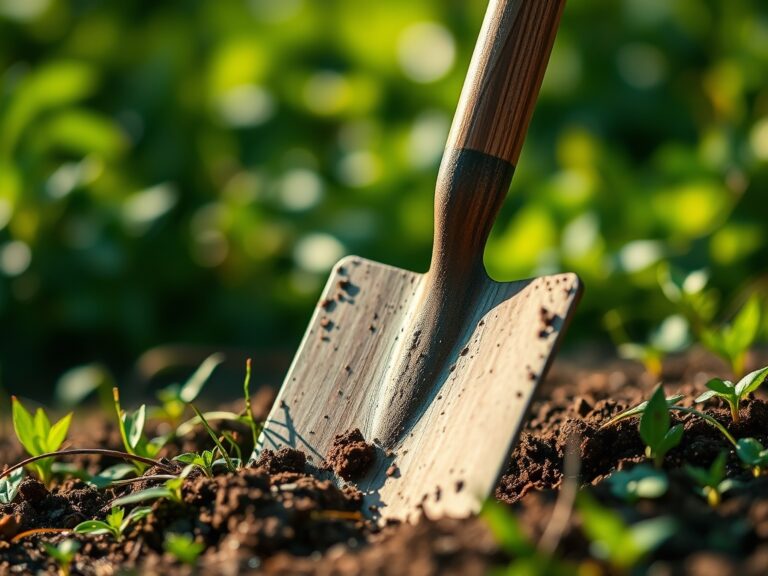
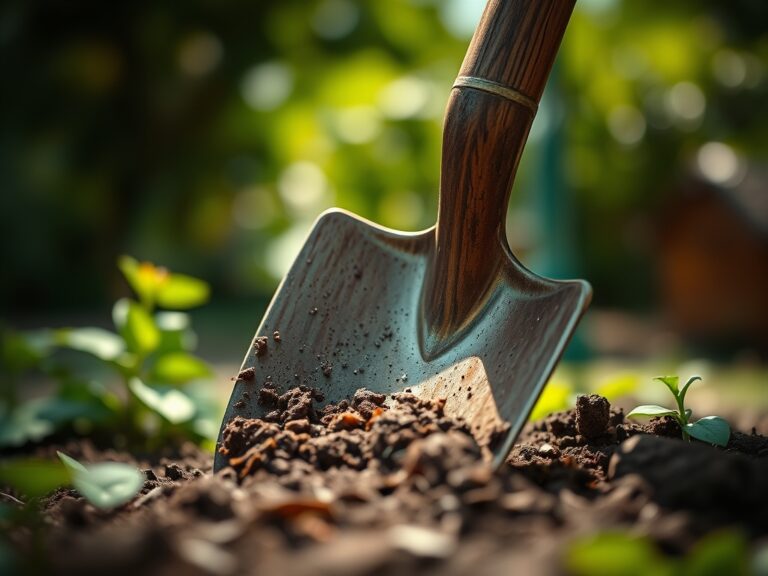
Remove all organic matter, including turf and weeds, from the footprint. Excavate to a depth of 150mm. This removes the "O" horizon where weed seeds are most concentrated. Treat the exposed subsoil with a high-quality geotextile membrane to suppress future germination.
Pro-Tip: Suppressing light prevents the activation of phytochromes in weed seeds. Without specific light wavelengths, the seeds cannot trigger the hormonal shift required for germination.
Transplanting and Grading
If existing shrubs are within the excavation zone, use a hori-hori knife to cleanly sever peripheral roots before lifting the root ball. Replant these specimens in a temporary trench, ensuring the root flare remains exposed to prevent bark rot. Grade the site at a 1 percent slope away from any permanent structures to manage hydraulic pressure.
Pro-Tip: When transplanting, apply a mycorrhizal inoculant. This establishes a mycorrhizal symbiosis, extending the root system's reach and increasing the plant's ability to uptake water through enhanced osmotic potential.
Establishing the Base
Incorporate a 50mm layer of compacted sand over your weed membrane, followed by your structural aggregate. Use a plate compactor to ensure the site is level. This stability is vital for the deck's longevity and prevents the soil from settling unevenly, which could shear the roots of adjacent plants.
Pro-Tip: Maintain a clear "airflow gap" of at least 100mm between the soil and the deck boards. This prevents the buildup of humidity that triggers fungal pathogens such as Phytophthora, which thrive in low-oxygen, high-moisture environments.
The Clinic:
Observe the surrounding flora for physiological disorders that indicate site issues.
- Symptom: Interveinal chlorosis (yellowing leaves with green veins).
- Solution: This typically indicates a Manganese or Iron deficiency caused by high soil pH. Lower the pH using elemental sulfur to a range of 6.0 to 6.5.
- Symptom: Leaf scorch or marginal necrosis.
- Solution: This suggests high salinity or "wet feet." Improve the sub-deck drainage by installing a French drain using perforated pipe and 20mm gravel.
- Symptom: Stunted growth and purple-tinted foliage.
- Fix-It: This is a classic Phosphorus deficiency. Apply a bone meal or triple superphosphate (0-45-0) to the root zone to encourage ATP production and cellular energy transfer.
Maintenance:
Post-construction maintenance requires precision. Use a soil moisture meter to check the hydration levels under the deck edges. Plants located in the "rain shadow" of the deck will require supplemental irrigation. Provide 1.5 inches of water per week at the drip line to maintain turgor pressure.
Keep your bypass pruners sharp to make clean, "heading cuts" on any encroaching vegetation. Ragged tears in the plant tissue invite pathogens. Every three years, inspect the site for soil subsidence. If the ground has sunk, top-dress the perimeter with organic compost to restore the cation exchange capacity and soil volume.
The Yield:
If your deck site includes integrated herb boxes or edible borders, timing the harvest is a matter of cellular chemistry. Harvest leafy greens in the early morning when turgor pressure is at its peak. This ensures the vacuoles are full of water, providing a crisp texture.
For woody herbs like rosemary or thyme, harvest just before the plant enters its reproductive (flowering) phase. This is when the concentration of essential oils is highest in the foliage. Use sharp snips to avoid crushing the vascular bundles, which allows the plant to seal the wound quickly and prevents sap loss.
FAQ:
How deep should I dig for a deck base?
Excavate to a minimum depth of 150mm (6 inches). This depth allows for a 100mm compacted aggregate base and a 50mm layer of leveling sand or weed suppression membrane to prevent organic regrowth.
Do I need to remove the grass first?
Yes. Turf consists of active organic matter. If left beneath a deck, it will undergo anaerobic decomposition, releasing methane and causing the soil to settle unevenly. Always strip the sod to the "A" soil horizon.
What is the best way to prevent weeds under a deck?
Lay a heavy-duty geotextile landscape fabric over the bare soil. Cover this with 50mm of clean gravel. This combination blocks the light required for photosynthesis and prevents wind-blown seeds from reaching the soil substrate.
How do I ensure the site is perfectly level?
Use a string level or a laser level across the entire footprint. Check the grade every 2 meters. Ensure a slight pitch of 1:100 away from your house to prevent water from pooling against the foundation.