8 Aeration Steps for Repotting a Parlor Palm
Damp humus emits a sharp, geosmin-rich scent when disturbed; it is the olfactory signature of a healthy rhizosphere. A thriving Chamaedorea elegans displays stiff turgor pressure in its pinnate fronds, indicating a robust vascular system capable of transporting water from the root tips to the distal leaflets. When the roots begin to spiral against the interior of a nursery pot, the plant experiences physiological stress that limits nutrient uptake. Executing the correct steps for repotting a parlor palm ensures the specimen maintains its structural integrity and metabolic rate. This process is not merely a change of scenery; it is a critical intervention to prevent root senescence and substrate exhaustion. A successful transplant requires a technical understanding of soil porosity and gas exchange. By increasing the available volume for root expansion, you facilitate a higher rate of transpiration and overall biomass production. Neglecting this maintenance leads to stunted growth and chlorotic foliage as the plant exhausts the limited cation exchange capacity of its old medium.
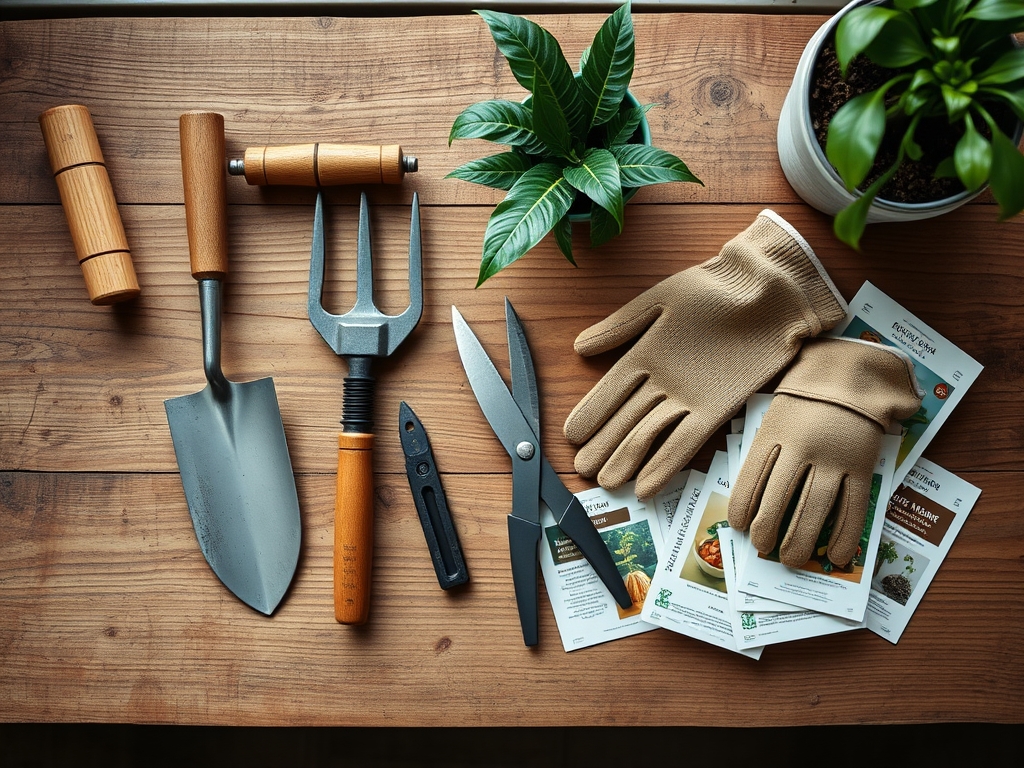
Materials:
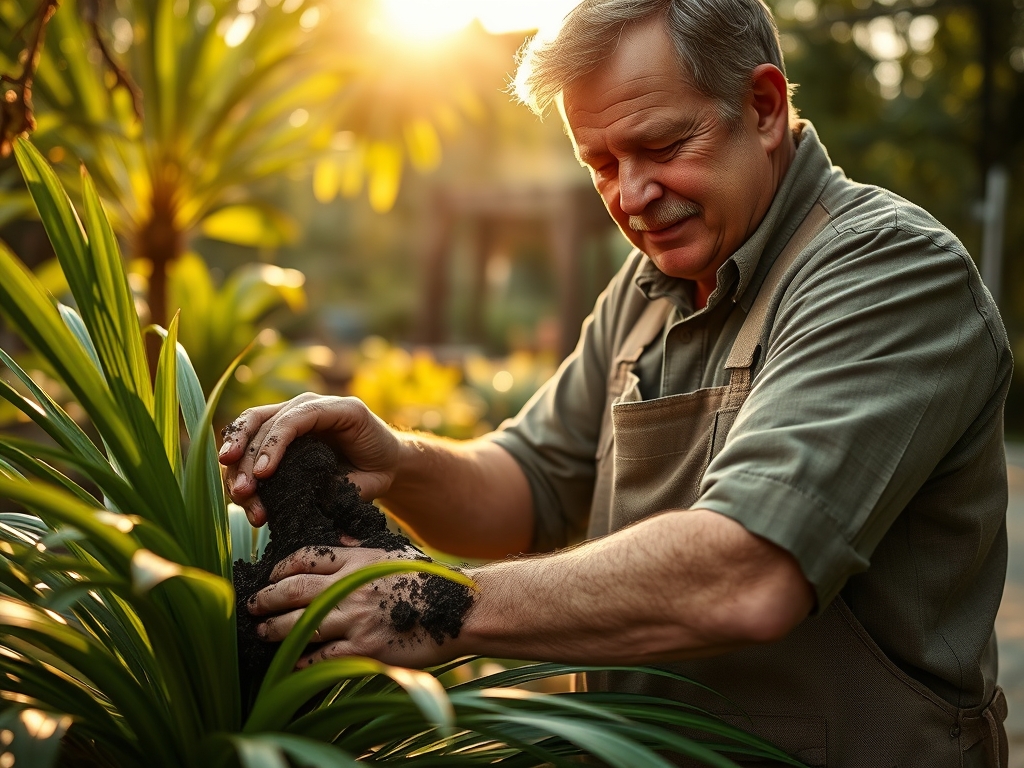
The substrate must be a friable loam with high macroporosity to facilitate oxygen diffusion to the roots. Parlor palms thrive in a **pH range of 5.8 to 6.5**. Use a potting mix composed of **two parts peat moss or coconut coir, one part pine bark fines, and one part coarse perlite**. This configuration ensures a high Cation Exchange Capacity (CEC) while preventing anaerobic conditions.
Regarding nutrition, incorporate a slow-release fertilizer with an NPK ratio of 3-1-2 or 12-4-8. High nitrogen levels support the vegetative development of the fronds, while the lower phosphorus ratio prevents the buildup of salts that can lead to tip necrosis. Ensure the new container is only 2 inches wider in diameter than the current pot. Excessively large pots hold surplus water in the "perched water table" at the bottom, which leads to Pythium and other root rot pathogens.
Timing:
The ideal window for these steps for repotting a parlor palm aligns with the start of the active growing season in early spring (March or April). For indoor specimens, this timing coincides with the increase in ambient light and photoperiod, triggering the plant's biological clock to shift from semi-dormancy to active meristematic division.
In terms of Hardiness Zones, the parlor palm is a tropical understory plant suited for USDA Zones 10 through 12. If you are moving plants between outdoor and indoor environments, ensure the minimum overnight temperature is consistently above 55 degrees Fahrenheit. The transition from vegetative growth to the production of its small, yellow inflorescences usually occurs in mature plants during the late spring; repotting before this reproductive phase begins allows the plant to allocate energy toward root establishment rather than seed production.
Phases:
Sowing the Foundation
The first phase involves preparing the new vessel. Place a layer of the prepared friable loam in the bottom of the container. Do not use gravel at the bottom; this actually raises the perched water table and increases the risk of saturation. Ensure the drainage holes are clear.
Pro-Tip: Proper drainage management prevents root hypoxia. When oxygen is displaced by water in the pore spaces, the roots cannot perform cellular respiration, leading to a total collapse of the plant's hydraulic system.
Transplanting and Aeration
Carefully remove the palm from its current container by inverting it and supporting the base of the stems. If the plant is root-bound, use a hori-hori knife to make three to four shallow vertical incisions in the root ball. This mechanical disruption breaks the apical dominance of the circling roots and stimulates the growth of new lateral root hairs.
Pro-Tip: Breaking the root circling encourages auxin suppression in the root tips. By removing the physical barrier of the pot wall, you trigger a hormonal response that directs the plant to explore the new substrate volume.
Establishing the Specimen
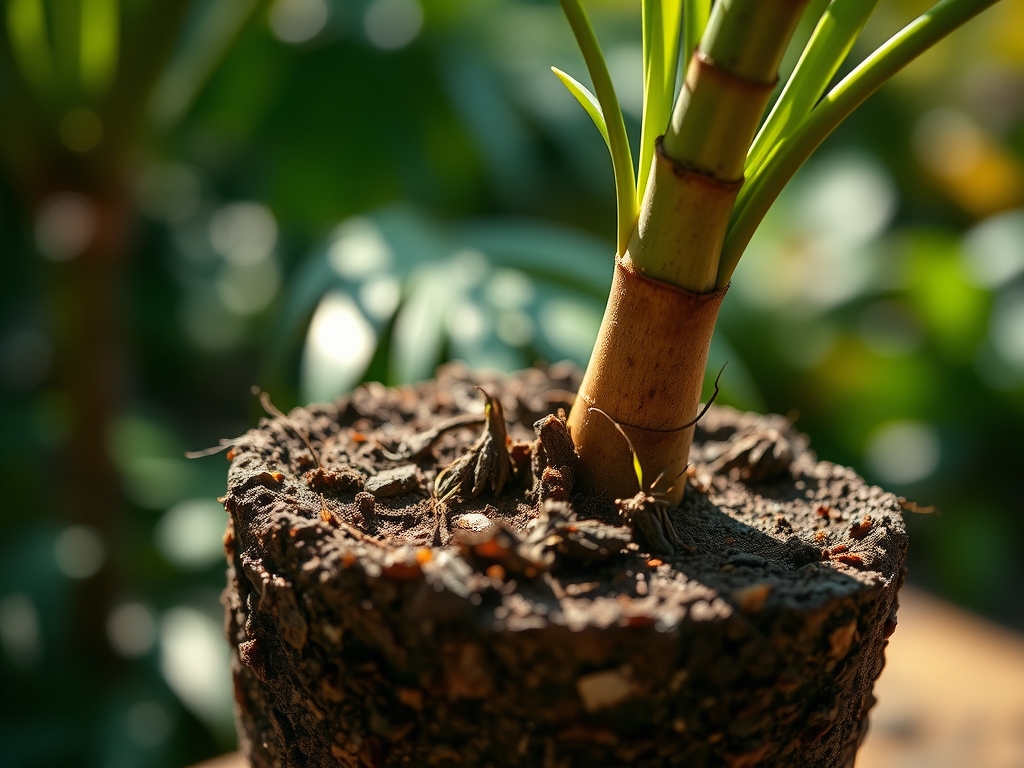
Center the palm in the new pot and fill the lateral gaps with fresh mix. Use your fingers to firm the soil lightly, but do not pack it tightly. The goal is to maintain a bulk density that allows for rapid gas exchange. The final soil level should be even with the original root flare; burying the stems too deep induces crown rot.
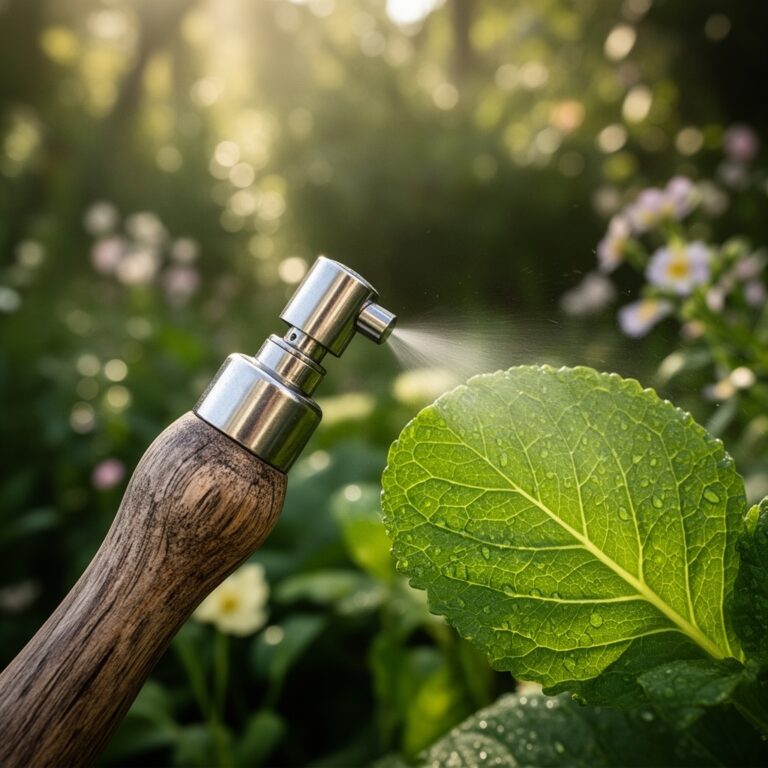
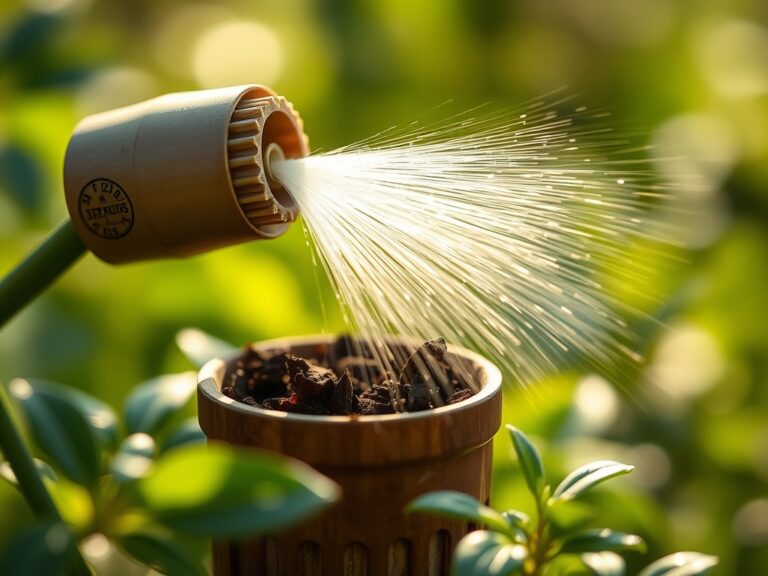
Pro-Tip: Immediate irrigation after repotting facilitates capillary action between the old root ball and the new soil. This ensures there are no air pockets that could cause localized root desiccation.
The Clinic:
Physiological disorders in parlor palms often manifest as visual cues in the foliage.
- Symptom: Yellowing of lower fronds (Chlorosis).
- Solution: This typically indicates a Nitrogen deficiency. Increase the application of a water-soluble 3-1-2 fertilizer to boost chlorophyll production.
- Symptom: Brown, crispy leaf tips.
- Solution: This is often caused by fluoride toxicity or low humidity. Switch to distilled water or rainwater, as municipal water often contains high levels of fluoride which the palm cannot metabolize.
- Symptom: Soft, blackened stem bases.
- Solution: This is a sign of root rot (Phytophthora). Reduce watering frequency and ensure the substrate has a higher percentage of perlite for better aeration.
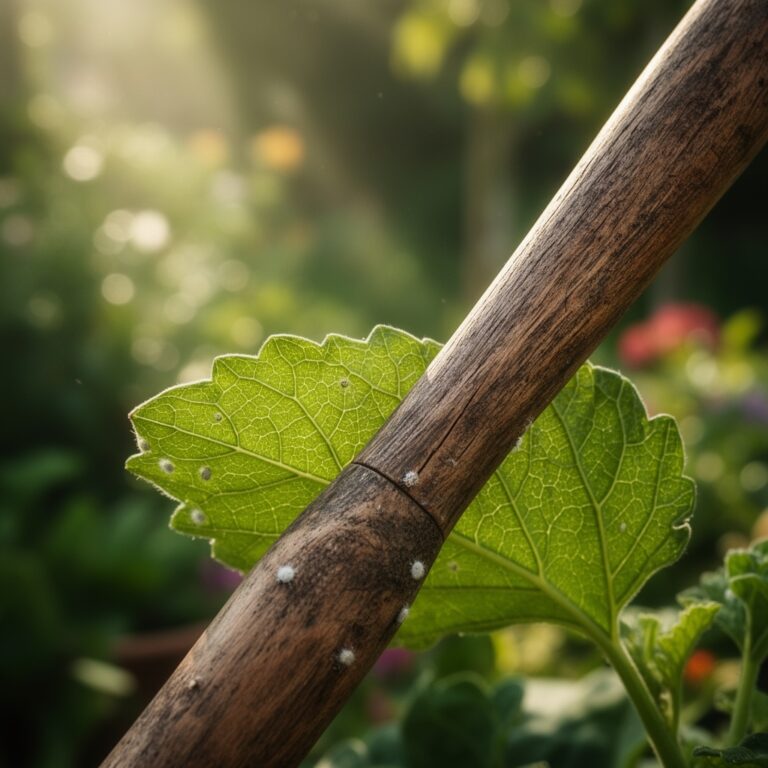
Fix-It for Micronutrients: If new growth appears stunted or distorted, the plant may lack Manganese. Apply a chelated micronutrient spray to the foliage to bypass soil pH issues and deliver ions directly to the leaf tissue.
Maintenance:
Post-repotting care requires precision. Monitor the substrate using a soil moisture meter; do not water until the top 1 to 2 inches of soil feel dry to the touch. Under average indoor conditions, this equates to approximately 1.5 inches of water per week, delivered evenly across the soil surface to ensure the entire root zone is hydrated.
Use bypass pruners to remove any fronds that exhibit more than 50 percent senescence. Cutting back dead tissue prevents the plant from wasting resources on failing appendages and improves airflow through the canopy. Maintain an ambient temperature between 65 and 80 degrees Fahrenheit. Avoid placing the plant in the direct path of HVAC vents, as the rapid air movement increases the transpiration rate beyond what the newly disturbed roots can support.
The Yield:
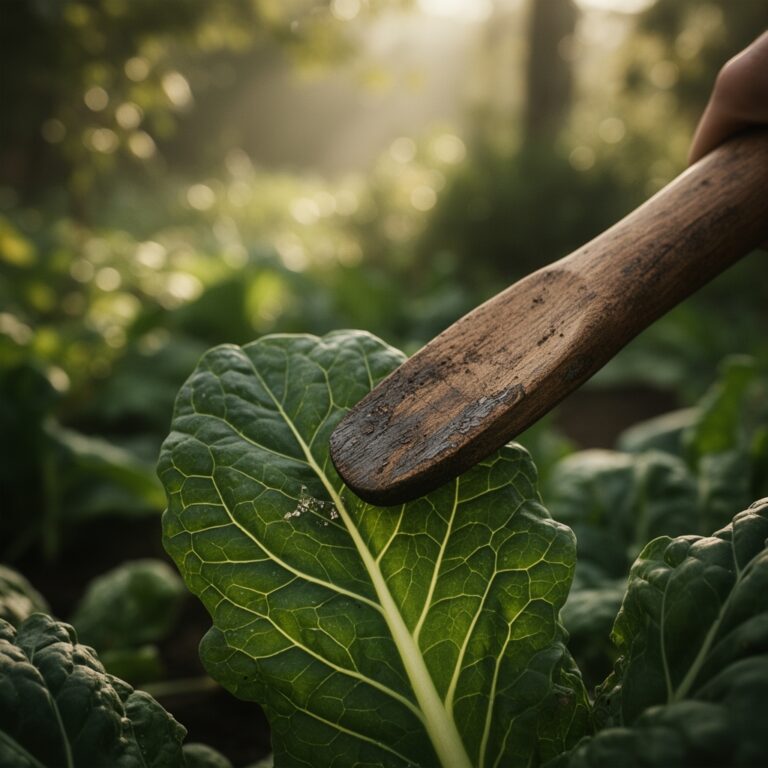
While the parlor palm is not an edible crop, its "yield" is measured in its aesthetic density and air-purification capabilities. To maintain "day-one" freshness and maximize photosynthetic efficiency, wipe the fronds monthly with a damp cloth. This removes dust that blocks the stomata and inhibits gas exchange. If you intend to use the fronds in floral arrangements, cut them at the base with a sharp blade and immediately plunge the stems into 40-degree Fahrenheit water to maintain turgidity and prevent vascular air embolisms.
FAQ:
How do I know it is time to repot?
Observe the drainage holes. If roots are protruding or if water sits on the surface for more than 30 seconds without draining, the soil is compacted or the plant is root-bound. Repotting is then necessary.
Can I use garden soil for my parlor palm?
No. Garden soil has a high bulk density and lacks the necessary macroporosity for container growth. It will compact, leading to anaerobic conditions and root death. Always use a peat-based or coir-based professional mix.
Why are the tips of my palm turning brown?
This is usually a result of salt accumulation or fluoride in tap water. Flush the soil with distilled water and ensure your fertilizer application does not exceed the recommended dosage on the label.
How much light does a parlor palm need?
They prefer low to medium indirect light, roughly 75 to 150 foot-candles. Direct solar radiation will cause photo-oxidation, bleaching the chlorophyll and burning the delicate fronds within a few hours of exposure.