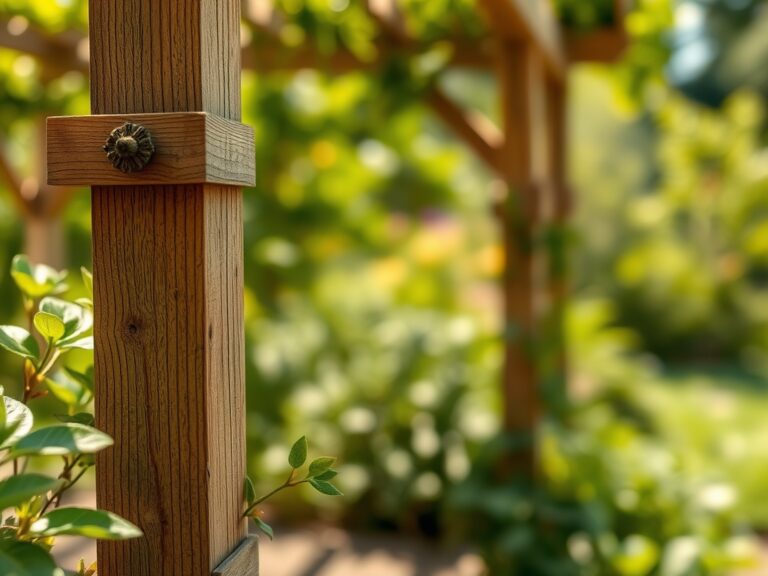
5 Clever Ways How to Landscape a Shaded Corner
Damp earth emits a distinct, metallic scent when the soil is rich in geosmin; this is the hallmark of a healthy shaded ecosystem. In these low-light pockets, plant health is measured by the turgor pressure of thick, dark green leaves that have optimized their surface area to capture limited photons. Learning how to landscape a shaded corner requires a departure from sun-drenched aesthetics toward a focus on soil chemistry and moisture management. Success depends on selecting species capable of maintaining cellular respiration when photosynthetic rates are suppressed.
The microclimate of a corner often traps humidity and reduces airflow, creating a specific set of horticultural challenges. Most gardeners fail because they treat shade as a void rather than a distinct biological zone. By manipulating the Cation Exchange Capacity (CEC) of the soil and selecting plants with high shade tolerance, you can transform a stagnant area into a high-performance botanical display. This guide provides the technical framework for optimizing these neglected spaces through rigorous soil science and precise plant selection.
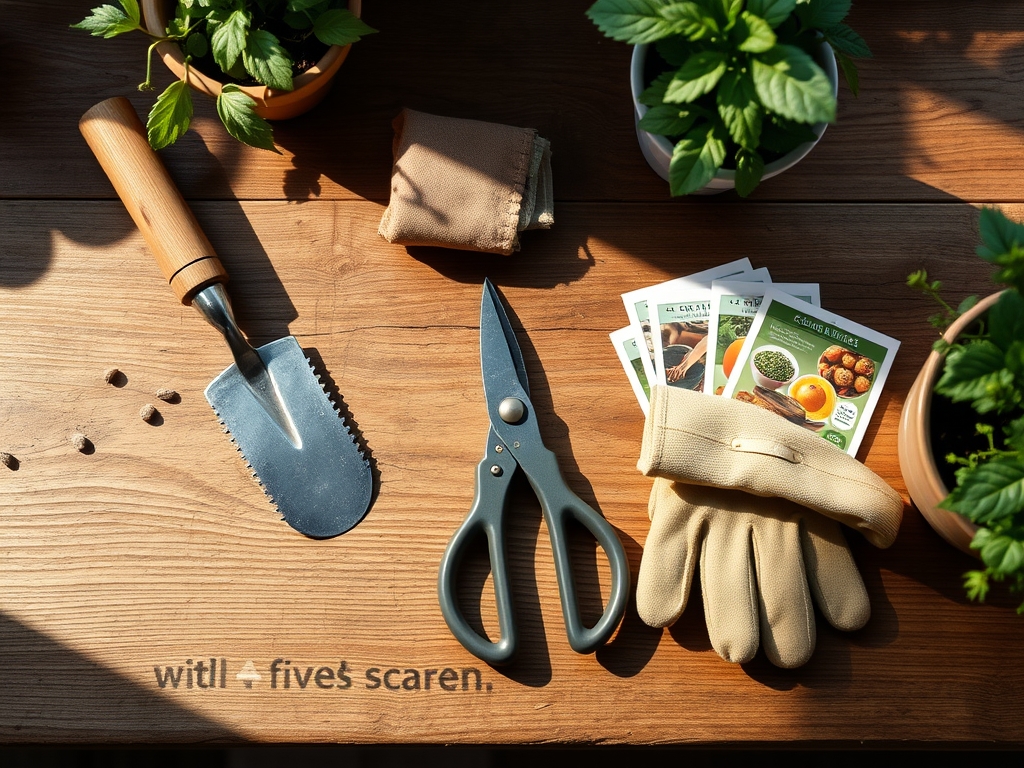
Materials:
The foundation of a shaded landscape is a friable loam with a high organic matter content. Shaded soils often suffer from compaction or excessive moisture retention, which can lead to anaerobic conditions in the rhizosphere. You must establish a soil profile that balances drainage with nutrient availability.
Soil pH and Amendments:
- Target pH: 5.5 to 6.5 for most shade-loving perennials like Hostas and Heucheras.
- Nitrogen (N): Use a slow-release 10-5-5 NPK ratio to support vegetative growth without forcing leggy, weak stems.
- Phosphorus (P) and Potassium (K): Maintain moderate levels to support root development and cellular membrane integrity.
- Organic Matter: Incorporate 3 inches of leaf mold or composted pine bark to increase the CEC, ensuring the soil can hold onto essential cations like Calcium and Magnesium.
The physical substrate should crumble easily when squeezed. If the soil forms a hard ball, the clay content is too high; if it falls apart instantly, it lacks the capillary action necessary to sustain plants during dry spells.
Timing:
Timing is dictated by the USDA Hardiness Zones and the local frost-free window. In Zones 4 through 8, the ideal window for installing a shaded landscape is early spring, immediately after the soil temperature reaches a consistent 50 degrees Fahrenheit. This allows root systems to establish before the heat of summer increases transpiration demands.
The biological clock of shade plants is governed by the photoperiod. Many shade species are "short-day" or "day-neutral" in their flowering habits. Because these plants receive less solar energy, their transition from the vegetative stage to the reproductive stage is slower than full-sun counterparts. Planting in autumn is also a viable strategy, provided it is done at least six weeks before the first hard frost. This timing leverages the natural senescence of the canopy, allowing more light to reach the ground level while the soil remains warm enough for root respiration.
Phases:

Sowing and Soil Preparation
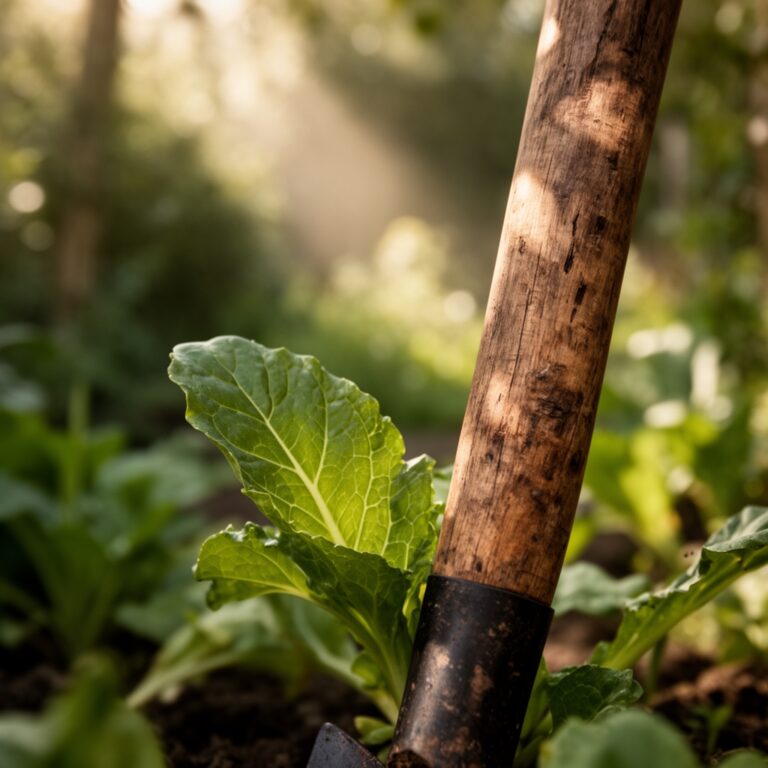
Begin by clearing all debris and testing the soil drainage. Dig a hole twice the width of the root ball but no deeper than the existing container. If sowing seeds for shade-tolerant groundcovers, ensure the seed-to-soil contact is absolute by lightly tamping the surface.
Pro-Tip: Incorporate mycorrhizal inoculants into the planting hole. Biological Why: These fungi form a symbiotic relationship with the roots, effectively extending the root system's reach and increasing the uptake of phosphorus and water in low-energy environments.
Transplanting
When moving nursery stock into the corner, check for "root-bound" conditions. Use a hori-hori knife to make vertical incisions in the root mass if the roots are circling the pot. This mechanical disruption encourages lateral root growth into the new substrate.
Pro-Tip: Ensure the crown of the plant sits exactly at or slightly above the soil line. Biological Why: Deep planting can lead to crown rot; keeping the crown elevated prevents moisture from settling against the stem, which can inhibit the transport of auxins and lead to plant decline.
Establishing
The first 90 days are critical for establishing hydraulic lift. Water deeply and infrequently to encourage roots to move downward into the subsoil. Apply a 2-inch layer of organic mulch to regulate soil temperature and prevent moisture evaporation.
Pro-Tip: Monitor for phototropism, where plants lean toward the light source. Biological Why: Auxins accumulate on the shaded side of the stem, causing cells to elongate and the plant to bend. Strategic pruning of overhanging branches can increase light penetration and correct this growth pattern.
The Clinic:
Physiological disorders in shaded corners are often related to moisture and light imbalances.
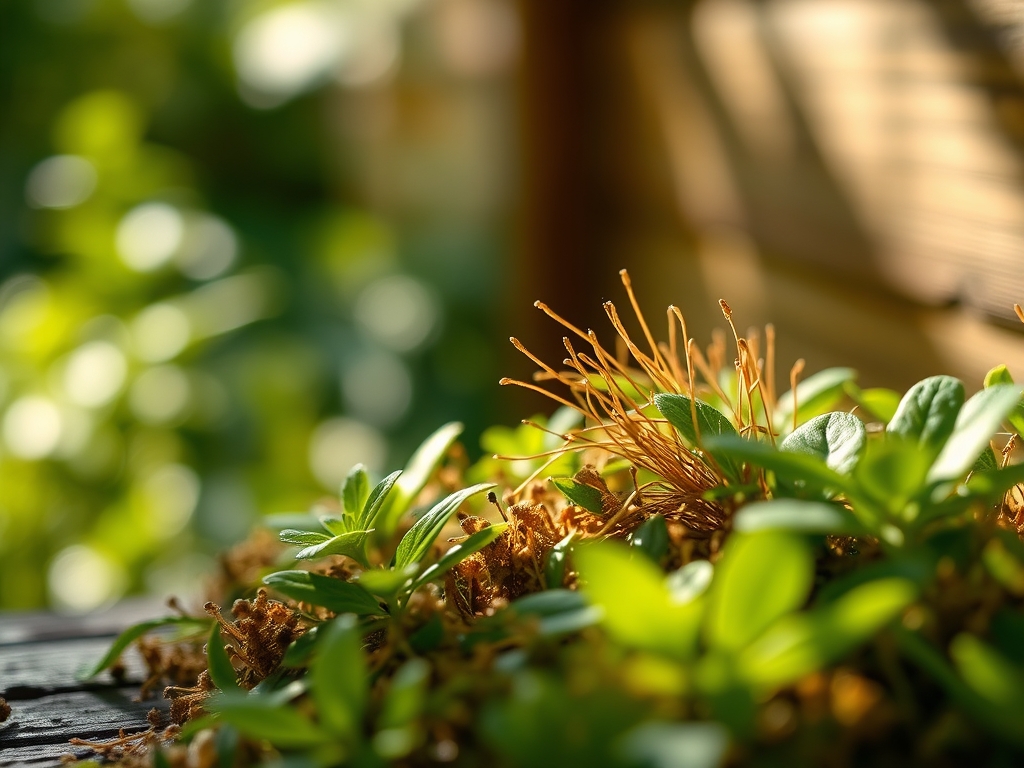
- Symptom: Interveinal Chlorosis (Yellowing between leaf veins).
- Solution: This typically indicates a Magnesium or Iron deficiency. In shaded, acidic soils, these nutrients can become "locked."
- Fix-It: Apply a chelated iron spray or Epsom salts (Magnesium Sulfate) at a rate of 1 tablespoon per gallon of water to restore chlorophyll production.
- Symptom: Powdery Mildew (White, flour-like spots on foliage).
- Solution: Caused by high humidity and poor airflow.
- Fix-It: Thin the plant density to improve air circulation and use bypass pruners to remove the bottom 10 percent of foliage to increase vertical air movement.
- Symptom: Etiolation (Long, weak, pale stems).
- Solution: The plant is physically stretching for light.
- Fix-It: Increase light levels by "limbing up" nearby trees or replace the species with one that has a lower light saturation point.
Maintenance:
Precision maintenance prevents the "over-management" trap that kills many shade gardens. Use a soil moisture meter to verify that the root zone is damp but not saturated. Most shade perennials require 1.5 inches of water per week, delivered at the drip line to avoid wetting the foliage, which can invite fungal pathogens.
Every spring, use a hori-hori knife to edge the corner, preventing turf grass from encroaching on the rhizosphere. Prune dead or senescing leaves with bypass pruners to prevent the buildup of detritus that can harbor slugs. If the soil test indicates a drop in pH below 5.0, apply pelletized lime at a rate of 5 pounds per 100 square feet to maintain nutrient availability.
The Yield:
If your shaded corner includes ornamental flowers like Hellebores or Astilbe, harvest for indoor display when the first two flowers on the raceme have opened. Use sharp snips to make a 45-degree cut, maximizing the surface area for water uptake.
To ensure "day-one" freshness, immediately plunge the stems into room temperature water (approximately 70 degrees Fahrenheit). This prevents air embolisms in the xylem, ensuring that turgor pressure remains high and the blooms do not wilt prematurely. For foliage plants like Ferns, misting the harvested fronds can help maintain the waxy cuticle and extend their post-harvest life.
FAQ:
How do I improve drainage in a heavy clay shaded corner?
Incorporate 3 to 4 inches of expanded shale or coarse organic matter into the top 8 inches of soil. This creates macro-pores that allow oxygen to reach the roots and prevents water from pooling around the crown.
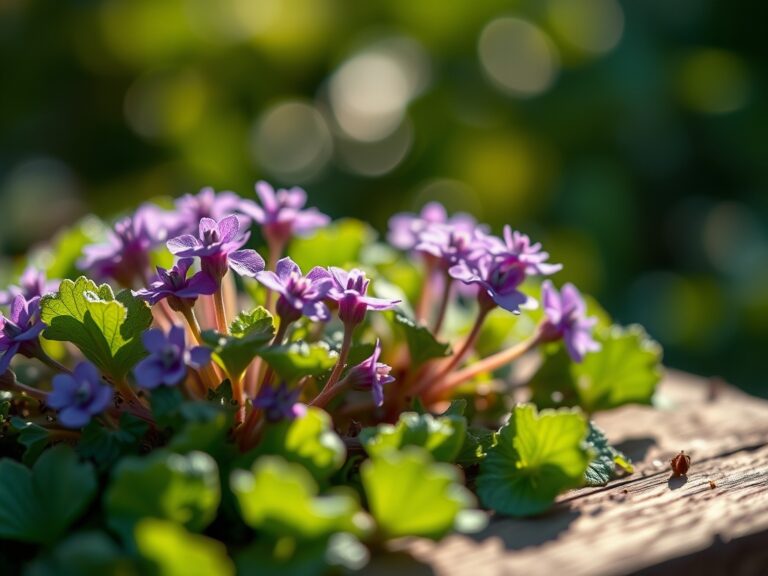
What are the best plants for a deep shade corner?
Select species with high chlorophyll density such as Hostas, Polystichum acrostichoides (Christmas Fern), and Asarum canadense (Wild Ginger). These plants are evolutionarily adapted to thrive with less than 2 hours of direct sunlight per day.
How often should I fertilize shade plants?
Apply a balanced, slow-release fertilizer once in early spring as new growth emerges. Avoid late-summer fertilization, as this can stimulate soft growth that is highly susceptible to frost damage during the winter dormancy period.
Why are my shade plants turning yellow?
This is often Nitrogen chlorosis or over-watering. Check the soil moisture levels 3 inches deep. If the soil is dry, apply a high-nitrogen organic amendment; if it is saturated, improve drainage to stop root suffocation.