7 Steps to Install a Prefabricated Garden Fence Panel
Installing garden fence panels transforms the boundary of a cultivated space with the same precision required when staking tomatoes or building raised beds. The steps for installing a garden fence panel demand soil assessment, post anchoring depth calculations, and alignment that mirrors the attention a master gardener gives to espaliered fruit trees. Each panel becomes a structural element in the garden's architecture, requiring the same deliberation as selecting companion plantings or calculating drip irrigation zones.
Materials
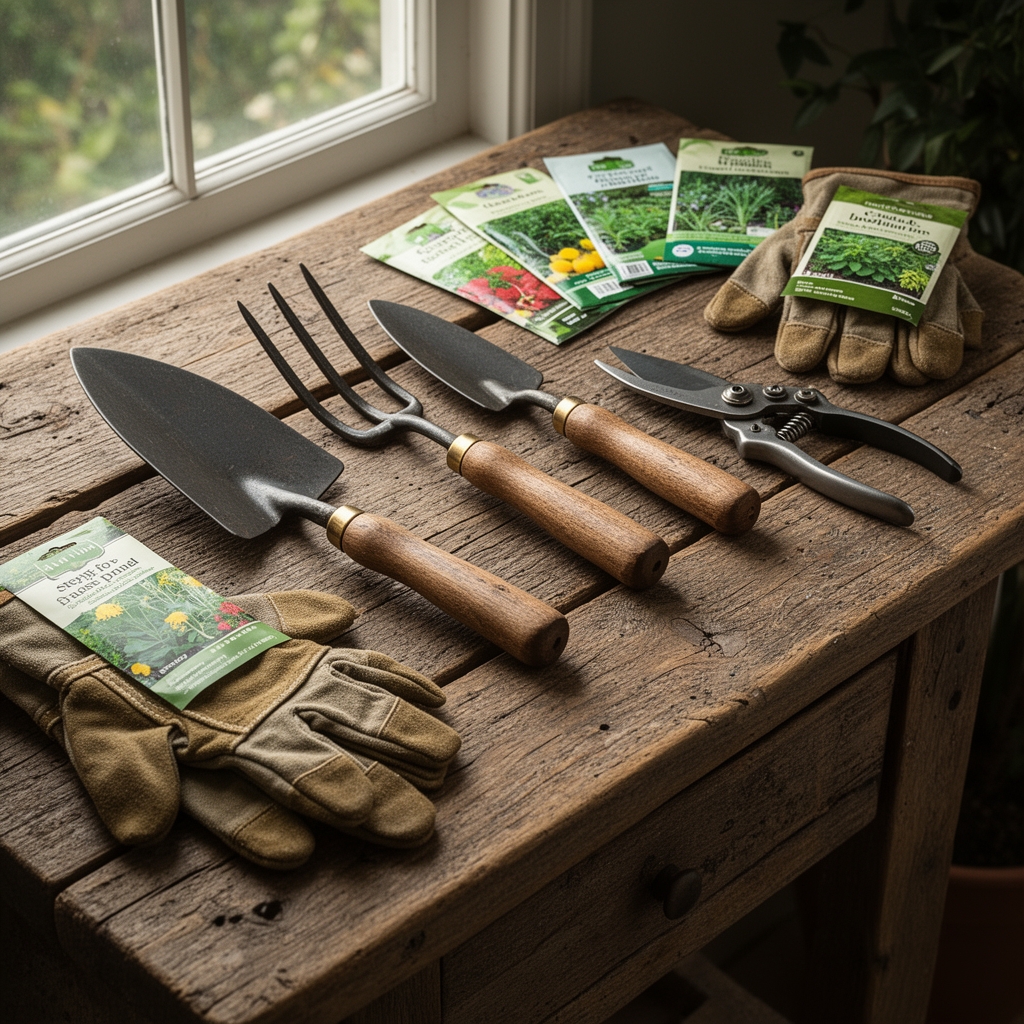
Prefabricated fence panels arrive as complete units, typically 6 or 8 feet wide. Pressure-treated posts anchored in concrete provide structural integrity analogous to how mycorrhizal fungi stabilize root systems in native prairie ecosystems. Posts require 4×4-inch lumber rated for ground contact, with a minimum preservative retention level of 0.40 pounds per cubic foot.
Concrete mix follows a 1:2:3 ratio similar to balanced NPK formulations. One part portland cement, two parts sand, and three parts aggregate create compressive strength exceeding 3,000 psi after 28 days of curing. Quick-setting concrete reduces wait time to 4 hours but sacrifices long-term stability in clay soils with high cation exchange capacity.
Galvanized hardware resists oxidation in humid environments. Use 3-inch deck screws or 16d hot-dipped galvanized nails for panel attachment. Stainless steel fasteners perform better in coastal zones where salt spray accelerates corrosion rates similar to foliar damage from excessive sodium accumulation.
String line and a 4-foot level ensure alignment within 1/8 inch over 8 feet, matching the precision of seed spacing for carrot germination. A post-hole digger or auger penetrates compacted subsoil layers where earthworm activity ceases and anaerobic conditions begin.
Timing
Hardiness zones influence installation timing through frost heave cycles and soil workability. In zones 3-5, install between late May and mid-September after the final frost date when soil temperatures exceed 50°F at 6-inch depth. This temperature threshold also signals safe transplanting for warm-season crops like peppers and eggplants.
Zones 6-8 permit installation from April through October. Avoid periods when soil moisture exceeds field capacity, creating anaerobic conditions that prevent proper concrete curing. Test by squeezing a soil handful; it should crumble rather than form a sticky ball.
Zones 9-11 allow year-round installation except during monsoon seasons when water tables rise within 18 inches of the surface. Elevated water tables reduce bearing capacity and cause differential settling similar to transplant shock in containerized nursery stock.
Phases

Step 1: Site Layout and String Line Establishment
Drive stakes at terminal points and stretch mason's twine taut. Measure panel width plus 3.5 inches for post thickness to mark post center locations. Apply powdered lime to mark positions, the same material used to raise soil pH in acidic garden beds.
Pro-Tip: Check utility line locations by calling 811. Buried irrigation lines typically run 8-12 inches deep, while electrical conduit for landscape lighting reaches 18 inches.
Step 2: Post Hole Excavation
Dig holes to one-third the above-ground post height plus 6 inches for gravel. A 6-foot fence requires 30-inch-deep holes. Diameter should measure three times the post width, or 12 inches for 4×4 posts. This ratio mirrors root-to-shoot proportions in healthy shrubs.
Pro-Tip: Add 6 inches of crushed gravel base for drainage. This layer functions like perlite in potting mix, preventing waterlogged conditions that cause root rot in ornamental plantings.
Step 3: First Post Installation and Bracing
Set the corner post in the hole and add concrete mix. Plumb on two adjacent faces using a 4-foot level. Temporary 2×4 braces screwed at 45-degree angles hold position during the 24-hour cure time. This angle distributes stress similar to branch collar angles that resist wind damage.
Pro-Tip: Crown the concrete top 1 inch above grade and slope away from the post at 5 degrees to shed water like a swaled garden path.
Step 4: Remaining Post Installation with String Alignment
Run string between installed posts at the intended fence height. Set intermediate posts so faces touch but do not deflect the string. Concrete each post and allow 24 hours of curing before panel attachment.
Pro-Tip: Maintain consistent post exposure above grade within 1/4 inch. Use a story pole marked at the exact height, similar to marking transplant depth for bare-root roses.
Step 5: Panel Attachment to Posts
Position the first panel between posts with the bottom rail 2-4 inches above grade. This clearance prevents moisture wicking similar to keeping mulch 2 inches from tree bark to avoid crown rot. Drive three screws through each vertical panel stringer into the post.
Pro-Tip: Pre-drill pilot holes 1/16 inch smaller than screw diameter to prevent splitting, especially in cold weather when wood moisture content drops below 15 percent.
Step 6: Panel Alignment Verification
Check level across the top rail and plumb on panel faces. Adjust by loosening fasteners and shimming with pressure-treated shims. This precision matches the importance of maintaining consistent soil depth in seed flats for uniform auxin distribution and straight seedling growth.
Step 7: Cap Installation and Finishing
Install post caps to shed water and prevent end-grain moisture absorption. Apply wood preservative to cut ends where factory treatment did not penetrate. This final protection resembles applying horticultural oil to pruning cuts on fruit trees.
Troubleshooting
Symptom: Post Wobble After Concrete Sets
Solution: Hole diameter exceeded optimal ratio or concrete contained insufficient portland cement. Excavate and reset with fiber-reinforced concrete mix. Add 2 percent fiberglass fibers by volume to increase tensile strength.
Symptom: Panel Bowing Between Posts
Solution: Span exceeded panel structural capacity or wood moisture content dropped below 12 percent after installation. Add a mid-span vertical support post or horizontal cross-brace. Species with higher modulus of elasticity like Douglas fir resist deflection better than pine.
Symptom: Fastener Corrosion Stains
Solution: Non-galvanized hardware reacted with copper-based preservatives in treated lumber. Replace with stainless steel screws. This chemical incompatibility mirrors micronutrient antagonism where excess zinc blocks iron uptake in alkaline soils.
Symptom: Concrete Heaving in Spring
Solution: Frost penetration reached below footing depth. Local frost lines in zone 5 extend 42-48 inches deep. Reset posts with footings below regional frost depth, similar to planting bulbs below freeze zones.
Symptom: Panel Separation from Posts
Solution: Wood movement from seasonal moisture fluctuations exceeded fastener shear strength. Install panel clips that allow 1/8 inch of horizontal movement while maintaining vertical attachment, functioning like expansion joints in concrete walkways.
Maintenance
Inspect fasteners annually in early spring after freeze-thaw cycles. Tighten loose screws and replace corroded hardware. Apply semi-transparent stain every 2-3 years to protect from UV degradation, which breaks down lignin at rates of 0.25 inches per decade on unprotected surfaces.
Clear vegetation within 6 inches of the fence base to allow air circulation. This spacing prevents fungal colonization similar to maintaining air flow through grape vine canopies to reduce powdery mildew pressure.
Apply 1 inch of water to surrounding soil during drought periods lasting 3 weeks or longer. Extreme desiccation causes soil shrinkage and post movement. Monitor soil moisture at 6-inch depth with a tensiometer reading of 30-40 centibars.
Trim climbing vines monthly during the growing season. Unchecked growth adds 15-40 pounds per linear foot, creating lateral loading that exceeds design parameters. Weight accumulation mirrors excessive fruit load that breaks scaffold branches on unpruned apple trees.
FAQ
How deep should fence posts be installed?
Posts require burial to one-third their total length with a minimum depth of 24 inches. In zones 3-5, extend 6 inches below the local frost line to prevent heaving.
What is the maximum panel span between posts?
Standard prefabricated panels span 6 or 8 feet. Exceeding manufacturer specifications causes mid-panel sagging as wood fibers exceed their modulus of rupture under wind loads.
Can panels be installed directly on soil without concrete?
No. Posts require concrete anchoring to resist lateral loads of 15-25 pounds per square foot during wind events. Metal anchors driven into undisturbed soil work only in sandy loams with high bearing capacity.
How long before fence panels can support climbing plants?
Wait 7 days after concrete curing before applying lateral loads. Concrete reaches 70 percent of design strength in 7 days at 70°F, similar to transplant establishment periods for containerized perennials.
What fastener spacing prevents panel warping?
Place three fasteners per vertical stringer at top, middle, and bottom positions. Spacing exceeding 24 inches allows differential wood movement that creates gaps and cupping similar to improperly spaced deck boards.