6 Steps to Prepare a Decorative Garden Arbor Site
Learning how to prepare a site for a garden arbor transforms a bare patch of ground into a stable foundation for vertical growth. The scent of fresh-turned earth, the crunch of gravel underfoot, and the satisfying thud of a post-hole digger cutting through clay signal the start of a structure that will anchor climbing roses, clematis, and wisteria for decades. Proper site preparation prevents settling, rot, and the slow lean that ruins so many arbors within five years.
Materials
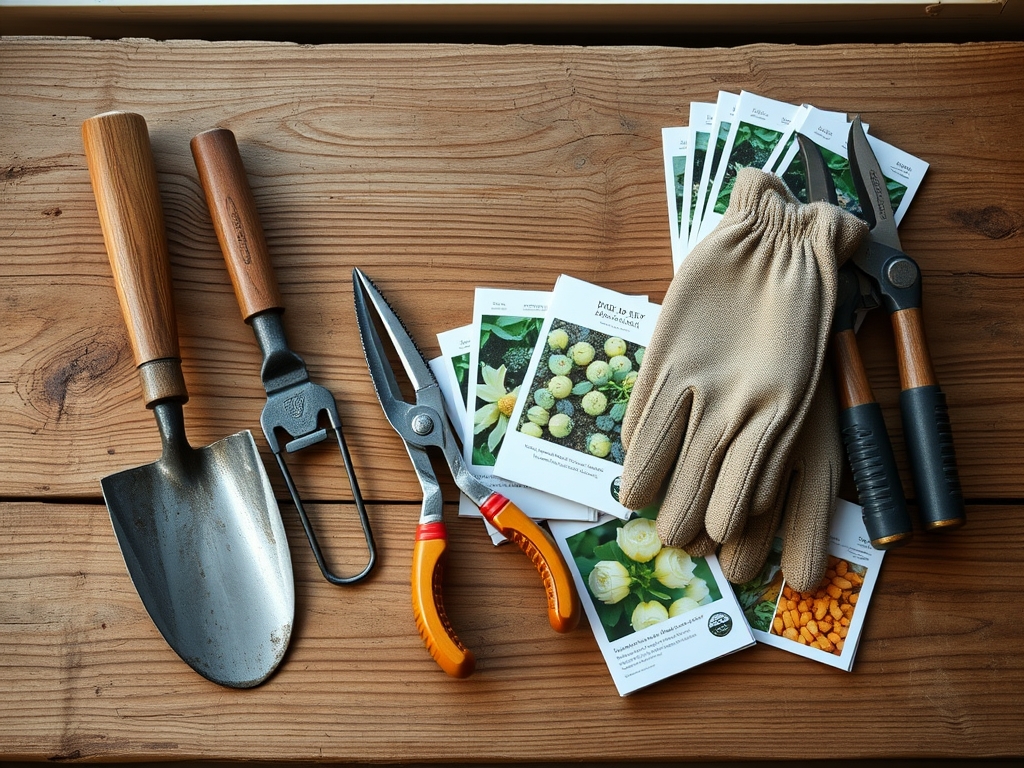
Gather materials based on soil chemistry and structural requirements. A soil test reveals pH and nutrient baselines. Aim for pH 6.0 to 7.0 for most ornamental vines. If pH falls below 5.5, apply dolomitic limestone at 5 pounds per 100 square feet. For pH above 7.5, incorporate elemental sulfur at 1 pound per 100 square feet.
Use a balanced organic amendment such as composted manure or a 4-4-4 granular fertilizer. This ratio delivers equal parts nitrogen, phosphorus, and potassium without over-stimulating vegetative growth. Bone meal (3-15-0) adds phosphorus for root development. Greensand (0-0-3) supplies slow-release potassium and trace minerals that improve cation exchange capacity.
Purchase concrete mix rated for fence posts. Each 4×4 post requires one 50-pound bag. Gravel (3/4-inch crushed stone) drains water away from post bases. Landscape fabric suppresses weeds without impeding water infiltration. Pressure-treated lumber rated for ground contact resists decay for 20 years when properly installed.
Timing
Execute site preparation during dormancy windows specific to your hardiness zone. Zones 3 through 5 allow work from late March through mid-May, after frost heave settles but before perennials break dormancy. Zones 6 and 7 extend the window from early March through late May. Zones 8 and 9 permit nearly year-round installation, though avoid July and August when soil bakes concrete-hard.
Last frost dates dictate planting schedules for companion vines. Zone 5 gardeners wait until May 15. Zone 7 gardeners plant after April 15. Install the arbor structure four to six weeks before introducing plants. This interval allows concrete to cure fully and gives you time to amend surrounding beds.
Phases

Step 1: Site Assessment and Marking
Measure twice, dig once. Use a tape measure and stakes to outline the arbor footprint. Standard widths span 4 to 6 feet. Depth should reach 30 to 36 inches to extend below the frost line in northern zones. Check for underground utilities by calling 811 three business days before digging. Mark sprinkler lines, buried electrical conduit, and septic fields.
Pro-Tip: Align the arbor's long axis north-to-south to equalize light exposure on climbing plants throughout the day.
Step 2: Excavation
Dig post holes using a clamshell digger or auger. Flare the bottom of each hole 2 inches wider than the top. This bell shape prevents frost heave from lifting posts. Remove rocks, roots, and clay clumps. Reserve topsoil in a separate pile from subsoil.
Pro-Tip: If you encounter hardpan at 18 inches, break through with a digging bar and remove an additional 12 inches to ensure drainage.
Step 3: Drainage Layer Installation
Pour 6 inches of crushed gravel into each post hole. Tamp firmly with a 2×4 or hand tamper. This layer channels water away from wood and prevents capillary rise that accelerates rot. Compacted gravel creates a stable base that resists settling.
Pro-Tip: Mix perlite into the gravel at a 10:1 ratio to increase aeration in clay-heavy soils.
Step 4: Post Setting and Leveling
Insert posts and fill holes with concrete mix. Brace posts plumb with temporary 2×4 supports staked at 45-degree angles. Use a carpenter's level on two adjacent faces. Overfill each hole by 2 inches and slope the concrete away from the post to shed water. Allow 72 hours for curing before removing braces.
Pro-Tip: Embed galvanized post caps in wet concrete to create a moisture barrier between wood and soil interface.
Step 5: Soil Amendment Integration
Spread 3 inches of compost across the planting zone extending 3 feet from each post. Incorporate the 4-4-4 fertilizer at 2 pounds per 100 square feet. Work amendments into the top 12 inches with a spading fork. Rake smooth and water deeply to settle soil and eliminate air pockets.
Pro-Tip: Inoculate roots with mycorrhizal fungi at planting to enhance phosphorus uptake and drought tolerance.
Step 6: Mulch Application
Apply 3 inches of shredded hardwood mulch in a 36-inch radius around each post. Keep mulch 4 inches away from post bases to prevent moisture accumulation. Mulch moderates soil temperature, retains moisture, and suppresses weeds that compete for nutrients.
Pro-Tip: Top-dress mulch annually each spring to maintain depth as decomposition converts organic matter into humus.
Troubleshooting
Symptom: Posts lean within one season.
Solution: Excavate and increase hole depth by 6 inches. Add concrete to 42 inches total depth.
Symptom: Wood shows soft rot at ground level.
Solution: Replace with posts treated to 0.60 PCF (pounds per cubic foot) retention. Improve drainage with a French drain.
Symptom: Plants exhibit chlorosis and stunted growth.
Solution: Retest soil pH. Apply iron chelate at 1 tablespoon per gallon of water if pH exceeds 7.2.
Symptom: Arbor crossbeams sag under vine weight.
Solution: Sister a second 2×6 beam alongside existing supports. Use 3-inch galvanized lag screws every 16 inches.
Maintenance
Inspect posts annually for decay. Probe the ground-level junction with an awl. Soft spots indicate rot requiring immediate replacement. Replenish mulch each April to maintain a 3-inch depth. Water new plantings with 1 inch per week for the first season. Established vines require supplemental irrigation only during droughts exceeding 14 days without rain.
Fertilize companion plants each March with the same 4-4-4 blend at 1 pound per 100 square feet. Prune climbing roses to four or five main canes, cutting at 45-degree angles 1/4 inch above outward-facing buds. This auxin distribution encourages lateral branching and maximizes bloom coverage.
FAQ
How deep should arbor posts be set?
Dig to 36 inches in Zones 3 through 6, 30 inches in Zones 7 through 9. Depth must exceed local frost line by 6 inches.
Can I skip the concrete and use tamped soil?
Soil alone compresses over time. Concrete provides lateral stability essential for structures bearing vine loads exceeding 200 pounds.
What spacing prevents overcrowding?
Position posts 4 feet apart for lightweight annual vines, 6 feet for woody perennials like wisteria.
When can I plant after installation?
Wait 28 days after concrete curing. This allows full strength development and prevents chemical burns to root systems.
Do I need landscape fabric under mulch?
Fabric blocks beneficial soil organisms. Use mulch alone at 3 to 4 inches for effective weed suppression.