6 Steps to Install a Garden Screen for Wind Protection
Turgor pressure within a leaf determines whether a plant stands resilient or collapses under the mechanical stress of high-velocity winds. When a gust hits an unprotected garden, the sudden increase in transpiration rates can lead to permanent wilting point before the roots can compensate for the moisture loss. Understanding the steps for installing a garden screen is essential for maintaining a stable microclimate where the rhizosphere remains hydrated and the stomata can continue gas exchange without the risk of desiccation or physical lodging.
Effective wind protection requires more than a physical barrier; it demands a biological integration of living structures and mechanical support. A well-designed screen reduces wind speed by 50 percent for a distance up to ten times the height of the barrier. This reduction prevents the mechanical tearing of leaf tissue and the cooling effect that can stall metabolic processes. By following precise horticultural protocols, you ensure that the screen provides a permeable filter rather than a solid wall. A solid wall creates turbulence and high-pressure zones that can be more damaging than the wind itself.
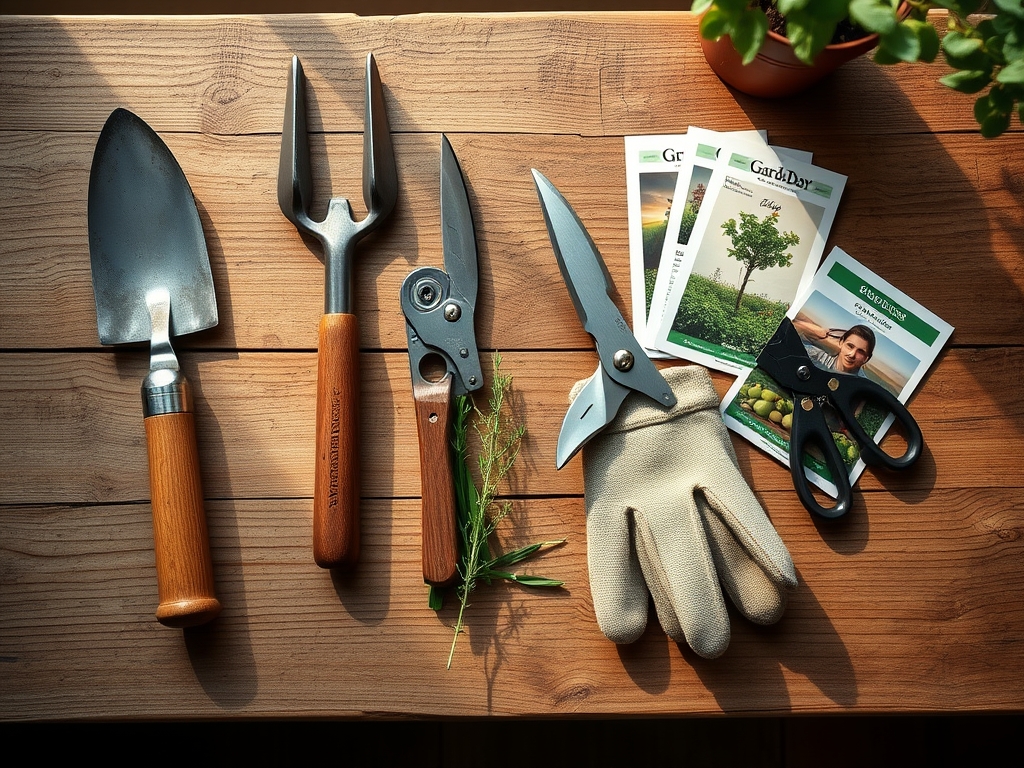
Materials:
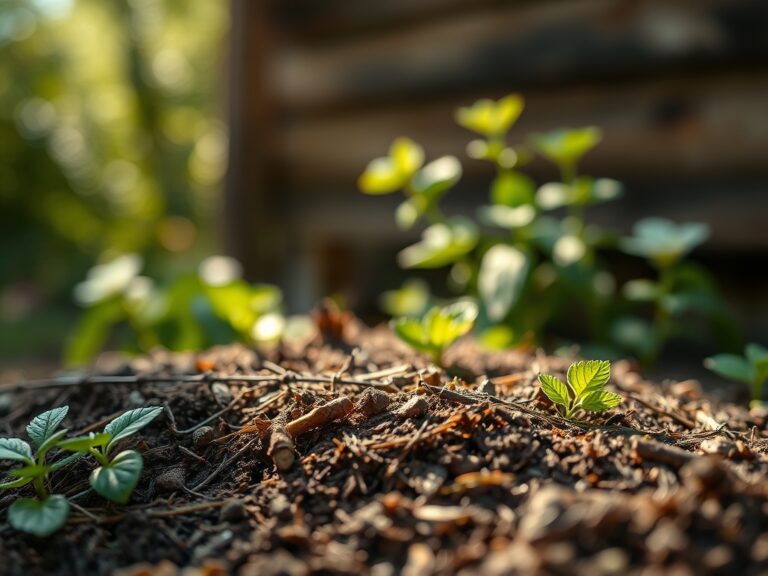
Success begins with a friable loam substrate characterized by a balanced distribution of sand, silt, and clay. This texture ensures adequate pore space for oxygen while maintaining a high Cation Exchange Capacity (CEC) to hold essential nutrients. For a screen composed of woody perennials or dense shrubs, the soil pH must be calibrated between 6.0 and 6.8 to maximize nutrient bioavailability.
The nutritional foundation requires a specific NPK ratio depending on the growth stage. During the establishment of the screen, utilize a 10-20-10 starter fertilizer. The high phosphorus content encourages rapid root elongation and structural integrity. Once established, transition to a 20-10-10 ratio to support the dense vegetative biomass required for wind attenuation. Avoid excessive nitrogen in late autumn to prevent succulent new growth that is susceptible to frost damage. Incorporate organic matter to achieve a minimum of 5 percent organic content, which improves the water-holding capacity of the soil around the screen's foundation.
Timing:
The installation window is governed by the USDA Hardiness Zones and the local frost-free dates. In Zones 5 through 7, the optimal period for installing a living garden screen is early spring, specifically 3 to 4 weeks before the last predicted frost. This timing allows the root system to establish before the onset of summer heat stress. In warmer Zones 8 through 10, autumn installation is preferred to take advantage of the winter rainy season.
The biological clock of the chosen species is a critical factor. You must install the screen during the transition from endodormancy to ecodormancy, just as the buds begin to swell but before full leaf expansion. This stage ensures that the plant's energy reserves are directed toward root development rather than supporting a large canopy of transpiring leaves. Monitoring the soil temperature is vital; wait until the soil reaches a consistent 50 degrees Fahrenheit (10 degrees Celsius) to ensure active root respiration and nutrient uptake.
Phases:

Sowing and Site Preparation
Clear the installation site of all competitive vegetation within a 3-foot wide strip. Excavate a trench that is twice the width of the root balls to allow for lateral root expansion into uncompacted soil. If using seeds for a temporary annual screen, sow at a depth of three times the seed diameter to ensure consistent moisture contact.
Pro-Tip: Proper site preparation facilitates mycorrhizal symbiosis. These beneficial fungi extend the reach of the root system by hundreds of times, significantly increasing the plant's ability to absorb phosphorus and water under wind-induced stress.
Transplanting
Position the plants in a staggered, double-row configuration. This "quincunx" pattern creates a permeable barrier that breaks wind force without creating the vacuum effect seen with single-row solid fences. Ensure the crown of the plant is level with the soil surface; planting too deep leads to stem rot, while planting too shallow causes root desiccation.
Pro-Tip: When placing the plants, orient the strongest lateral branches toward the prevailing wind. This utilizes thigmomorphogenesis, where the plant strengthens its tissues in response to mechanical sensation, resulting in a sturdier, more wind-resistant trunk.
Establishing
Immediately after planting, apply a 3-inch layer of arborist wood chips to the base. This mulch layer regulates soil temperature and prevents moisture evaporation. Stake the plants only if necessary, using flexible ties that allow for slight movement. This movement is essential for the development of "reaction wood," which increases the structural strength of the stem.
Pro-Tip: Avoid excessive pruning during the first year to prevent auxin suppression. Auxins are hormones produced in the terminal buds that signal the roots to grow. Maintaining intact branch tips ensures the root system receives the hormonal signals required for deep establishment.
The Clinic:
Physiological disorders often manifest when the screen is under environmental pressure. Observe the foliage for specific indicators of stress.
Symptom: Marginal leaf scorch or "windburn."
Solution: This is caused by transpiration exceeding the rate of water uptake. Increase irrigation frequency and apply an anti-desiccant spray to the leaf surfaces to reduce moisture loss during high-wind events.
Symptom: Interveinal chlorosis (yellowing between leaf veins).
Solution: This typically indicates a Manganese or Iron deficiency, often triggered by a pH above 7.0. Lower the soil pH using elemental sulfur and apply chelated micronutrients to restore chlorophyll production.
Symptom: Stunted growth and purplish leaf undersides.
Solution: This is a classic sign of Phosphorus deficiency, often occurring in cold, wet soils where root activity is sluggish. Apply a high-phosphate liquid fertilizer to the rhizosphere for immediate uptake.
Fix-It: Nitrogen Chlorosis
If the oldest leaves turn a uniform pale yellow, the plant is recycling nitrogen to support new growth. Apply a quick-release 21-0-0 (Ammonium Sulfate) fertilizer at a rate of 0.5 pounds of nitrogen per 1,000 square feet to rapidly restore nitrogen levels.
Maintenance:
Precision maintenance is the difference between a failing screen and a permanent windbreak. Use a soil moisture meter to monitor the root zone; the screen requires 1.5 inches of water per week delivered at the drip line. Overhead watering should be avoided to prevent fungal pathogens from colonizing the dense interior foliage.
Pruning should be performed with sharp bypass pruners to ensure clean cuts that heal quickly. Use a hori-hori knife to remove deeply rooted weeds that compete for nutrients. Every three years, perform a soil test to check the Cation Exchange Capacity and adjust the mineral balance. Thin out approximately 15 percent of the interior branches annually to maintain permeability and allow light to reach the inner canopy, preventing internal senescence.
The Yield:
For screens utilizing species like Corylus (Hazelnut) or Laurus nobilis (Bay Laurel), the yield is a secondary benefit. Harvest hazelnuts when the husks turn brown and the nuts easily detach. For bay leaves, harvest mature leaves in the early morning when the essential oil concentration is at its peak.
Handle the harvest with care to maintain "day-one" freshness. Place herbs in a cool, shaded environment immediately. For woody cuttings or flowers, use a sharp blade to make a 45-degree cut and submerge the stems in 110-degree Fahrenheit water to remove air embolisms from the xylem, ensuring maximum hydration.
FAQ:
What is the best spacing for a garden wind screen?
Space plants at a distance equal to one-half of their mature spread. For a double-row screen, stagger the plants in a zigzag pattern with 3 to 5 feet between rows to ensure maximum wind filtration and density.
Can I use a solid fence as a garden screen?
Solid fences are less effective than permeable screens. They create a low-pressure zone on the leeward side, causing wind to "roll" over the top and crash down into the garden. A screen with 40 to 50 percent porosity is ideal.
How deep should the root system be for wind protection?
Most wind-resistant plants require a root depth of at least 24 to 36 inches. Encourage deep rooting by using heavy, infrequent irrigation cycles that saturate the entire root zone rather than frequent, shallow watering that keeps roots near the surface.
When should I prune my wind screen?
Prune in late winter or early spring while the plants are still dormant. This timing minimizes sap loss and prevents the stimulation of new growth that could be damaged by late-season frosts or high-velocity spring winds.
How do I fix a leaning garden screen?
If a young plant begins to lean, use two stakes placed on opposite sides, perpendicular to the prevailing wind. Secure with broad, flexible straps. Check the straps every six months to prevent girdling the trunk as it increases in diameter.