9 Tips to Use a Spirit Level for Garden Step Installation
The timber underfoot shifted by less than a quarter inch, yet the entire staircase felt uncertain. Every misaligned garden step compounds into ankle strain, water pooling, and eventual rot. Using a level for garden step installation transforms guesswork into precision. The bubble in that vial responds to gravity with absolute honesty, revealing what the eye cannot detect. Each step must sit level side-to-side while maintaining a consistent front-to-back slope. This dual-plane accuracy prevents erosion channels and premature material failure.
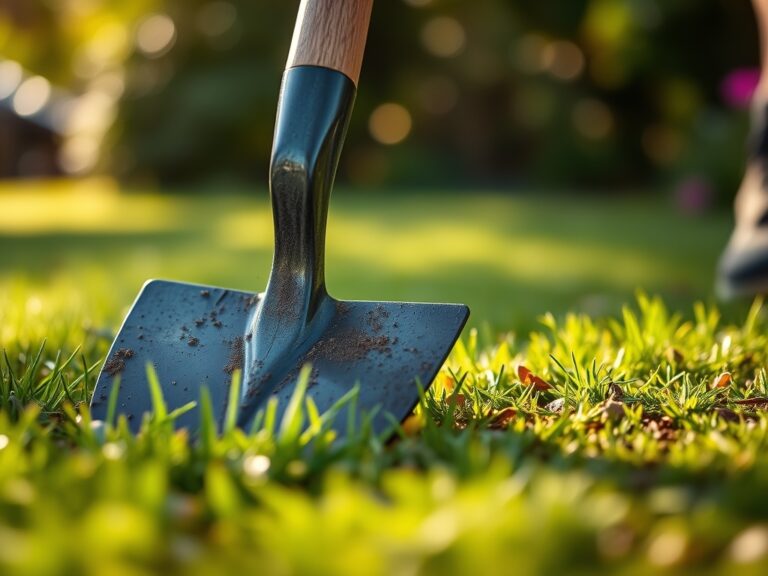
Materials
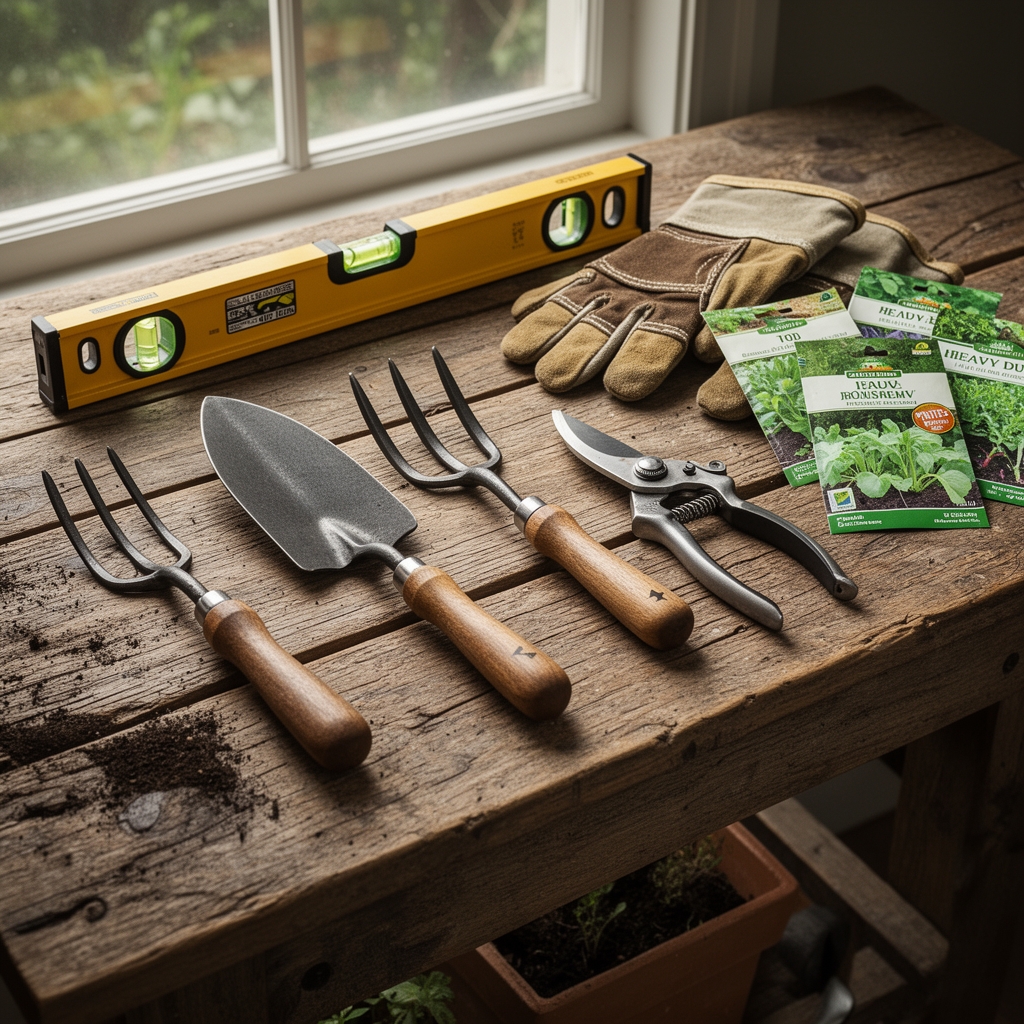
A 48-inch spirit level provides the optimal reference span for garden steps. Choose models with reinforced aluminum frames and replaceable vials. Shorter 24-inch levels work for narrow pathways but sacrifice accuracy across wider treads.
Crushed limestone aggregate (3/4-inch minus) forms the ideal base layer. This material compacts to 95% density while maintaining drainage. The pH typically ranges from 7.8 to 8.2, which suits most hardscaping applications. Avoid rounded pea gravel, which shifts under load.
Timber steps require pressure-treated lumber rated for ground contact. Cedar and black locust offer natural rot resistance without chemical treatment. Apply a balanced 4-4-4 organic amendment to surrounding planting beds to counteract any pH shift from limestone leaching.
Geotextile fabric separates the base aggregate from native soil. This layer prevents fine particles from migrating upward and compromising compaction. Select non-woven polypropylene with a minimum weight of 4 ounces per square yard.
Galvanized steel stakes anchor each step. Use 12-inch stakes for sandy soils and 18-inch versions where clay dominates. The cation exchange capacity of clay soils provides better lateral stability once stakes penetrate below the disturbed zone.
Timing
Install garden steps during dormant periods when soil moisture remains consistent. In Zones 5 through 7, schedule work between late October and early April. Freeze-thaw cycles during winter can heave improperly installed steps by 2 to 4 inches.
Southern gardeners in Zones 8 through 10 should avoid summer installation. Soil temperatures above 80 degrees Fahrenheit cause premature drying of compacted base layers. The optimal window runs from November through February when rainfall patterns stabilize moisture content.
Frost-date calculations matter less for hardscaping than soil workability. Wait until soil moisture reaches field capacity but before saturation. Test by squeezing a handful of soil. It should form a loose ball that crumbles under light pressure. Excess moisture prevents proper compaction of aggregate base layers.
Phases

Excavation and Base Preparation
Remove topsoil and organic matter to a depth of 8 inches below the finished step height. Organic decomposition creates voids that lead to settling. Compact native subgrade in 2-inch lifts using a plate compactor.
Install geotextile fabric across the entire excavated area with 6-inch overlaps at seams. Add crushed limestone in 3-inch lifts. Compact each lift to eliminate air pockets. Check compaction by walking the surface. Footprints deeper than 1/4 inch indicate inadequate density.
Pro-Tip: Moisten aggregate lightly before compaction. Water content at 8 to 10% optimizes particle interlock. Overly wet aggregate pumps under the compactor and never achieves target density.
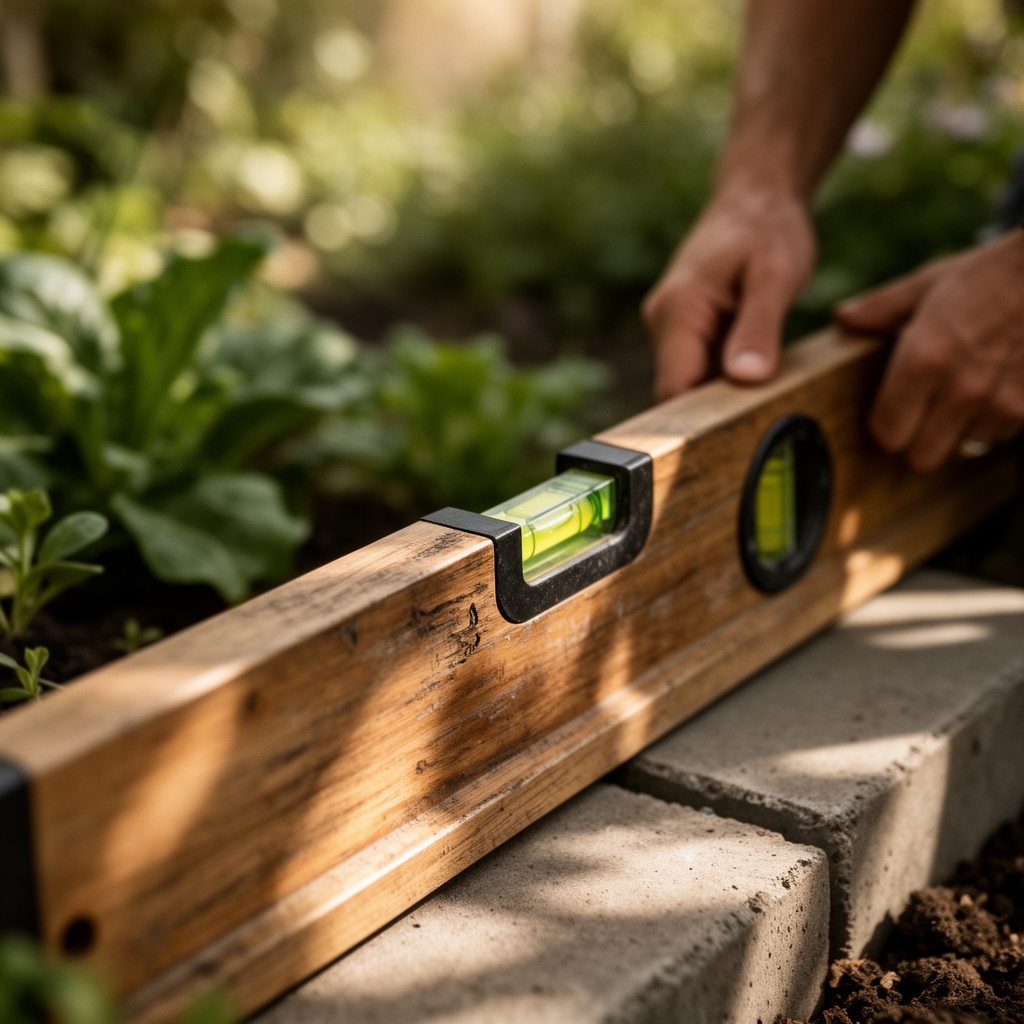
Step Placement and Leveling
Position the first step at grade level. Place the spirit level perpendicular to the slope direction. Adjust aggregate beneath until the bubble centers between reference lines. This establishes the side-to-side plane.
Rotate the level 90 degrees to check front-to-back pitch. Steps require a 1% forward slope for drainage. On a 48-inch level, raise the back edge 1/2 inch above center. This translates to 1/8 inch per foot of tread depth.
Secure the step with steel stakes driven at opposing 45-degree angles. This creates a mechanical lock that resists frost heave. Recheck level after staking. The driving force often shifts position by 1/8 to 1/4 inch.
Pro-Tip: Mark stake positions on the level itself using tape. This ensures consistent geometry across all steps and accelerates installation pace.
Rise and Run Calibration
Standard garden steps use a 6-inch rise with a 14-inch run. This ratio matches natural walking gait while minimizing soil excavation. Calculate total steps by dividing elevation change by 6 inches. Adjust the final step height to match existing grade.
Position subsequent steps by measuring from the front edge of the established step. Maintain consistent rise within 1/4 inch across the entire staircase. Variation beyond this threshold creates a tripping hazard and accelerates user fatigue.
Use the spirit level as a straightedge to verify tread alignment. Lay the level across multiple steps simultaneously. Deviations appear as gaps beneath the level body. Adjust base aggregate to bring all treads into the same plane.
Pro-Tip: Install a temporary string line at the front edge of each step. This visual reference prevents cumulative measurement error across long staircases.
Troubleshooting
Symptom: Bubble drifts to one side despite repeated adjustment.
Solution: The level itself may be out of calibration. Flip the level end-for-end. If the bubble moves to the opposite side, the vial reads true. If it stays on the same side, replace the level or use a digital inclinometer.
Symptom: Steps settle unevenly after the first winter.
Solution: Frost heave occurs when water accumulates beneath steps. Retrofit French drains along both sides of the staircase. Use 4-inch perforated pipe bedded in 3/4-inch drainage rock. Outlet must daylight at least 10 feet downslope.
Symptom: Water pools on step treads despite forward pitch.
Solution: The pitch reads correctly side-to-side but lacks front-to-back slope. Remove stakes and raise the back edge. Verify 1% slope (1/2 inch per 48 inches) with the level rotated parallel to the slope direction.
Symptom: Level readings change as you walk on newly installed steps.
Solution: Base aggregate lacks adequate compaction. Remove step and add aggregate in thinner lifts. Compact each 2-inch layer separately. Achieve minimum 95% density as measured by a nuclear density gauge.
Symptom: Wooden steps twist along their length axis.
Solution: Auxin distribution in living wood causes continued movement even after milling. Pre-drill all stake holes to prevent splitting. Add a third stake at the tread center for spans exceeding 36 inches.
Maintenance
Inspect step-to-step rise annually using the spirit level as a measuring reference. Settlement beyond 1/4 inch requires immediate attention. Lift the affected step and add compacted aggregate to restore geometry.
Apply 1/2 inch of coarse sand to step treads each spring. This fills minor surface irregularities and improves traction. Avoid fine sand, which holds moisture and promotes algae growth.
Recheck level every 24 months. Place the spirit level in identical positions used during installation. Document readings with photographs that show bubble position. Progressive tilt indicates ongoing soil movement or base failure.
Trim vegetation within 18 inches of step edges. Root systems exert lateral pressure exceeding 200 pounds per square inch. This force tilts steps and compromises levelness. Maintain a bare soil or mulch buffer zone.
Clean level vials monthly during active use. Dirt on the glass obscures bubble movement. Use isopropyl alcohol and a lint-free cloth. Verify vial seal integrity by checking for internal moisture or air bubbles within the liquid.
FAQ
How accurate must garden steps be?
Maintain side-to-side level within 1/8 inch per 4 feet. Front-to-back slope should measure 1% (1/8 inch per foot) for drainage. Precision beyond this offers no functional benefit.
Can I use a smartphone level app instead?
Digital apps provide reference accuracy of plus or minus 0.5 degrees. Quality spirit levels resolve to 0.0005 inches per inch. Physical levels remain superior for critical installations.
What causes a spirit level to lose accuracy?
Dropped levels suffer vial misalignment. Temperature extremes cause frame warping in composite models. Store levels horizontally in climate-controlled spaces. Verify calibration against a known reference surface quarterly.
Should steps be level or sloped?
The tread surface requires both. Side-to-side orientation must be perfectly level. Front-to-back orientation needs 1% slope toward the step front. This dual-plane geometry sheds water while preventing lateral slippage.
How deep should the aggregate base extend?
Minimum 6 inches of compacted aggregate prevents frost heave in Zones 6 and colder. Southern installations in Zones 8 through 10 require 4 inches. Increase depth by 2 inches for every zone number below 6.